
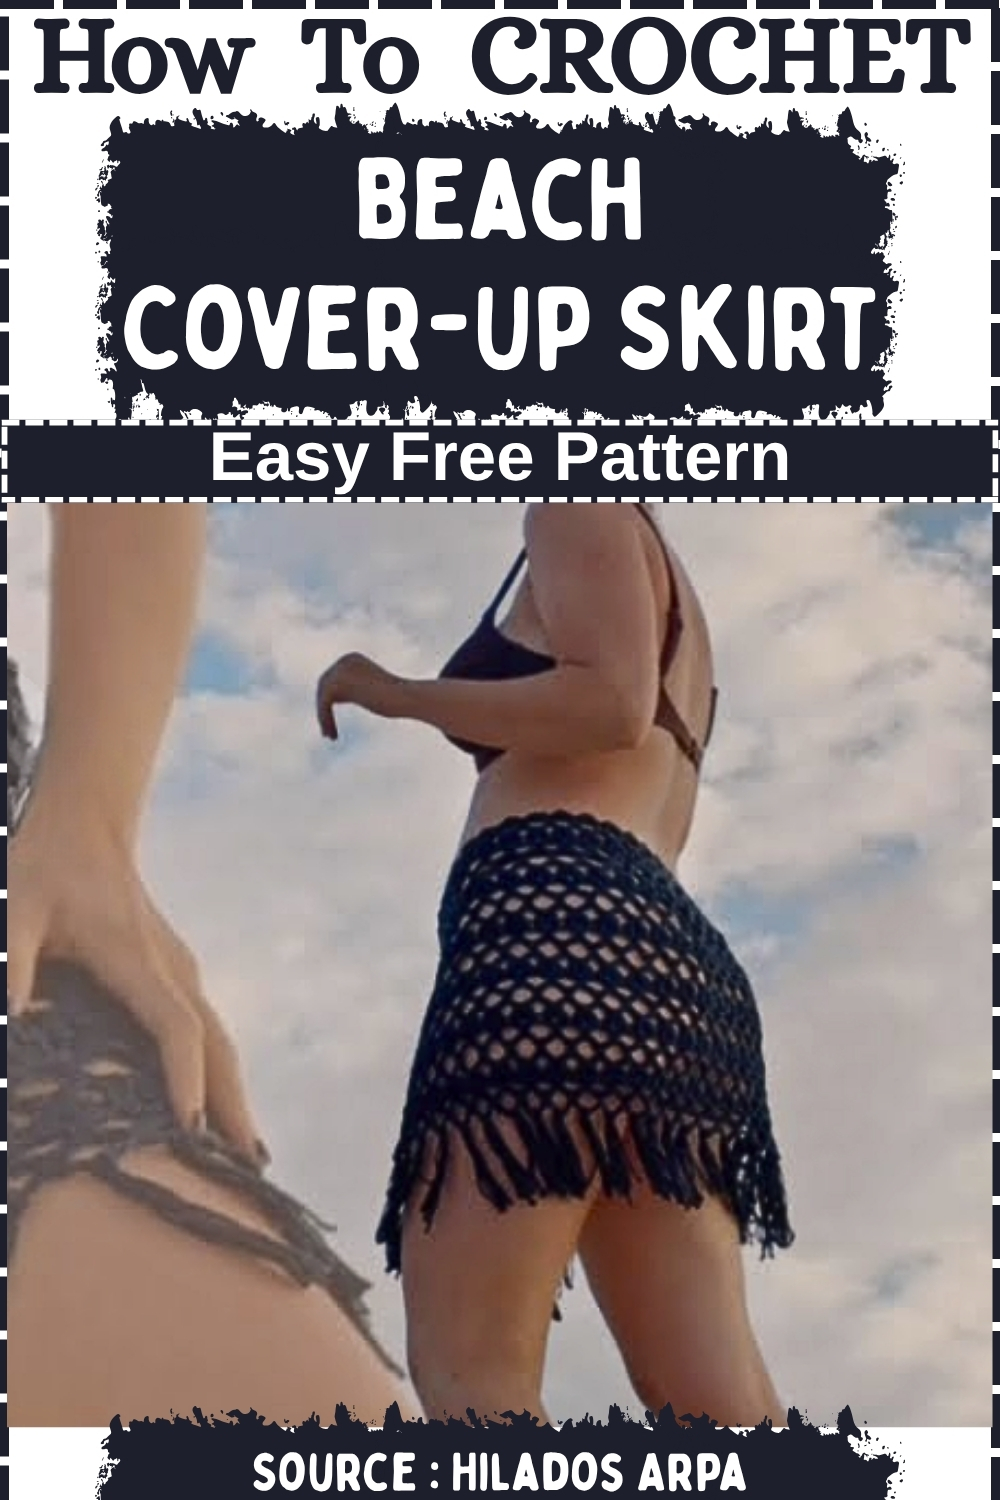
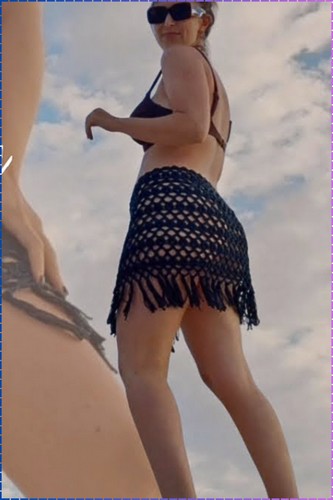
A crochet beach skirt is one of the easiest ways to pull a swimwear look together without much effort. The open mesh body keeps things breezy and the fringe hem adds just enough movement to make it feel like something you actually chose rather than just grabbed.
Crochet Beach Cover-Up Skirt
Materials
- Medium-weight combed cotton yarn, ideally with a viscose blend for drape
- 4.5 mm crochet hook
- Tape measure and scissors
The Pattern
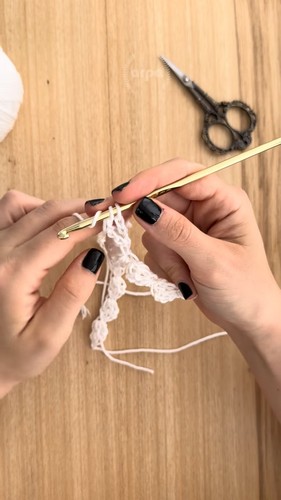
Step 1: Waist Cord
- Begin with a slip knot and 4 chain stitches.
- Yarn over, insert your hook into the first chain, and work 2 double crochets. This is your first link.
- For each subsequent link: chain 3, then work 2 double crochets by inserting through the two front loops of the previous double crochet — the front loop and the middle bar of the stitch.
- Continue until the cord reaches your desired length. Wrap it around your waist as you work to gauge the length.
- Plan your links in three sections: a tie section on each end, and a center section that will hold the main body. The number of center links determines the width of the sarong.
Step 2: Mesh Foundation Row
- Try the cord on and decide how many links to reserve on each side for the ties.
- Attach yarn at the point where the tie section ends and the center body begins, using a slip knot, and work a single crochet into those front loops.
- Chain 5, skip to the next link space, and work a single crochet into it.
- Repeat — chain 5, single crochet — across all the center links, stopping when you reach the start of the second tie section.
If you're new to reading crochet patterns, don't worry, just follow along with the video tutorial below and use the written pattern as a reference!
Step 3: Main Body — 3-Row Repeat
Repeat the following three rows until the sarong reaches your desired length.
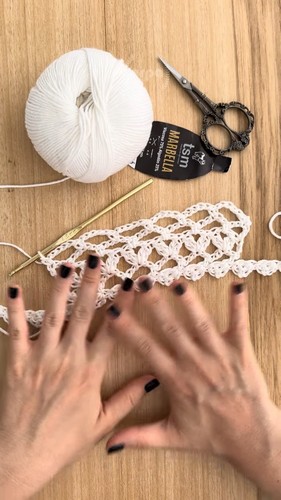
Row 1 — Pineapple cluster row:
- Chain 3 for turning height.
- Find the middle chain of the first 5-chain arch from the row below. Insert your hook directly into that center chain stitch — not around the arch space — and work a 2-double-crochet cluster (two unfinished double crochets closed together), chain 2, then another 2-double-crochet cluster into the same stitch.
- Repeat this paired cluster group in the middle chain of every arch across the row.
- Finish with 1 double crochet into the first single crochet of the previous row.
Row 2 — Half-arch row:
- Chain 5 (the first 3 act as turning height, the next 2 as a space separator).
- Work a single crochet into the chain-2 space between the two clusters of the first pineapple group.
- Chain 5, then work a single crochet into the center space of the next cluster pair. Repeat across the row.
- Finish with 2 chains and 1 double crochet into the 3rd turning chain of the previous row.
Row 3 — Full arch row:
- Chain 1 (does not count as a stitch) and work a single crochet into the first base stitch.
- Chain 5, then work a single crochet into the middle chain of the arch directly below.
- Continue — chain 5, single crochet into the middle chain of each arch — across the row.
- Finish with a single crochet into the 3rd turning chain.
Return to Row 1 and repeat until the sarong is as long as you want.
Step 4: Fringe
- Cut yarn into equal lengths.
- Attach groups of 4 strands along the entire bottom edge of the sarong.
Notes
The one technique worth practicing before you start is the center-chain insertion on the pineapple row. The instruction to go into the middle chain stitch — rather than around the full arch — is what keeps the clusters sitting upright and the pattern reading cleanly. A few practice repeats on a small swatch makes this feel natural immediately.
Cotton yarn with a viscose or bamboo content is worth using here specifically because this pattern depends on drape. A pure acrylic yarn will hold the stitch structure but will not fall the same way against the body.
FAQ
How do I know how many links to make for the waist cord? Wrap the cord around your body as you work and stop when it reaches your full desired tie length — long enough to go around your waist and still leave enough on each end to tie comfortably. Then count back from each end to decide how many links to reserve as ties, and use the rest as your center body section.
Can I make this longer or shorter? Yes — the 3-row repeat is completely stackable. Work more repeats for a maxi length or stop earlier for a mini. The cord and fringe steps stay the same regardless of how many body rows you add.
What if my pineapple clusters are sitting sideways instead of upright? You are likely inserting your hook around the arch space rather than into the center chain stitch. Go back to the Row 1 instructions and make sure the hook goes directly into the middle chain — the 3rd chain of the 5-chain arch below.


Leave a Reply