
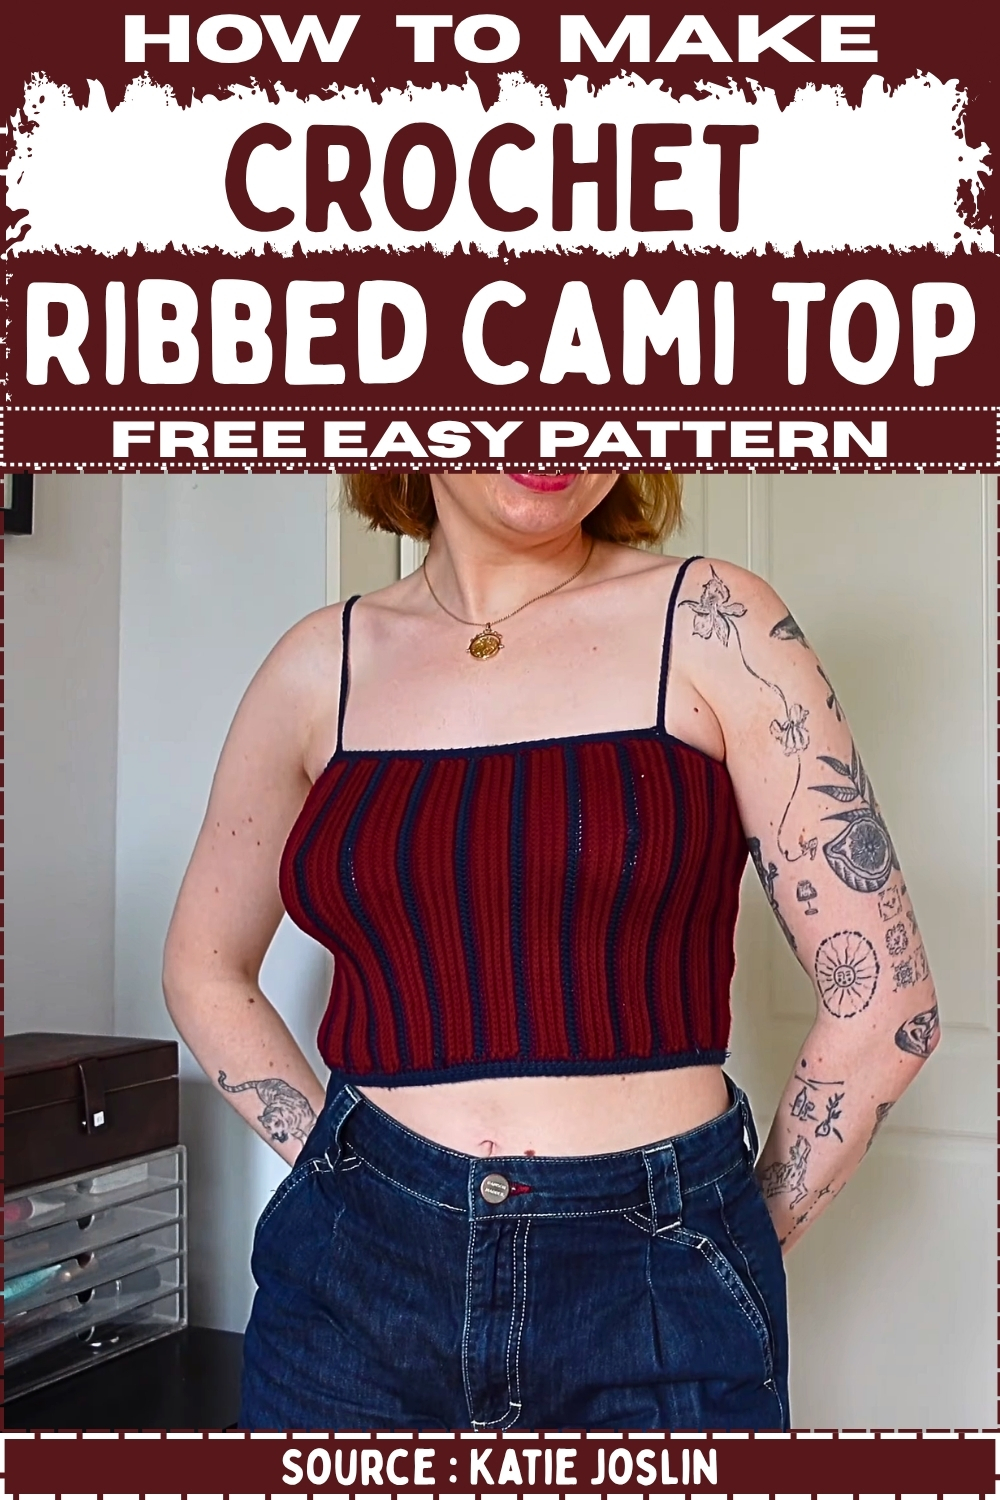
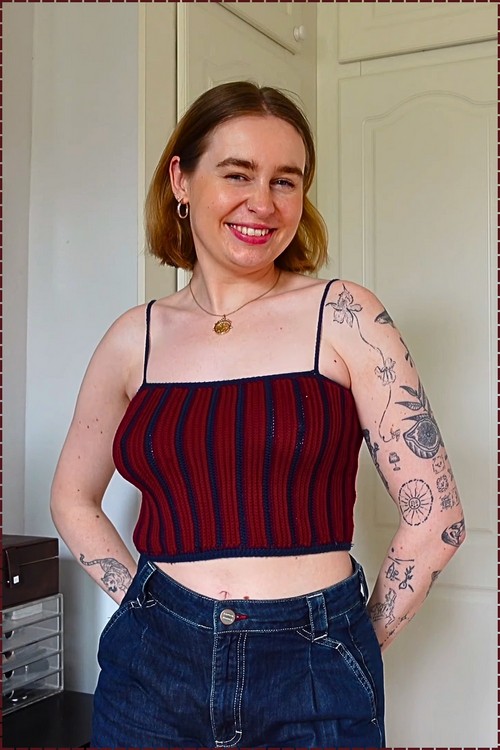
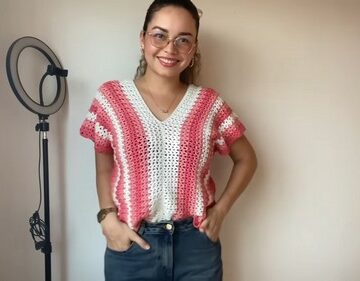
Every summer wardrobe needs a good basic, and this crochet ribbed cami top is it. The ribbed texture gives a simple cropped camisole real structure and a flattering, body-skimming fit wear it with high-waisted jeans, layer it under an open shirt, or let it stand alone on hot days. This ribbed crochet top uses a repetitive stitch pattern that's genuinely relaxing to work up, making it a great project for building confidence with garment shaping. Wardrobe staple, sorted—free pattern this way.
Ribbed cami top is one of those projects that looks far more complex than it actually is. The vertical texture comes together stitch by stitch, and before long you have something that genuinely looks store-bought — fitted, structured, and flattering in all the right ways.
Ribbed Cami Top Crochet
Materials
- Super fine weight 4-ply cotton yarn or cotton-acrylic blend in your main color — at least 2 balls
- Super fine weight 4-ply cotton yarn in a contrast accent color — 1 ball
- 3.5 mm crochet hook
- Stitch markers
- Yarn needle for weaving in ends
Difficulty and Time
Difficulty: Easy-intermediate (comfortable with slip stitch, HDC, and basic color changes) Estimated time: 6–10 hours depending on your gauge and top length
Beginner Technique Notes
- Slip stitch in the back loop only (BLO): Insert your hook into only the back loop of the stitch — the loop farthest away from you as you look at the fabric. Pull up a loop and draw it directly through the loop already on your hook. No yarn over. This is what creates the ribbed effect.
- Working the edge stitches through both loops: On the first and last stitch of every row, go through both loops instead of just the back loop. This keeps your edges tidy and easier to seam later.
- Magic knot for color changes: A magic knot is a secure way to join a new yarn without leaving a bulky tail. Tie the two yarn ends together in a snug double knot, trim the tails close, and continue working. It sits flat inside the slip stitch fabric and is nearly invisible.
- Half double crochet (HDC): Yarn over, insert hook, pull up a loop (3 loops on hook), yarn over and pull through all 3 loops at once.
The Pattern
Step 1: Make the Main Panel
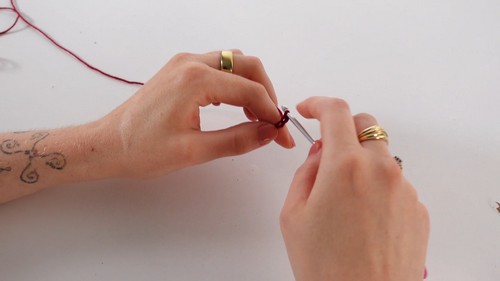
- Chain for the desired height of your cami top. Because slip stitches pull snug and bounce up slightly after you work them, chain a few extra stitches beyond what you think you need. (The sample uses 60 chains for a cropped length.) Add one more chain as your turning chain.
- Work slip stitches back down the chain to complete Row 1.
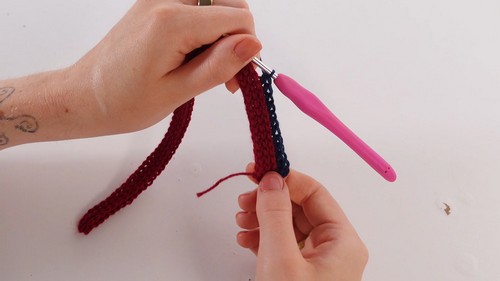
- For Rows 2 through 7, chain 1 and turn. Work slip stitches across the row in the back loop only, except for the very first and last stitch of each row — work those through both loops to maintain clean selvedge edges.
- On Row 7, cut your main color leaving a short tail and join your accent color using a magic knot. Trim the ends closely.
- For Row 8, chain 1 and turn. Work a row of half double crochets in your accent color. Work the first and last stitches through both loops, and all middle stitches through the back loop only.
- Switch back to your main color and repeat the full cycle — 7 rows of slip stitches in the back loop, followed by 1 row of half double crochets in your accent color — until the rectangle is wide enough to wrap comfortably around your body with a little ease.
- End your final repeat on the accent color stripe so the stripes match up neatly when the panel is seamed.
Step 2: Seam the Body
- Fold your finished rectangle in half with right sides together. The "right side" is the side where the HDC accent row sits tucked neatly behind the slip stitch columns.
- Using the working yarn still attached, chain 1 and slip stitch the two open vertical ends together from top to bottom.
- Flip the tube right side out so the seam is hidden on the inside.
Never read a crochet pattern before? No problem! The video tutorial below is perfect for beginners, or give the written pattern below a try!
Step 3: Bottom Border
- Round 1: Chain 1 and work a round of single crochets evenly into each end stitch along the entire bottom edge. Slip stitch to join.
- Round 2 (optional): If the bottom edge is slightly too wide, work single crochet decrease stitches (sc2tog) at intervals around this round. Try the top on as you go to check the fit.
- Rounds 3 and 4: Continue working rounds of single crochet until the bottom border is the thickness you want.
- Fasten off: Slip stitch to the first stitch, chain 1, cut the yarn, pull through tightly, and weave in the tail.
Step 4: Top Edge and Straps
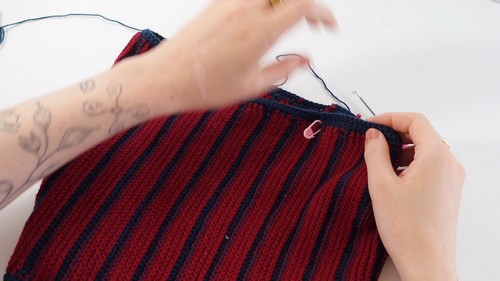
- Put the top on and use stitch markers to map out exactly where you want each strap to attach at the front and back.
- Reattach your main color at the back-right strap marker with a slip stitch.
- Work 2–3 rows of single crochet around the top edge, decreasing where needed to keep the edge snug and even.
To make each strap:
- Single crochet along the top edge until you reach the front strap marker.
- Chain for the length of the strap (try it over your shoulder and adjust your chain count until it feels right).
- Slip stitch to the corresponding back strap marker to anchor the chain. Slip stitch one additional stitch over.
- Chain 1 and single crochet back down the full length of the chain toward the front.
- Slip stitch into the front marker stitch to lock the strap base in place.
- Continue single crocheting along the top edge to the next strap marker and repeat the process for the second strap.
- Once both straps are done, single crochet across the remaining armpit space and slip stitch to the base of the final strap to finish the round evenly. Chain 1, cut yarn, pull through, and weave in all ends.
Tips
- Chain extra at the start. Slip stitch rows pull tighter than you expect, so your starting chain will shrink in height once you begin working. Always add a few extra chains and test before committing.
- Keep your BLO slip stitches loose. Tight slip stitches will make the fabric stiff and hard to work into on the following row. If your hook keeps getting stuck, go up half a hook size.
- Match your stripe count before seaming. Count the number of accent stripe rows visible on both vertical edges of your rectangle before you fold and seam. They should match exactly.
- Use stitch markers generously on the top edge. Mark the front straps, back straps, and side seam before you pick up stitches around the top. It takes two minutes and prevents a lot of guessing.
- Try the top on at every major step. The fit check before adding decreases at the bottom border and the length check when chaining straps are both worth doing in person rather than measuring flat.
- Weave in magic knot tails before seaming. Once the tube is seamed, getting a needle into the interior is harder. Trim and weave in your color change tails while the panel is still flat.
Yarn Substitution
This pattern is built around a super fine (fingering / 4-ply) cotton or cotton-blend yarn. That weight is what gives the slip stitch ribbing its dense, structured look without being heavy. If you swap to a heavier yarn, your top will grow quickly in height — which can work, but you'll want to stop much sooner than you expect. A DK-weight cotton is the heaviest reasonable substitute; anything above that will produce a very chunky, thick fabric that won't drape the same way. Avoid anything too stretchy or hairy — the BLO slip stitch is a textural stitch and looks best in a smooth yarn where the ribbing reads cleanly.
Customization Ideas
- Adjust the length: Chain fewer stitches at the start for an ultra-cropped bralette-style top, or chain more for a longer tank that covers the waist.
- Change the stripe rhythm: Try 5 rows of slip stitch and 1 HDC row for denser stripe spacing, or stretch it to 10 rows between stripes for a subtler accent.
- Monochrome version: Skip the accent color entirely and work all rows — including the HDC rows — in your main color. The ribbing texture still reads beautifully without the stripe contrast.
- Thicker straps: Work 2 rows of single crochet on either side of the chain strap instead of 1 for a slightly wider, more supportive strap.
- Tie top variation: Instead of crocheted straps, make long chains on each side and tie them at the shoulder for an adjustable, bohemian silhouette.
FAQ
What size does this pattern make? The pattern is written to be fully adjustable — you work the rectangle until it fits around your body, and you customize the height with your starting chain. Try it on as you go rather than following a fixed measurement, and it will fit any size.
Can I use a different hook size? Yes, but stay in the range that gives you a firm, dense slip stitch fabric. A 3 mm hook works for very fine yarn; 4 mm is the upper limit before the stitches start to feel too loose for a fitted top.
The ribbing looks flat, not raised. What went wrong? The most common cause is working into the wrong loop. Make sure you are going into the back loop only on every middle stitch. The ribbing will not appear if you accidentally go through both loops.
How do I know when the rectangle is wide enough? Wrap the unfolded rectangle around your body (it folds in half, so you are measuring half your circumference). It should wrap easily with a small amount of ease — not tight, not baggy. The slip stitch fabric has stretch, so err slightly smaller than you think you need.
Can I make the straps adjustable? The easiest approach is to add small button loops at the front strap base and sew a button at the back marker — this lets you adjust the strap length without rebuilding it. You can also simply make the chain a little longer and let it tie in a small knot at the shoulder.
Leave a Reply