
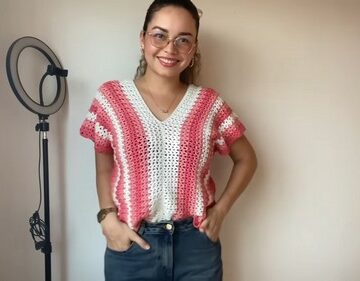
Looking for the perfect crochet summer top? This one's light, breezy, and made for hot days an airy design that keeps you cool while still looking put together with denim shorts, linen trousers, or a flowy skirt. Free crochet summer top patterns for women like this are ideal if you want a quick wardrobe win, with simple stitches and a finish that feels handmade in the best way. Your warm-weather staple is one hook away click through and grab the free pattern.
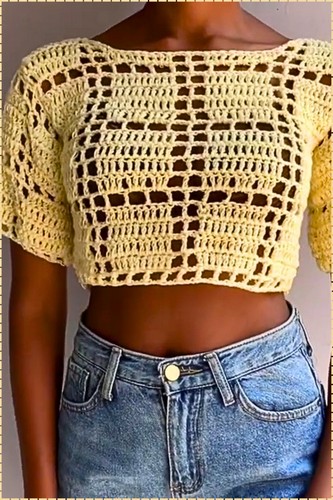
Lightweight open mesh top in pale yellow is exactly the kind of summer piece that works harder than it looks. The grid stitch gives it an airy feel that keeps things cool while still looking put together whether you throw it on over a swimsuit or wear it out with high waisted denim.
Crochet Summer Top
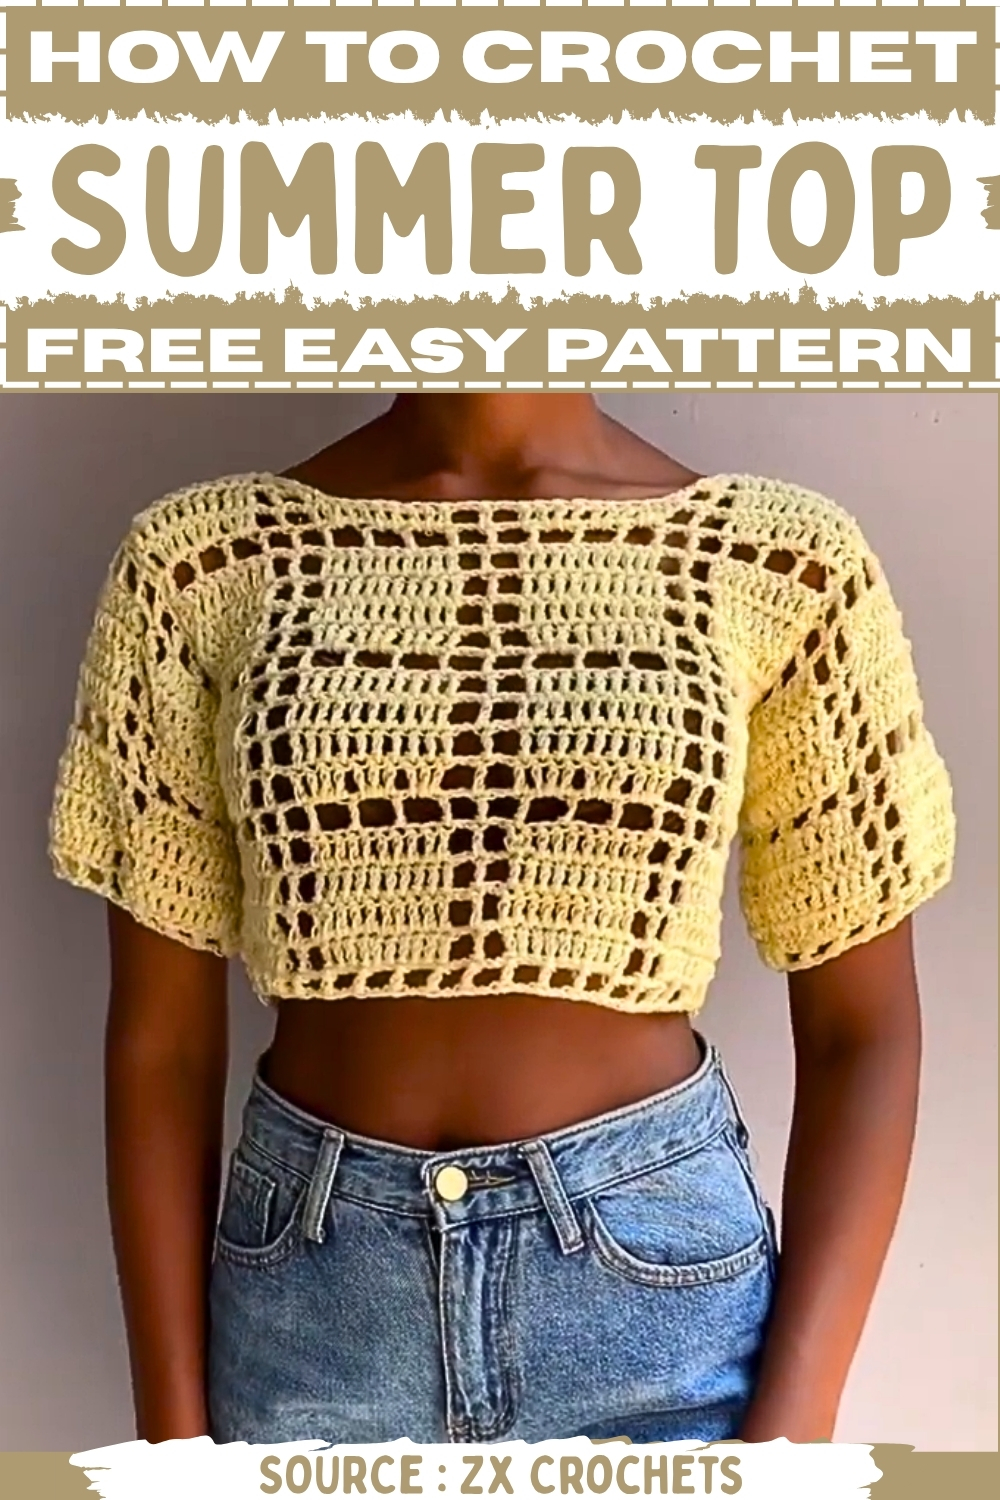
Why I love this one: the block stitch pattern gives you that open, breathable fabric that summer calls for, without the project feeling like a plain grid — every panel has real visual texture.
Materials
- Light to medium weight cotton or cotton-blend yarn (smooth yarn shows the block stitch most clearly)
- Crochet hook sized to match your yarn
- Darning needle or yarn needle for seaming
- Stitch markers (optional but helpful for marking armhole openings)
- Scissors
Difficulty and Time
Difficulty: Beginner-friendly with one special stitch technique to learn upfront — once you have the modified treble crochet, the rest of the pattern repeats cleanly. Estimated time: 8–14 hours depending on yarn weight and top size.
The Special Stitch
This top uses a modified treble crochet that sits tighter and more upright than a standard treble. Work it like this: yarn over twice, insert your hook into the stitch, pull up a loop, then pull that same loop directly through the first loop on your hook. Yarn over and pull through two loops, then yarn over and pull through the remaining two loops. It behaves like a treble but with a slightly different lean — closer to a herringbone texture. Every stitch in this pattern uses this technique, so spend a few minutes practicing it on a small swatch before you start.
The Pattern
Step 1: Back Panel
Foundation chain:
- Make a slip knot and chain in multiples of 15 plus 12 until the chain measures approximately 14 inches — this is the shoulder-to-shoulder width of the top.
Reading crochet patterns can be tricky when you're just starting out, feel free to follow the video tutorial below instead!
Row 1 — Mesh boxes:
- Yarn over twice and work the special treble crochet into the third stitch from the hook.
- Chain 2, yarn over twice, skip the next 2 stitches, and place a special treble crochet into the third stitch.
- Repeat this chain-2 and special treble crochet sequence across the entire row.
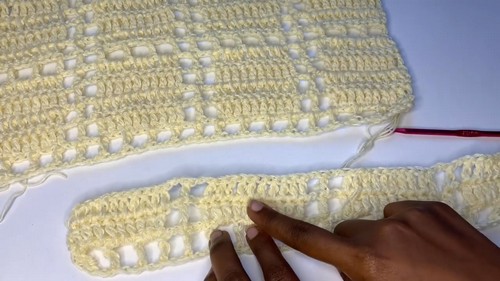
Rows 2 and 3 — Cluster rows:
- Chain 2 and turn. The turning chain does not count as a stitch.
- Place 1 treble crochet into the first stitch, then 2 treble crochets into the next chain-2 space.
- Continue working clusters of 10 treble crochets — worked across 10 stitches — across the row.
- After each group of 10, chain 2, skip the chain-2 space below, and begin the next cluster of 10 on top of the previous stitches.
- Finish the row with 1 final treble crochet in the last stitch.
Rows 4 and 5:
- Repeat Rows 2 and 3 so that each block section is 4 rows tall.
Continuing the pattern:
- For Row 6, repeat Row 1 to create the mesh box row again.
- Continue repeating the full sequence — mesh row, then 4 cluster rows — until the back panel reaches your desired length.
- Work until you have a total of 20 rows, which gives you a panel approximately 14 inches long and 14 inches wide.
- Fasten off.
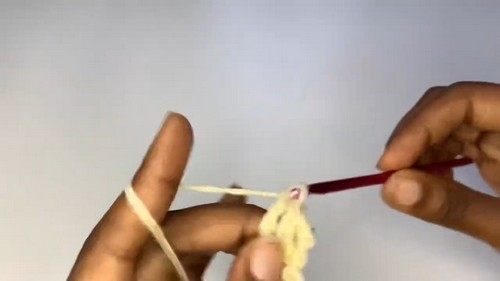
Step 2: Front Panel (with Neckline Shaping)
- Follow the exact same pattern as the back panel through Row 17.
- At this point the front panel measures roughly 11 inches long and the neckline shaping begins.
Row 18 — Neckline decrease, right side:
- Attach yarn, chain 2, and work the normal 10-stitch treble crochet cluster pattern across to the neckline edge.
- At the decrease point, work the next two treble crochets together as one: work the first into the front loop, the second into the back loop of the following stitch, then pull through both loops to join them.
- Complete the row.
Row 19:
- Chain 2 and turn.
- Decrease the first two stitches together.
- Skip the chain-2 space and work directly into the next stitch with a treble crochet, then continue normally to the end of the row.
Row 20 — Final shaping row:
- Work normally across until 2 stitches remain at the neckline edge.
- Treble crochet the last two stitches together to complete the shaping.
- Fasten off.
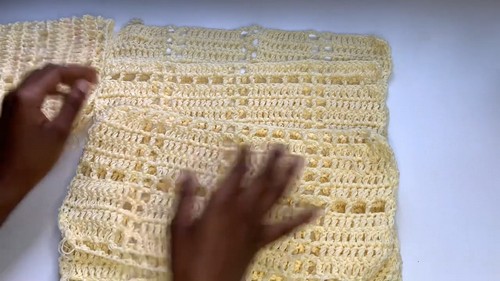
Left neckline side:
- Repeat the same three-row shaping process on the other side of the front panel to mirror the neckline.
Step 3: Joining the Shoulder Seams
- Place the front and back panels together with right sides facing each other.
- Align the outer 10-stitch sections at each shoulder.
- Using a darning needle or crochet hook, sew or slip stitch the front and back panels together at the shoulder sections only — leave the neckline open between them.
Step 4: Joining the Side Seams
- Turn the joined body piece inside out so the wrong side faces outward.
- Align the side edges carefully — match Row 1 to Row 1, and keep the block rows lining up with each other as you go.
- Stitch up from the bottom hem on each side, leaving a 7-inch opening unstitched at the top of each side seam. These openings become the armholes.
Step 5: Sleeves
Making the sleeve panels:
- Make two identical rectangular panels, each starting with the same chain width used for the body (approximately 14 inches) and worked for 10 rows — approximately 7 inches long — using the same block stitch pattern throughout.
Attaching the sleeves:
- Fold each sleeve panel in half so the short ends meet.
- Keep the main body inside out (wrong side facing outward).
- Keep each sleeve right-side out and insert it into the armhole opening from the inside, so the right sides of the sleeve and body are facing each other.
- Align the sleeve seam with the body's underarm seam.
- Whipstitch or sew all the way around the armhole opening to attach the sleeve.
- Repeat for the second sleeve.
Finishing:
- Weave in all loose ends.
- Turn the top right-side out.
Tips
- Work a swatch with the special treble crochet before starting your panels. It behaves differently from a standard treble and your tension. It will shift slightly until you get comfortable with it. That swatch also helps you confirm your chain width will hit 14 inches before you commit to the full foundation chain.
- When joining the side seams, use stitch markers to pin the armhole boundary on both sides before you sew. Seaming past your marker by even a stitch or two will make the armhole too small for the sleeve to sit neatly.
- The neckline shaping rows move quickly — only 3 rows per side — but they require you to be working in the right section of the panel. Mark the neckline center with a stitch marker at the end of Row 17 so you know exactly where to split the work.
Yarn Substitution
A smooth cotton or cotton-blend yarn is the natural fit here because it lets the block stitch texture read clearly and it breathes well in warm weather. A linen-cotton blend adds a slightly crisper drape. If you want a softer hand, a bamboo-blend yarn works beautifully and still has the sheen that makes the stitch pattern pop. Avoid anything fuzzy or highly textured — hairy or bouclé yarns will swallow the mesh row detail and muddy the overall look of the top.
FAQ
- Do I need to know how to set in a sleeve before starting this? Not at all — the sleeve attachment here is straightforward because both the body and sleeve panels are flat rectangles. There is no curved armhole to navigate. As long as you match your seams and sew all the way around the opening, it will sit neatly.
- Can I adjust the length of the top? Yes, easily. Continue repeating the block stitch sequence past 20 rows for a longer body, or stop a few rows earlier for a cropped version. The same applies to the sleeves — work more rows for a longer sleeve or stop at 5 rows for a cap-sleeve look.
- What if my panels are slightly different sizes after blocking? Wet block both panels before seaming. Pin them flat to the same dimensions and let them dry fully. Cotton yarn is especially responsive to wet blocking and will even out any small tension differences between panels.
- The mesh row looks looser than the cluster rows. Is that normal? Yes — that open-mesh row is intentional and is part of what creates the block pattern contrast. If it looks significantly looser than expected, try going down half a hook size for the mesh rows only, or consciously work a slightly tighter tension on those rows.
Leave a Reply