
If you've been eyeing crocheted tops but felt like garments were out of reach, this halter is a friendly place to start. Most of it is built from stitches you already know — or will know by the end of this post — and it comes together in satisfying, visible chunks: two little triangle cups, a couple of bands, and some ties. I'll walk you through every technique Crochet Halter Top uses before you pick up your hook, so nothing in the pattern feels like a surprise.
Crochet Halter Top

A note of honesty, beginner to beginner: the cups, the bands, and the ties are genuinely simple. The back detail is the one ambitious stretch — so if you're brand new, give yourself permission to slow down there, and know that the rest is smooth sailing.
Materials & Tools
- Medium-weight yarn — a cotton or cotton blend is lovely here for summer.
- 4.0 mm crochet hook — this is intentionally a touch smaller than the "usual" hook for medium yarn. The tighter fabric it makes is exactly what you want in a top: more coverage, less stretch, better shape.
- Stitch markers
- Scissors
- Yarn needle for weaving in ends
How Hard Is This, Really?
Advanced beginner, and a true weekend project if the stitches are familiar. The bulk of the top is beginner-level; budget a little extra patience for the back shaping, which is the most involved part. If you can chain, single crochet, and half double crochet, you're ready — and I'll cover the rest below.
Beginner Technique Notes (Read This First)
Here's every technique the pattern leans on, in plain terms:
- Slip knot & chain (ch): The slip knot is your very first loop on the hook; chains are the little "V" stitches you make by pulling yarn through that loop again and again. They form your starting foundation.
- "Second chain from the hook": When a pattern says to work into the second chain from the hook, you skip the one chain closest to the hook and put your first stitch into the next one. That skipped chain just gives your stitch height.
- Single crochet (SC): Insert hook, yarn over, pull up a loop (2 loops on hook), yarn over, pull through both. Short and sturdy.
- Half double crochet (HDC): Yarn over first, then insert hook, yarn over, pull up a loop (3 loops on hook), yarn over, pull through all 3. A little taller than a single crochet.
- Double crochet (DC): Yarn over, insert hook, pull up a loop (3 loops), yarn over and pull through 2, yarn over and pull through the last 2. Taller again — this is what builds the airy bands.
The "fan":
Whenever the pattern says to make a fan, you're working 2 HDC, chain 1, then 2 HDC — all into the same stitch or space. It's really an increase, and stacking a fan in the same spot row after row is what shapes each triangle cup to a point.
- Working into "the other side of the chain": Your starting chain has two sides — a front and a row of little bumps along the back. When the pattern has you work down one side and then "across the other side," you're rotating the work and stitching into those back bumps so the piece grows symmetrically from a center line.
- Working into a chain space: When you skip stitches and chain over the gap, that gap is a "chain space." Later you'll stitch into the hole, not into individual chains.
- Mesh stitch: The open, net-like rows (chain, skip a stitch, double crochet, repeat) that give the band its stretch and breeziness. The single-crochet row that follows fills it back in.
- Chaining to a measurement: For the ties, you'll just keep chaining and lay a tape measure alongside until you hit the length — no stitch count to memorize. Pop a stitch marker every 25 or 50 chains so you don't lose your place.
The Pattern

Creating the Cups
- Make a slip knot and chain 20. Yarn over, skip the first chain, and make a half double crochet in the second chain. Continue HDC in each chain to the end.
- In the last chain, make a fan: 2 HDC, chain 1, 2 HDC. Then HDC across the other side of the foundation chain.
- Chain 1 and turn. HDC across the row. In the chain-1 space, make a fan: 2 HDC, chain 1, 2 HDC.
- Repeat these rows, always adding a fan in the chain-1 space, for a total of 10 rows.
Make two identical cups.
Joining the Cups

Chain 1. Single crochet across the first cup until 3 stitches before the fan. Chain 4. Align the second cup and single crochet into the 4th stitch after its fan. Single crochet across the second cup. Cut the yarn.
Creating the Neck Strap
- Attach your yarn at the top of the first cup. Chain 21. Attach to the cup with a single crochet, then single crochet across the top of the cup.
- In the fan space: single crochet, chain 3, then single crochet into the second cup's fan space. Single crochet across the second cup. Chain 22 for the other side.
Creating the Bottom Band
- Single crochet in each of the 22 chains. Single crochet across the bottom edge of the cups. Single crochet in each of the 3 chain spaces. Single crochet across the other side and the 21 chains.

Mesh row: Chain 3 (counts as a DC), then chain 1, skip a stitch, DC — repeat across the row. Chain 1 and turn.
Fill row: Single crochet in each stitch and chain-1 space across.
Repeat this mesh + single crochet combo as many times as you like for the band depth you want.
Creating the Back Detail
Mark the 4th space on both sides.
Single crochet to the first marker. Chain 8, skip to the second marker, and single crochet. Single crochet to the end. Chain 1 and turn.
Single crochet across, making 8 SC in the chain-8 space. Single crochet to the end.
Back band: Chain 3 (counts as a DC), DC ×3. Chain 2, skip 2, DC ×4. Repeat across.
Next row: Chain 3, DC in the next 3. 2 DC in the chain-2 space. Repeat.
Next row: Chain 6, single crochet — repeat. Do this twice.
- Mirror this on the other side.
- Then single crochet in every stitch in the following rows, making 7 SC in each chain-6 space. Continue single crochet rows to your desired length, then single crochet down the side (1 SC per row).
Creating the Back Straps
- Chain until it measures 1.30 meters. Single crochet down the chain. Attach to the other side and repeat.
Creating the Neck Tie
- Chain until it measures 1.10 meters. Single crochet down the chain and attach.

Finishing Touches
- Weave in all yarn ends. Thread the ties through the back loops, and tie the neck strap to finish the look.
- Final dimensions should be approximately 61 cm wide and 7 cm tall.
Tips & Troubleshooting
- Make both cups before you join anything. It's easy to lose your place mid-project; finishing two matching triangles first gives you a clear, motivating checkpoint.
- Count your fan rows out loud. Since every cup row adds a fan in the same spot, miscounting is the easiest way to end up with mismatched cups. Ten rows, each with one fan — say it as you go.
- Use markers on the long ties. A 1.3-meter chain is a lot of stitches to eyeball. Drop a marker every 50 chains so you can measure and re-find your spot without recounting from the start.
- Take the back slowly. It's the trickiest section, so read each row fully before working it, and keep your markers in those 4th spaces. If a row looks wrong, it's far easier to undo one row than five.
- Block it at the end. A gentle wet block evens out the mesh and helps the whole top hang and sit the way it should.
Yarn Substitution
A medium-weight cotton or cotton blend is the most beginner-friendly and the most comfortable for a summer top — it breathes, holds its shape, and shows your stitches clearly so mistakes are easy to spot. A smooth, light-colored yarn is genuinely easier to learn on than a dark or fuzzy one, where the stitches hide. Avoid very drapey or slippery yarns for your first attempt; they make the mesh rows harder to keep even.
Customization Ideas
- Adjust the band depth by repeating the mesh + single crochet combo more or fewer times.
- Lengthen or shorten the ties to suit how high you like the halter to sit and how much wrap you want at the back.
- Add an edging — a simple picot or shell round along the cups gives a pretty finish.
- Layer the look over a bralette or bandeau if you'd like more coverage.
FAQ (Beginner Questions)
1. I'm a beginner — can I honestly finish this in a weekend? For most of it, yes. The cups, bands, and ties work up quickly once the stitches click. Give yourself a little grace on the back detail, which is the one section that takes extra concentration. Plenty of beginners finish over two relaxed days.
2. What does "make a fan" mean? A fan is 2 half double crochets, a chain 1, and 2 more half double crochets, all worked into the same spot. It acts as an increase, and repeating it in the same chain-1 space each row is what gives each cup its triangle shape.
3. How do I work into "the other side of the chain"? Your starting chain has a front and a back. After you stitch down one side, you rotate the piece and work into the row of little bumps along the underside of that same chain. It feels odd the first time, but it lets the cup grow evenly from its center.
4. How do I size this for my body, or change the cup size? The band is worked to length (and the mesh rows repeat "as desired"), so you can measure it against your underbust as you go. For larger or smaller cups, you can start with more or fewer foundation chains and adjust the number of cup rows — just keep both cups identical. Since the pattern is written as a single size, measuring against yourself is your best guide.
5. The straps are 1.3 and 1.1 meters — is that really right? Yes — those long chains are the wrap-and-tie straps, so they're meant to be generous. Hold the chain against your body as you make it and stop when the length suits how you want to tie it. Markers every 50 chains keep the count manageable.
You've got this — make the two cups first, take the back nice and slow, and you'll have a top you'll genuinely want to wear.
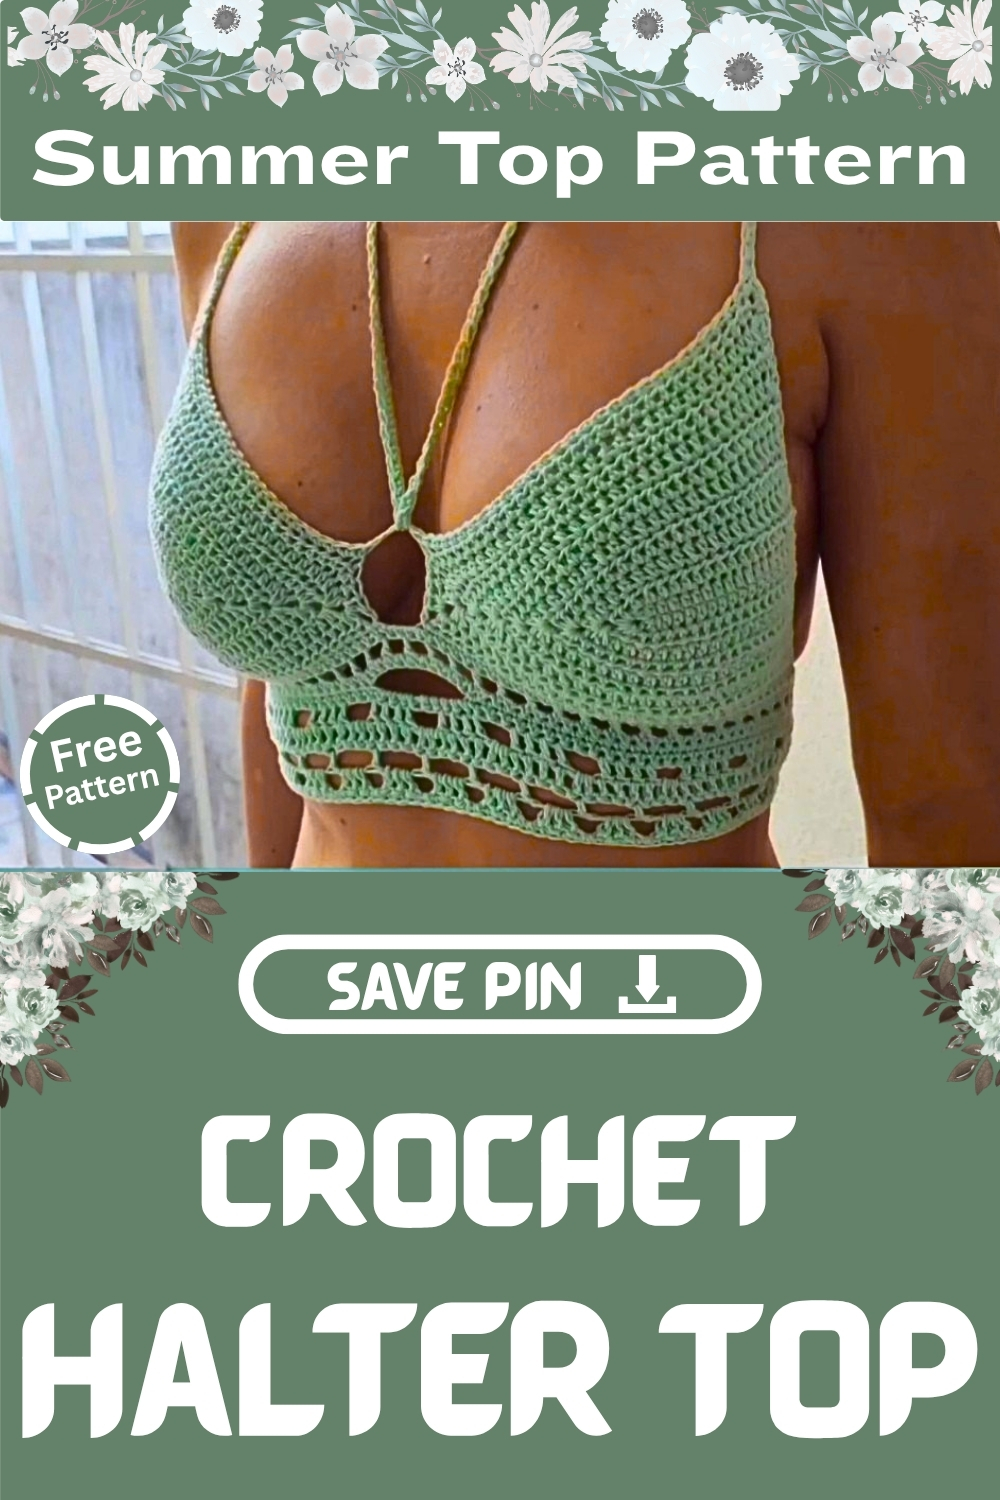
The pattern includes clear instructions and adjustable strap options, making it easy to tailor the fit to your body. Featuring elegant fan stitch detailing, this top delivers the perfect mix of comfort, versatility, and eye-catching style.


Leave a Reply