
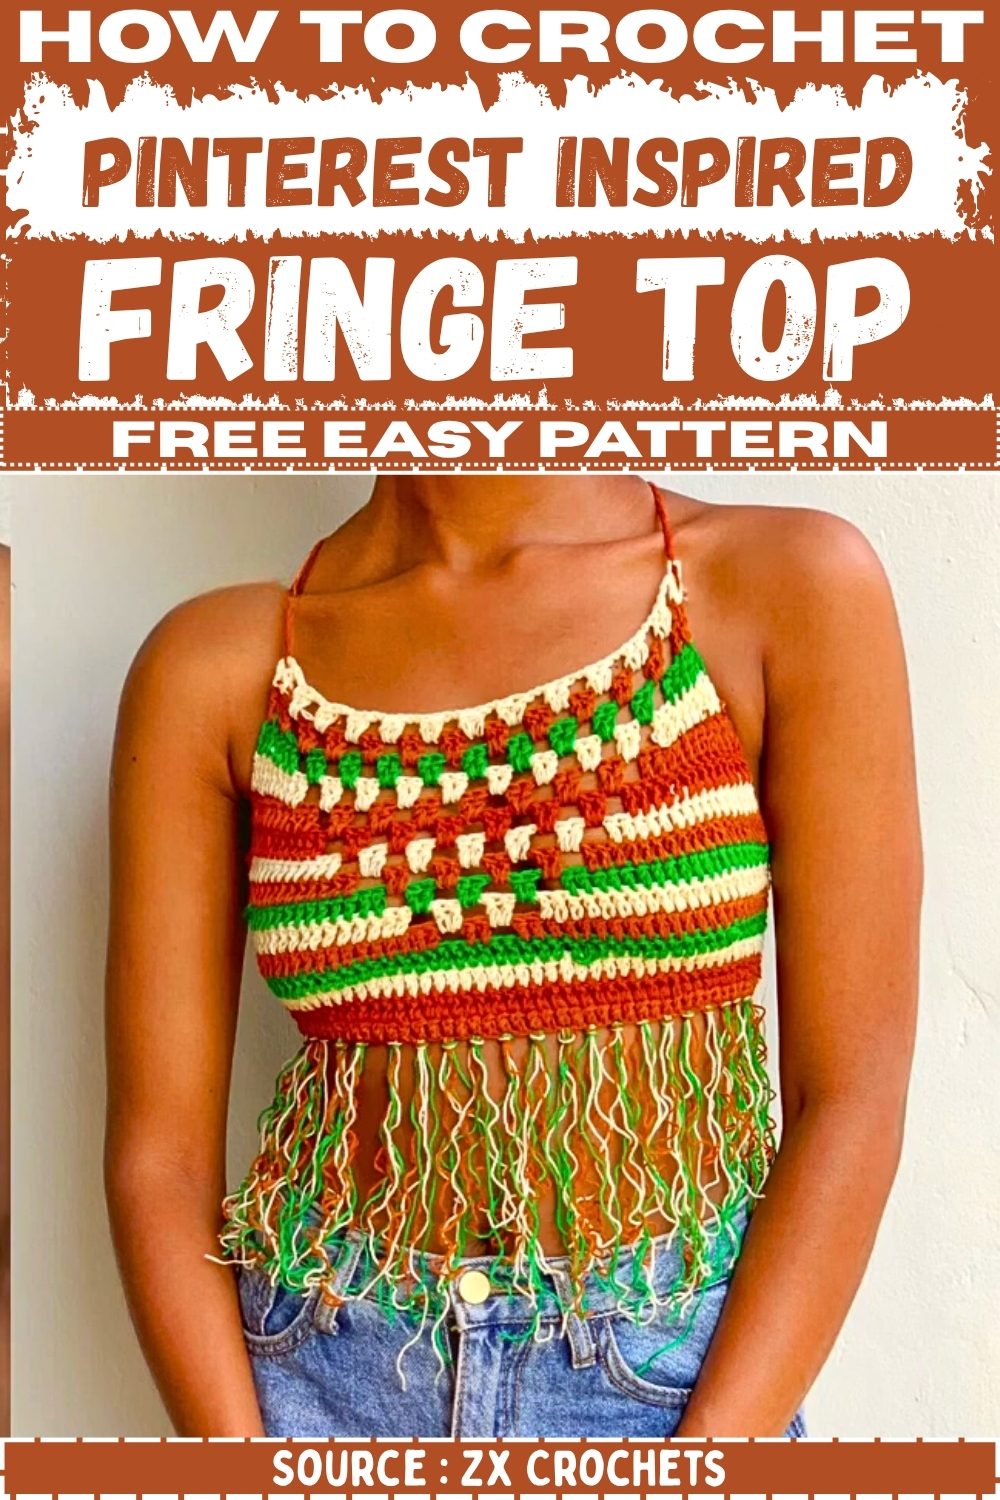
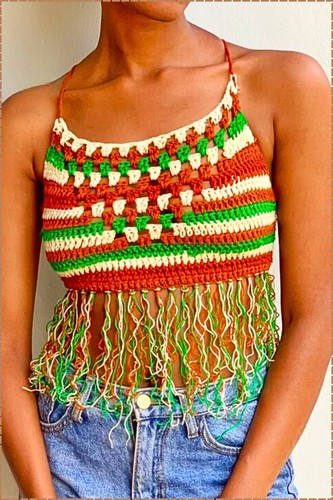
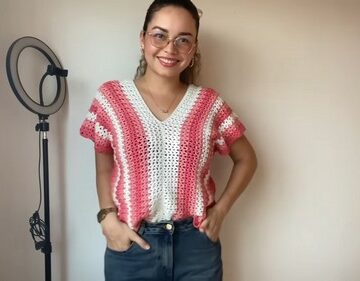
Movement, texture, and a whole lot of personality and this crochet fringe top is the statement piece your summer wardrobe has been waiting for. The swishy fringe detail catches the light with every step, making it perfect for festivals, beach days, or a night out with high-waisted denim. A DIY fringe top like this looks far more complicated than it is, and the fringe itself is the fun part to work up. Ready to make the top everyone asks about? Free pattern, right this way.
If you have ever scrolled Pinterest and stopped on one of those boho crochet tops that looks like it belongs at a festival, this is the pattern that makes that happen. The combination of stripe rows, granny stitch sections, and long multicolor fringe gives it that layered handmade look that is genuinely hard to replicate with anything store bought.
Crochet Fringe Top
Materials
- Medium-weight yarn in 2 or more colors of your choice
- Appropriately sized crochet hook for your yarn weight
- Scissors
- Yarn needle for weaving in ends
- Measuring tape
Sizing
The top is sized using a simple formula rather than a fixed stitch count.
- Foundation chain length = half your bust measurement plus 3 or more inches for ease
- Finished width at the bottom edge is wider than the top due to the side decreases worked through the upper rows
- Total rows worked is approximately 15
Use a measuring tape as you work and try the piece against your body at each phase to confirm fit.
Technique Notes
Double crochet turning chain: Each row starts with a chain-3, which counts as your first double crochet. Skip the stitch directly below it and begin working into the second stitch. At the end of the row, always place a double crochet into the top of the turning chain from the row below — this is an easy stitch to miss and skipping it will cause your edges to pull in over time.
Double crochet two together (dc2tog): Insert your hook into the next stitch, yarn over, pull up a loop (3 loops on hook), yarn over and pull through 2 loops only. Then insert your hook into the following stitch, repeat the same steps, and on your final pull-through draw the yarn through all 3 remaining loops at once. This reduces 2 stitches down to 1 and is how the top narrows toward the shoulders.
Cutting yarn between rows: This pattern uses a cut-and-attach method for color changes rather than carrying yarn up the side. Cut at the end of each color section, weave in the tail, and join your new color at the start of the next row with a slip knot. Keep your tails at least 6 inches long so they are easy to weave in securely without pulling loose.
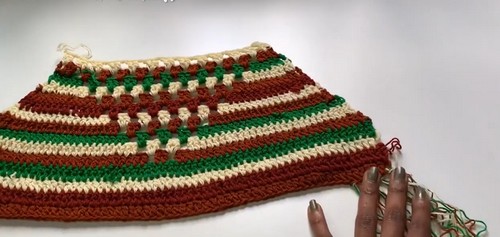
Center mesh section: In the upper rows, a small chain-2 and 2-double-crochet repeat creates an open mesh detail across the center of the top. Work into the chain-2 spaces on following rows, not into the chains themselves. This detail is what gives the top that Pinterest-ready look — take your time on those center rows and the rest of the decreasing rows will feel straightforward.
The Pattern
Phase 1: Foundation and Initial Rows
Row 1:
- Make your foundation chain using the sizing formula above.
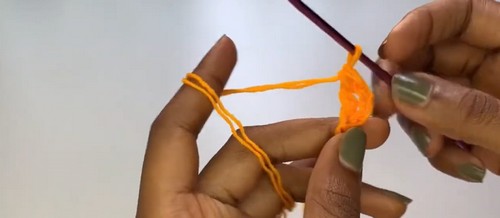
- Count four stitches from the hook, then work a double crochet into that fourth stitch. The skipped chain-3 counts as your first double crochet.
- Continue working one double crochet into every stitch across the row.
- Cut the yarn at the end of Row 1.
Rows 2 through 4:
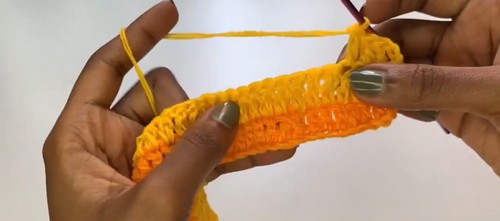
- Attach your next color with a slip knot.
- Chain 3 (counts as first double crochet) and turn.
- Skip the first stitch directly below the chain-3, then double crochet into every stitch across.
- At the end of the row, place a double crochet into the top of the turning chain.
- Switch colors between rows as preferred and repeat this structure for Rows 3 and 4.
Just starting out with crochet? The video tutorial below is a great place to begin, or challenge yourself with the written pattern below!
Phase 2: Shaping and Center Mesh Design
Row 5 (first decrease row and center detail):
- Chain 3 and turn.
- Work a double crochet into the second stitch from the hook, then decrease the third and fourth stitches together using dc2tog. This narrows the right edge.
- Double crochet across until you reach the center of the row.
- At the center, work the mesh detail: chain 2, skip 2 stitches, work 2 double crochets. Repeat this once more — chain 2, skip 2 stitches, work 2 double crochets.
- Continue double crocheting toward the left edge until 3 stitches remain.
- Work a dc2tog over the next 2 stitches, then place 1 final double crochet in the last stitch. This narrows the left edge.
Row 6 and all following rows:
- Chain 3 and turn.
- Work the same side-edge decreases at the beginning of the row — double crochet into the next stitch, then dc2tog over the following two stitches.
- Double crochet across until you reach the center mesh section and work through the chain-2 spaces in the same chain-2 and 2-double-crochet pattern to maintain the mesh detail.
- Mirror the decreases at the end — dc2tog, then 1 final double crochet in the last stitch.
- Continue working these decrease rows until all 15 rows are complete and the top edge has narrowed to your desired shoulder width with no more decreases needed.
Phase 3: Fringe and Straps
Fringe:
- Cut yarn strands no longer than 6 inches in your color or colors of choice.
- Working along the bottom edge, fold each strand in half, push the folded loop up through a stitch from back to front, then pull the two tails through the loop and tug snug.
- Attach fringe every other stitch along the full bottom edge, skipping a stitch between each one.
- Trim the ends evenly once all fringe is attached.
Straps:
- Attach yarn to the top-right corner of the upper panel.
- Chain a long length of stitches — long enough to wrap around and tie comfortably behind your back. Try it against your body as you chain to get the right length.
- Fasten off and repeat on the top-left corner.
- Weave in all remaining ends.
Yarn Substitution
Any smooth medium-weight yarn works here. Cotton gives a crisp, cool result well-suited to a summer top, while an acrylic-cotton blend will be slightly softer and more forgiving on tension. Avoid very fuzzy or textured yarns — the fringe and the center mesh detail both need a smooth yarn to read clearly. If you want the color changes to feel bold and graphic, choose colors with strong contrast. Tonal or analogous combinations make for a softer, more blended look.
FAQ
How do I know when I have chained enough for the foundation? Lay the chain flat and measure it against a measuring tape. It should equal half your bust measurement plus at least 3 inches of ease. A chain that measures right at half your bust with no ease will produce a top that feels snug — add more ease if you prefer a looser fit.
What if my top is pulling in at the edges? The most likely cause is missing the turning chain stitch at the end of each row. Go back and check that you are placing a double crochet into the top of the chain-3 at the end of every row, not stopping at the stitch before it.
Can I make this longer? Yes — simply work more rows before you begin the decreases in Phase 2. Adding extra non-decreasing rows between the foundation phase and the shaping phase will increase the overall length of the top without changing the width or the shoulder shaping.
Leave a Reply