
The first time I made one of these was the week before a long beach trip, the kind where you know you'll be squinting into the glare by ten in the morning and regretting it by noon. I wanted something that looked like a proper baseball cap but breathed like a summer make, and a cotton-linen flat yarn turned out to be exactly right: crisp enough to hold a structured brim, light enough that you forget you're wearing it. By the time we left, I'd made three: one for me, two as little going-away gifts and every single one came home sun-faded at the edges and well loved.
Crochet Baseball Cap
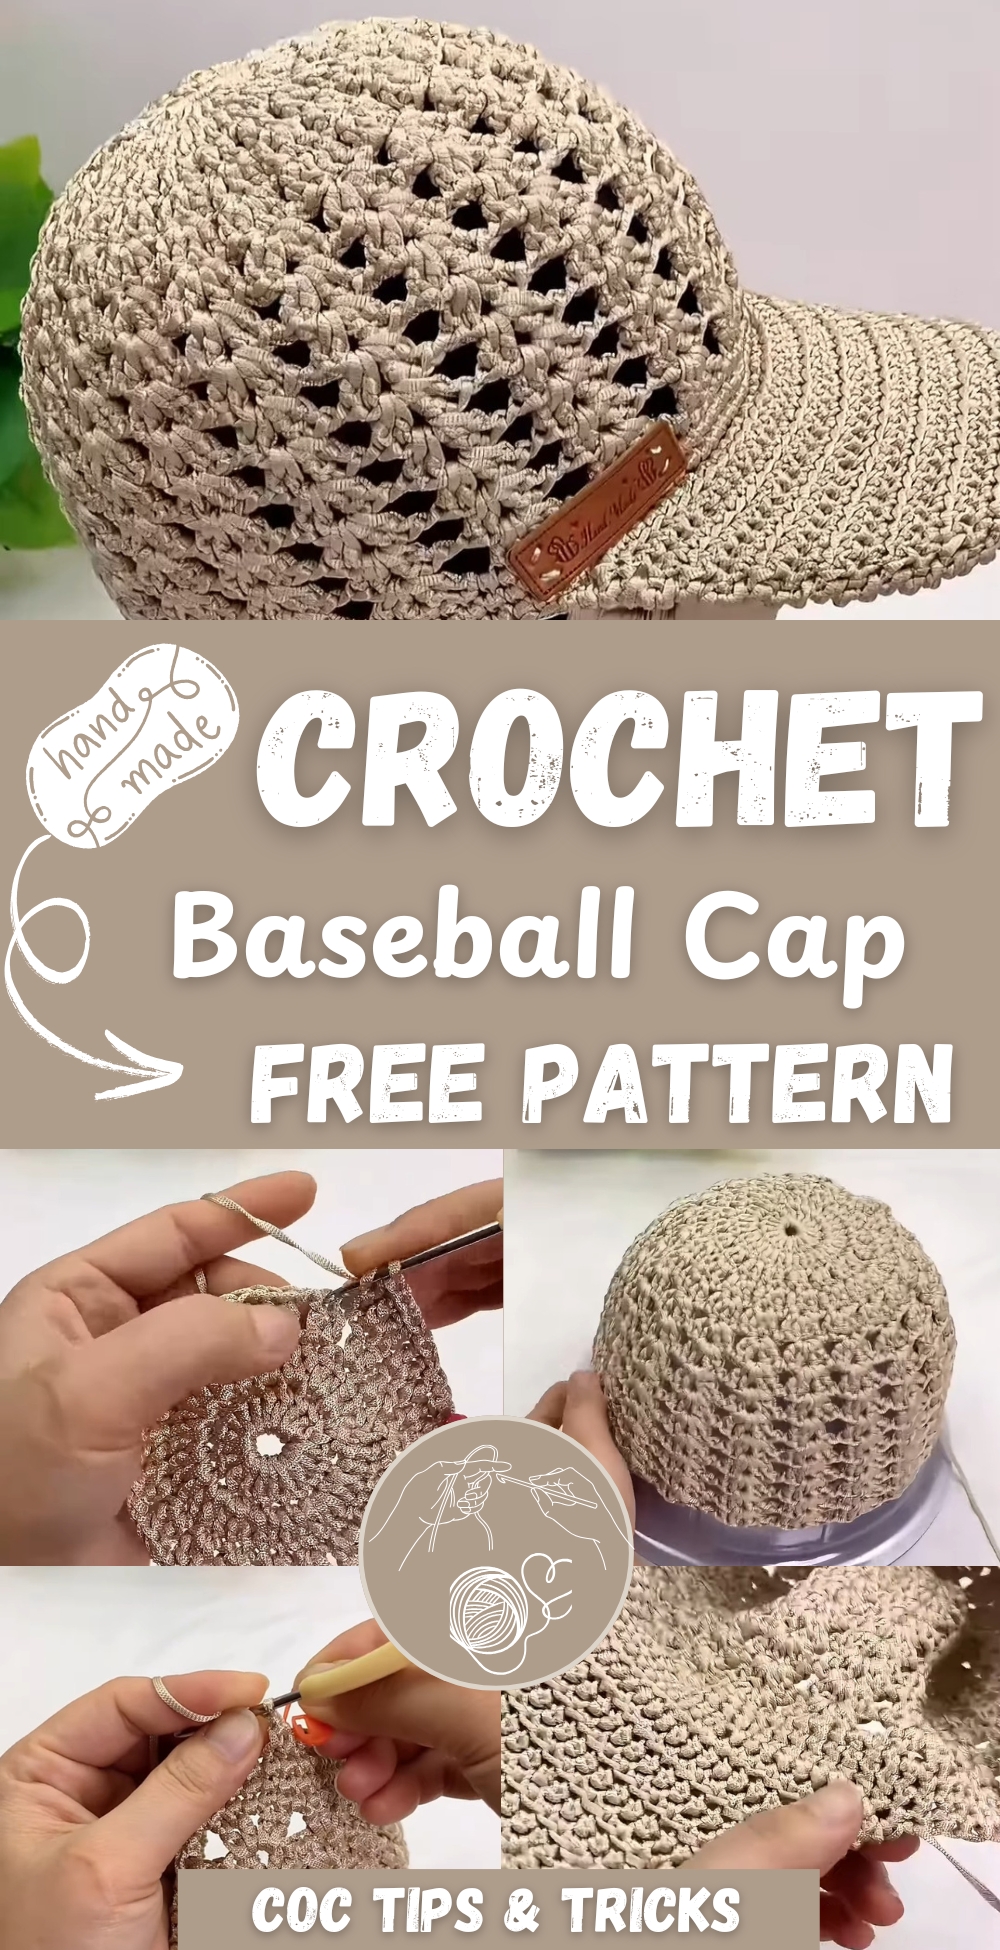
Why I love this one: it's that rare crochet hat that reads as modern rather than homemade — a real cap silhouette with a shaped bill, not a slouchy beanie pretending to be summer.
Materials & Tools
- Yarn — cotton linen flat yarn. It breathes beautifully and has the body to hold a structured brim.
- Crochet hook — 4 mm (double-ended).
- Leather tag — for a clean, finished label on the front.
- Stitch markers
- Sewing needle
- A visor — for shaping/supporting the brim.
Difficulty & Time
Intermediate. None of the individual stitches are hard — it's double crochet, shells, and single crochet — but the cap earns the rating through its journey: a shaped crown, a shell-pattern body, decrease rounds, and a brim worked in two panels. Set aside a focused afternoon or two, and keep your stitch markers close.
A Few Notes on How It Comes Together
Because the construction moves through several distinct stages, it helps to know the map before you start:
- The crown is worked flat in the round for five rounds, increasing as you go so it lies smooth rather than cupping.
- The body switches to a shell pattern and is worked straight down until it's deep enough to sit on the head (measured from the center of the crown).
- A few rounds of single crochet with decreases draw the brim edge in for a snug fit.
- The brim is then built outward in two panels to form the structured bill.
Keep a marker in the first stitch of every round through the crown — the increase rounds are where counts drift, and a marker is the difference between a flat crown and a taco-shaped one.
The Pattern
Getting Started & Foundation
Prep your yarn: seal the yarn end to prevent fraying.
Slip knot & chain: Wrap the yarn around your pinky, guide it with your index finger, loop it once around your middle finger, pinch the crossing point, and pull the yarn through the loop. Chain 3 and place a stitch marker on the 3rd chain. The initial 3 chains count as one double crochet.
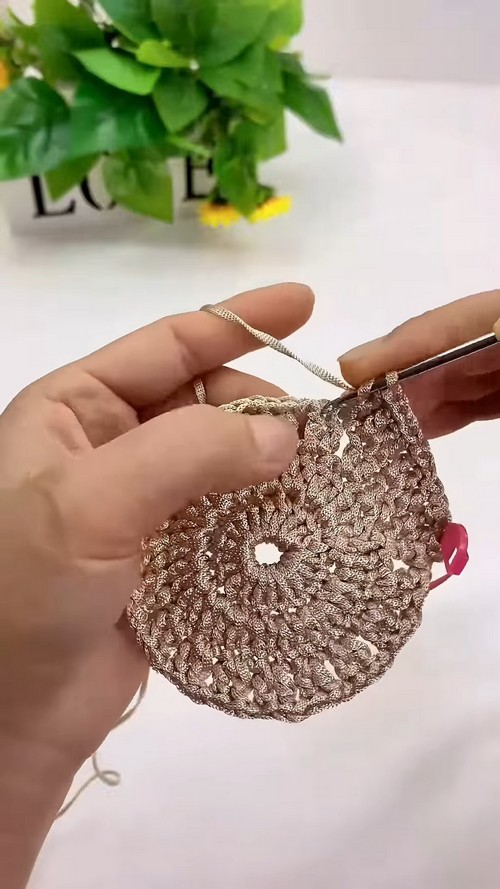
Foundation count by size (your Round 1 total):
- Kids: 18
- Adults: 19
- Larger head sizes: 20
Round 1 (Base)
Crochet 18 more double crochets into the loop, for a total of 19 stitches (adult size).
Round 2 (Increase)
Remove the stitch marker and slip stitch into the top chain. Chain 3 and place a stitch marker. Work two double crochets in each stitch around. Total: 38 stitches.
Round 3 (Pattern Introduction)
Slip stitch into the top of the previous round. Chain 3 and add a stitch marker. Work two double crochets in the same stitch, chain 1, skip 1 stitch, then two double crochets in the next stitch. Repeat this pattern around the entire round.
Round 4 (Increasing Groups)
Chain 3 and mark the first stitch. In the second stitch, make two double crochets, then chain 1 for spacing. In the next group, work 1 double crochet in the first stitch and 2 double crochets in the second. Repeat around.
Round 5 (Flower Group)
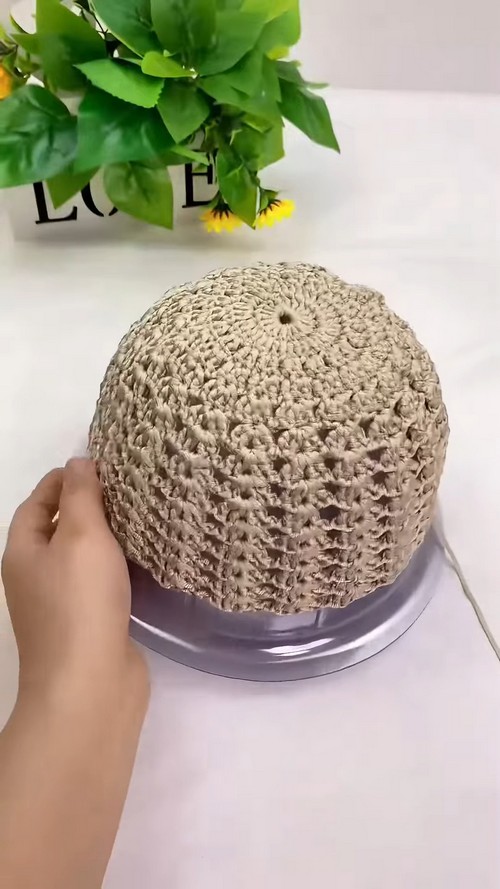
Slip stitch to start the round. Chain 3 and place a stitch marker. Work 4 double crochets in the same stitch, chain 1 between groups. Repeat around the entire crown. After five rounds, the crown is complete.
Round 6 (Main Shell Pattern)
Remove the stitch marker and make a slip stitch. Chain 3, work 1 double crochet in the same space, chain 1, then add two more double crochets in the same space. Repeat this shell pattern around.
Subsequent Body Rounds
Continue the shell pattern, making one shell in each shell space, until the hat body measures about 16 cm from the center.
Shaping the Edge (Single Crochet Rounds)
- Round 1 (single crochet with decrease): Start with one single crochet and mark the first stitch. For the first three shell groups, work six single crochets normally. For the fourth group, skip the first stitch to reduce one stitch. Repeat this decrease pattern around.
Subsequent rounds: Work one single crochet per stitch for the next two rounds — add a third round if needed.
Finishing the Hat Body (Invisible Join)
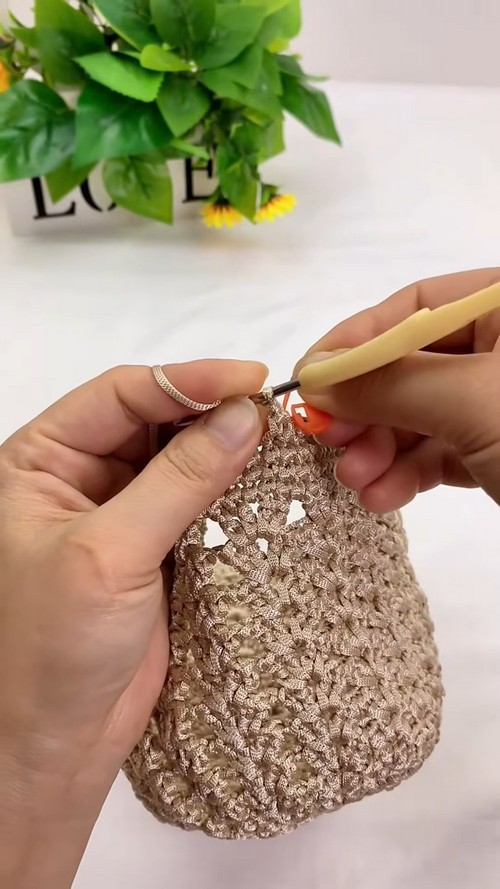
Pull out the working yarn and cut it. Remove the stitch marker and go into the second stitch to close the round. Hide the yarn tail inside the hat and trim any excess.
Crocheting the Brim
Mark the brim edges: Fold the hat in half and mark the center stitch. Count out 22 stitches on each side, plus the center stitch — 45 stitches total for the brim. Mark these edge stitches.
- Brim Row 1 (front loop only): Starting from the first marked stitch, work into the front loop only. Chain 1, then work 1 single crochet into each front loop across all 45 stitches.
- Brim Row 2 (decrease): Skip the first stitch and work from the second. At the end, skip the second-to-last stitch and mark the last stitch.
- Brim Row 3 (decrease): Skip the first stitch and work from the second. Adjust the end neatly and chain 1 to lift.
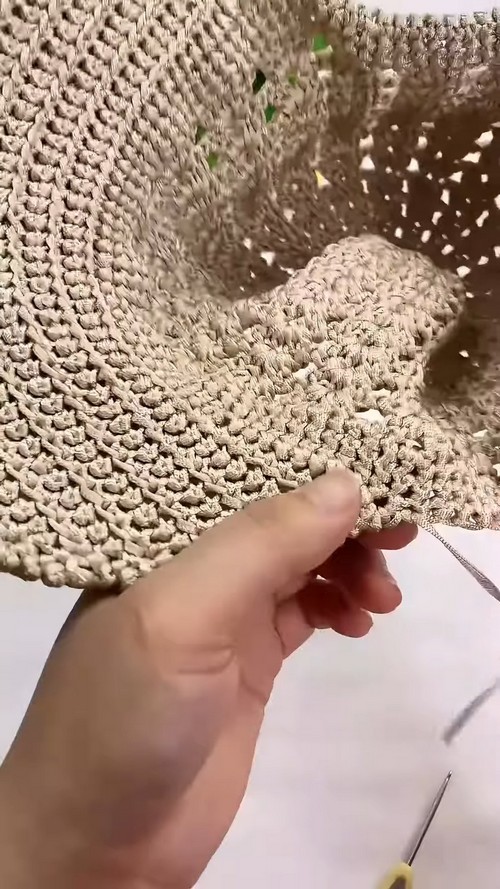
- Brim Row 4 (no decrease): Work straight across, one single crochet per stitch.
- Remaining rows: Continue for 15 rows, decreasing as needed. Finish with a slip stitch into the last stitch and fasten off.
Hide the tail: Tuck the yarn tail to the wrong side, trim it, and seal with a lighter.
Second brim panel: Repeat the same process for the second panel, starting from the remaining half loops.

Tips & Troubleshooting
- Watch the crown for cupping. Through Rounds 1–5 it should stay flat as a coaster. If it starts to dome too early, your increases are short; if it ruffles, you've added too many. Lay it down and check after each round.
- Measure the body from the center, not the edge. The 16 cm depth is what makes the cap actually fit, so measure straight across the crown's middle.
- Count the brim stitches twice before you commit. The 45-stitch span (22 + 1 + 22) sets the whole bill — getting it even on both sides keeps the cap from sitting crooked.
- Work the second brim panel into the leftover loops. Row 1 of the first panel used the front loops only; the back loops are waiting there for panel two. Pairing the panels is what gives the bill its firm double layer.
- Block the brim into a curve. Once both panels are done, shape the bill while damp and let it dry curved for that classic baseball-cap bend.
Yarn Substitution
Structure is everything for a cap, so reach for a yarn with backbone. Cotton linen flat yarns are the sweet spot — breathable for summer, crisp enough to hold the brim's shape. Raffia or paper yarns are excellent alternatives when you want an even stiffer, more sculptural bill. Steer clear of soft, drapey fibers like cotton-acrylic blends or anything with a lot of give; they'll make a lovely fabric but a floppy brim that won't hold its line.
Customization Ideas
- Lengthen or firm up the bill by adding brim rows, or sandwich a sew-in visor insert between the two panels for a true rigid baseball-cap curve.
- Add your leather tag to the front crown for a polished, store-bought look.
- Color-block the brim in a contrasting shade for a sportier feel.
- Swap in a stiffer fiber (raffia, paper yarn) if you want the whole hat to hold a more architectural shape.
FAQ
1. Will this actually shade my face, or is it too open? The crown and shell body are worked densely enough to block direct sun, and the structured two-panel brim is what does the real shading. If you want more coverage, extend the brim with extra rows, and choose a tighter, less drapey yarn so the bill holds its shape over the day.
2. How do I size it for a child versus an adult? The starting count sets the head size — 18 stitches for kids, 19 for adults, 20 for larger heads — and the body depth (worked to about 16 cm from the center) and the single-crochet decrease rounds dial in the fit. Measuring head circumference before you start is the surest way to land it.
3. How do I get the brim stiff enough to hold its shape? A good cotton-linen flat yarn already has decent body, and the two-panel construction doubles the brim for firmness. For a truly rigid bill, slip a visor insert between the panels or shape the damp brim into a curve and let it dry — and a stiffer yarn like raffia or paper yarn will hold its form even better.
4. Can I use a different yarn? Yes, as long as it has structure. Cotton, linen, cotton-linen blends, raffia, and paper yarns all work well for a summer cap. Avoid soft, stretchy, or very drapey yarns — they won't support the brim, and the whole hat will lose its crisp baseball-cap silhouette.


Leave a Reply