
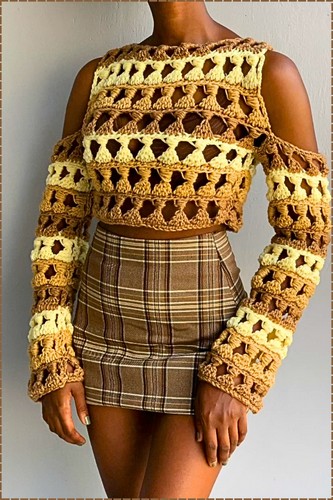
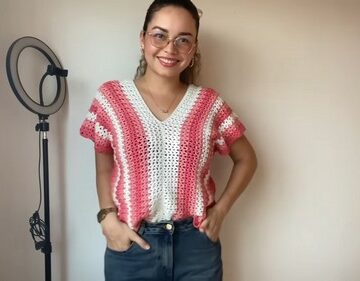
Add a little something extra to your summer wardrobe with this crochet cold shoulder top. The open shoulder cutouts give a simple silhouette an instantly elevated, flirty edge perfect with high-waisted jeans, a midi skirt, or over a swimsuit on vacation. This free cold shoulder top pattern uses easy stitches with sleeves that frame the shoulders beautifully, making it a fun step up if you've mastered basic crochet summer tops. Feeling inspired? The free pattern is right this way, so let's get hooking.
Cold shoulder tops have a way of making any outfit feel more intentional and when the fabric is crochet granny stitch in warm browns and golden yellow the whole thing takes on a vintage boho character that is hard to find anywhere on a store rack. The open shoulder cutouts paired with long full sleeves create a contrast that makes the silhouette genuinely interesting to look at.
Crochet Cold Shoulder Top
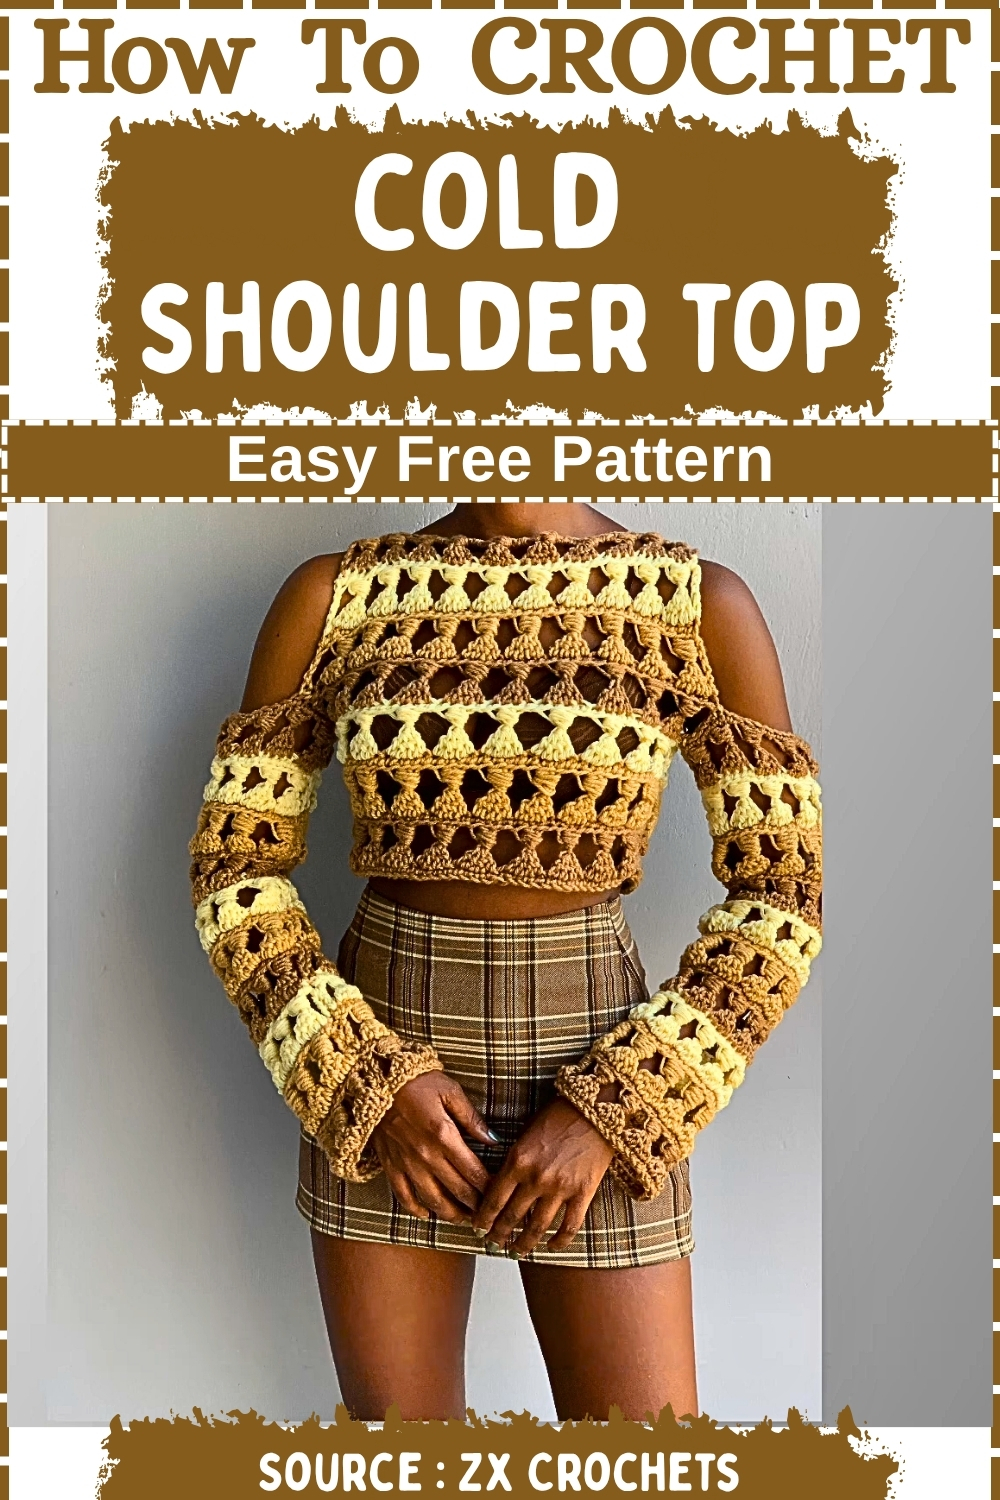
Quick Facts
Skill level: Intermediate (comfortable with multi-loop stitches and puff stitches) Construction: 4 flat panels seamed together — 2 body squares, 2 sleeves Key technique: Bead stitch (a combined cluster and puff stitch worked on alternating rows) Stitch multiple: Multiples of 4 plus 2 Yarn: Chunky weight Hook: 4.5 mm Estimated time: 10–16 hours depending on size and pace
Customization Ideas
Before you start, it is worth thinking through a few choices that will shape the whole project.
- Size: The body panels are sized by measuring your shoulder width. Measure yourself from left shoulder to right shoulder, then chain to match that measurement. The same principle applies to sleeve width — chain wider if you prefer a more relaxed sleeve.
- Length: The body panels in this pattern produce a top with a relaxed, slightly cropped fit. Add extra rows of the bead stitch and single crochet repeat to extend the length, or stop a couple of rows earlier for a shorter cropped version.
- Color blocking: Color changes happen at the start of every odd-numbered bead stitch row. You can use a different color on every bead row, alternate between just two colors, or work the entire top in a single color if you prefer the texture without the stripe detail.
- Sleeve length: The sleeves as written are long. Reduce the number of bead stitch rows to make a shorter sleeve, or eliminate the sleeve entirely and finish the armhole edges with a border row of single crochets for a sleeveless version.
Materials
- Chunky weight yarn (approximately 0.1 inches wide) in your chosen colors
- 4.5 mm crochet hook
- Darning needle for seaming and weaving in ends
- Tape measure
- Stitch markers (optional, helpful for marking armhole boundaries)
The Pattern
Part 1: Front and Back Panels (Make 2 identical panels)
Sizing:
- Each panel measures approximately 14 inches wide by 14 inches long.
- To size for your body, measure from your left shoulder to your right shoulder — that measurement determines your chain width.
Foundation chain:
- Chain in multiples of 4 plus 2.
- Your chain should measure approximately 15 inches, which will ease in slightly to your target width once you begin working.
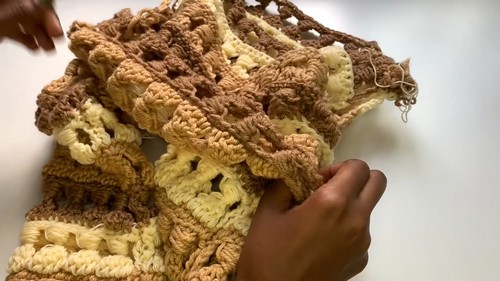
Foundation row:
- Skip the first chain from the hook.
- Single crochet in the back loop only of every chain across the row.
If you're still learning how to read crochet patterns, no stress! Follow the video tutorial below and use the written pattern below as you get more comfortable!
Row 1 — Bead stitch row (attach new color at the start):
- Chain 6 and turn.
- Yarn over twice, insert hook into the very first stitch below, pull up a loop (4 loops on hook). Yarn over and pull through 2 loops.
- Yarn over, insert hook into the next stitch in the back loop only, pull up a loop, yarn over, pull through 2 loops. Repeat for the 3rd and 4th stitches.
- When you have 6 loops on your hook, yarn over and pull through 4 loops, then yarn over and pull through 2 loops, then pull through the remaining 2 loops.
- Make a puff stitch around the post you just created: yarn over, insert hook around the post and pull up a loop. Repeat this 4 times total, then yarn over and pull through all loops on the hook.
- Chain 2.
- Repeat this full bead stitch sequence across the row, skipping 4 stitches per bead group, until 1 stitch remains.
- For the final stitch, do not chain 2. Instead, chain 1, yarn over twice, and work a treble crochet into the last stitch.
Row 2 — Single crochet row:
- Chain 1 and turn.
- Single crochet into the first stitch, then single crochet in the back loop only across every remaining stitch to the end of the row.
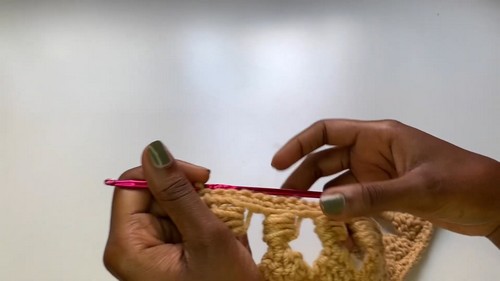
Continuing the pattern:
- Alternate between Row 1 and Row 2 throughout.
- Change to a new color at the start of each odd-numbered Row 1 (the bead stitch rows).
- Work a total of 7 bead stitch rows (14 rows including the single crochet rows) for each body panel.
- Make 2 identical panels.
Part 2: Sleeves (Make 2 identical sleeves)
Sizing:
- Each sleeve measures approximately 11 inches wide by 19 inches long.
- Chain in multiples of 4 plus 2 — chain wider than the body panels to achieve the wider sleeve width.
Construction:
- Work the exact same bead stitch and single crochet alternating row pattern as the body panels.
- Work a total of 10 bead stitch rows for each sleeve.
- Make 2 identical sleeves.
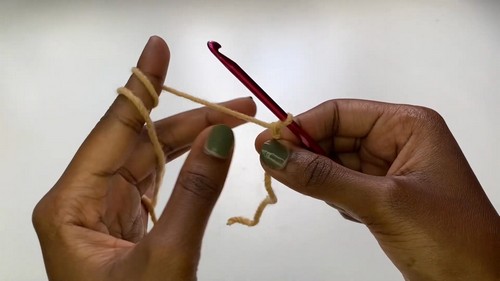
Part 3: Assembly
Important: Keep all pieces wrong-side out while seaming. When you turn everything right-side out at the end, the seams will be hidden on the inside.
Neckline seam:
- Lay the front and back panels together with wrong sides facing outward.
- Seam approximately 2.5 inches in from the left edge and 2.5 inches in from the right edge. Leave the center section open — this is the neck opening.
Side seams:
- With the panels still wrong-side out, seam the left and right sides of the body from the bottom upward.
- Seam approximately 7 inches up from the bottom on each side, then stop. The unstitched section at the top of each side becomes the armhole opening.
- As you seam, match your color change rows on both panels so the stripes align across the seam.
Attaching the sleeves:
- Fold each sleeve panel in half lengthwise with the wrong side facing outward and seam it closed along the long edge to form a tube.
- Turn the main body right-side out and then flip each sleeve so it is also right-side out.
- Insert each sleeve into the armhole opening, aligning the underarm seam of the sleeve with the side seam of the body.
- Sew around the armhole opening — approximately 3 inches up the front and back edges and the corresponding sleeve sides — to attach the sleeve securely.
- Repeat for the second sleeve.
Finishing:
- Turn the entire top inside out to access all seam allowances and loose ends.
- Weave in every end securely, then trim the excess.
- Turn the top right-side out to finish.
Tips
- Swatch the bead stitch before starting. The bead stitch is a multi-step combination of a cluster and a puff stitch. It feels unfamiliar at first but becomes intuitive quickly. One full repeat on a practice swatch is worth doing before you commit to the full panel — it also helps you confirm your stitch count and sizing before you chain your foundation.
- Match your color rows at the side seams. When you seam the side panels together, take a moment to align the bead stitch rows on both panels before you start sewing. Matching stripe rows across the seam makes the top look intentional and clean rather than slightly off.
- Use the wrong-side-out seaming method throughout. It is tempting to try to check your work as you seam, but keeping everything wrong-side out until the very end is what makes the finished seams invisible. Trust the process and resist flipping it right-side out until the final step.
Yarn Substitution
Chunky weight is the right call for this stitch pattern. The bead stitch has a lot of structure — loops, post wraps, puff stitches — and a thicker yarn is what makes all of that texture show up clearly and hold its shape after seaming. A smooth chunky cotton or cotton-acrylic blend is ideal for a cold-shoulder top worn in transitional weather. If you go down to a worsted weight, your panels will be smaller than the measurements given, so you will need to add extra rows and possibly extra chains to compensate. Avoid going up in weight beyond chunky — a super-bulky yarn will make the bead stitch too thick and dense to sit comfortably.
FAQ
- How do I know when my armhole opening is the right size? Measure the unstitched section at the top of each side seam after you have finished the body. It should be wide enough to accommodate your sleeve tube comfortably. If you find it is too tight once the sleeves are attached, you can carefully undo a few stitches at the top of the side seam to open the armhole slightly.
- Can I work this top in a single color? Absolutely. The color change happens at the start of each bead stitch row, so skipping the color change and continuing in one yarn is straightforward — just keep working without cutting. The bead stitch texture stands on its own without the colorblock detail.
- What if my front and back panels turn out slightly different sizes? Block both panels before seaming. Pin them flat to the same measurements (approximately 14 by 14 inches) and let them dry. Chunky yarn responds well to wet blocking and will even out tension differences between panels.
- How do I get the neckline to sit flat? The 2.5-inch seam on each shoulder is what creates the neck opening. If the neckline feels loose after seaming, work a single row of single crochets around the neck opening to stabilize the edge and pull it in slightly.
Leave a Reply