
This textured crochet vest pattern is designed for a soft, puffy yarn and works up quickly, making it an ideal project for both confident beginners and experienced crocheters. The raised stitch technique creates visible vertical lines that give the vest a modern, structured look while still remaining lightweight and comfortable.
Crochet Chunky Vest
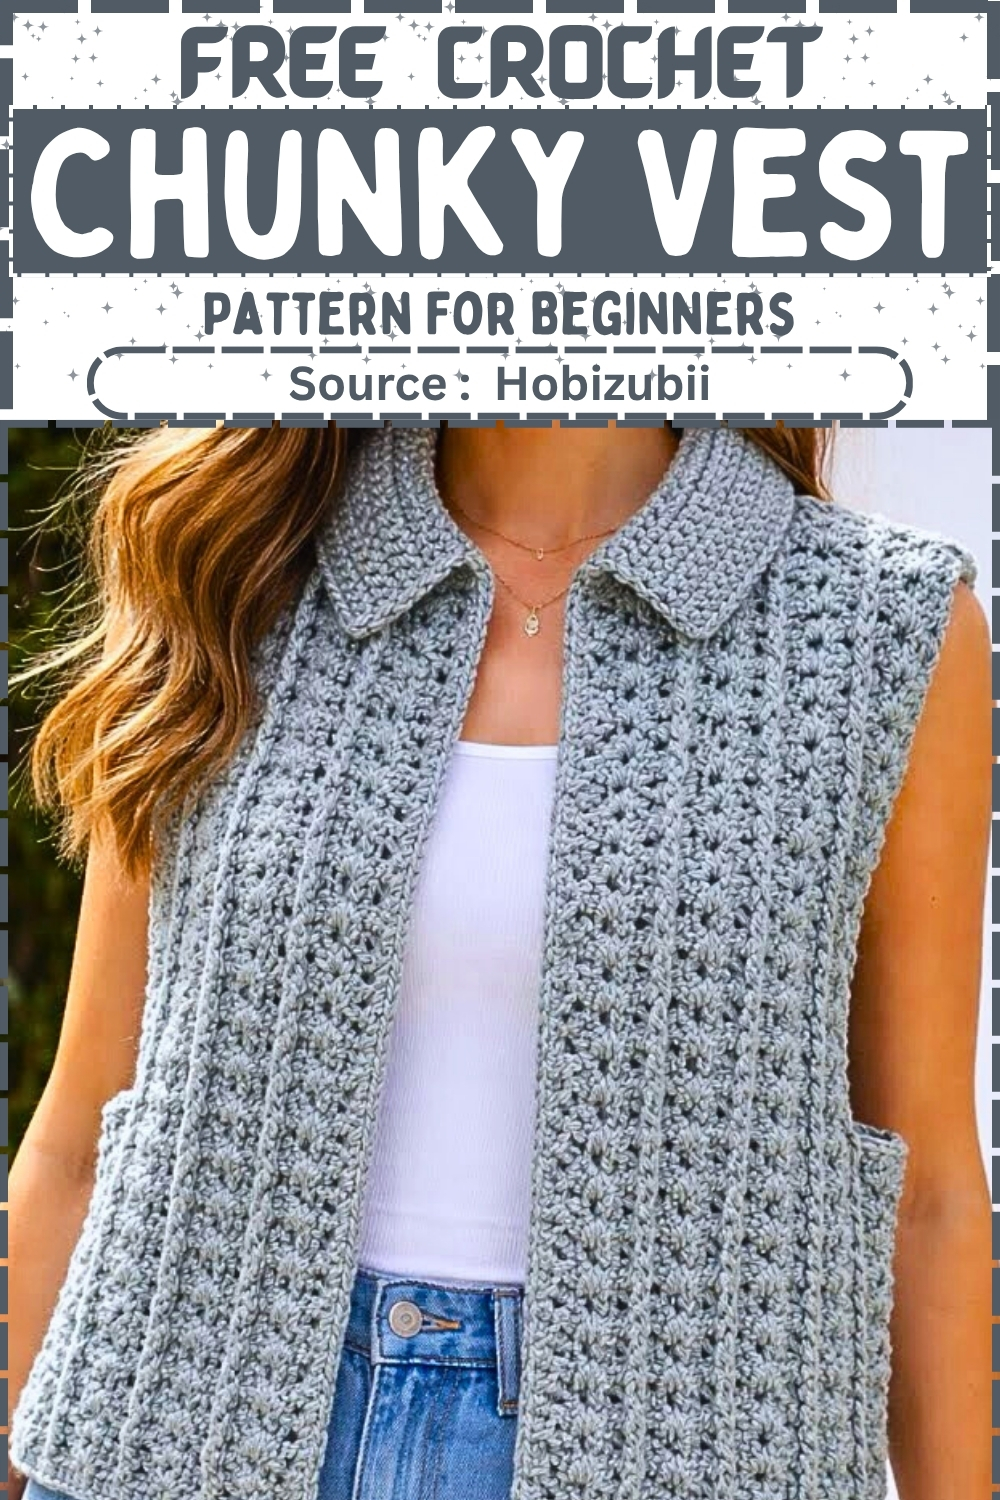
Written for a medium size, this crochet vest pattern can easily be adjusted by changing stitch counts and row numbers to suit your body measurements. It is perfect for layering over shirts, dresses, or long sleeves and can be customized with or without a collar depending on your style preference.
Materials
- Chunky, soft, puffy yarn suitable for a 7 mm crochet hook
- 7 mm crochet hook for the body
- 6 mm crochet hook for neckline and edging
- Scissors
- Tapestry needle
- Stitch markers
Finished Size
- Medium size
- Approximate width 48 cm
- Approximate length 50 cm
- Easily adjustable for other sizes
Stitch Notes
- The pattern uses a textured stitch created with raised double crochet
- Front post and back post techniques are used to form vertical lines
- The vest is worked in flat panels and sewn together
Back Panel Foundation
- Start with a foundation chain that equals 61 double crochet stitches
- Work a setup row using a modified single crochet for stability
- Insert the hook into the chain, yarn over, pull up a loop, yarn over and pull through all loops
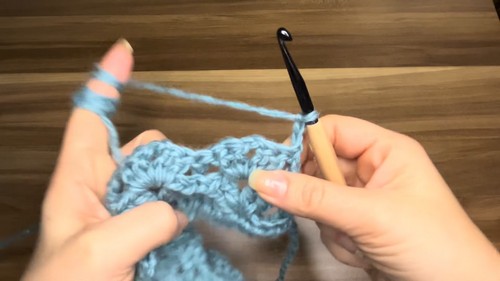
Pattern Setup Row
- Chain 3 and turn
- Skip 2 spaces
- Work 2 double crochet, chain 2, 2 double crochet into the same space
- Skip 2 spaces
- Work 1 double crochet into the next space
- Repeat this sequence across the row
Body Pattern Rows
- Chain 3 at the beginning of each row
- Work all stitches as established
- On single double crochet stitches, work front post double crochet on right side rows
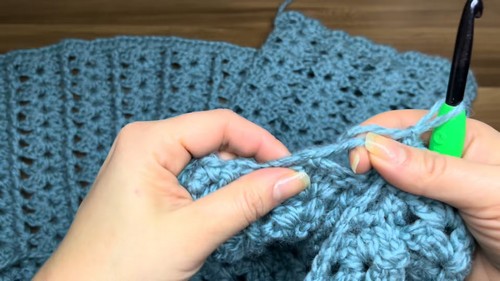
- On wrong side rows, work back post double crochet on the same stitches
- Work normally into the grouped stitches
- Continue alternating front and back post rows to create raised lines
- Repeat for approximately 15 rows or until reaching underarm height
Armhole Shaping
- At the beginning of the next row, slip stitch across one full pattern section
- Continue the row normally after the skipped section
- Repeat this shaping on the opposite side
- Continue working straight for approximately 14 more rows until shoulder height
Front Panels
- Make two identical front panels
- Each front panel starts with 31 double crochet stitches
- Follow the same setup row and body pattern as the back panel
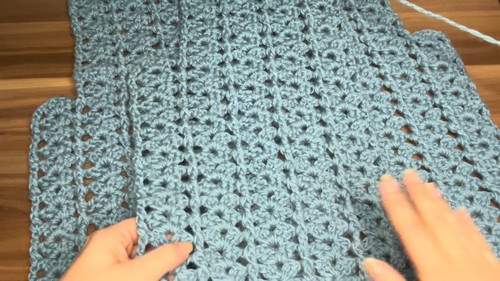
- Shape armholes the same way as the back panel
- Work to the same length as the back panel
Shoulder Alignment
- At the top edge, work one row of single crochet into each space
- This evens out the stepped edges created by the stitch pattern
- Fasten off
Assembly
- Place front and back panels right sides together
- Join shoulders from the inside to avoid bulk
- Join side seams from the outside for a clean finish
- Secure and weave in all ends

Edging
- Switch to a 6 mm crochet hook
- Work one round around the entire vest
- Alternate one single crochet and one chain stitch
- Keep tension even for a neat border
Optional Collar
- Mark the desired collar width with stitch markers
- Attach yarn at one marker
- Work single crochet rows back and forth
- Continue until collar measures approximately 8 to 10 cm
- Fasten off and weave in ends
Leave a Reply