
This Crochet Bolero With Tube Top Set is built for that layered, romantic look that still feels light and wearable. You’ll crochet a fitted tube top body with color-block stripes and an airy mesh section, then add a separate bolero piece that creates sleeves and a soft back band.
Crochet Bolero With Tube Top Set
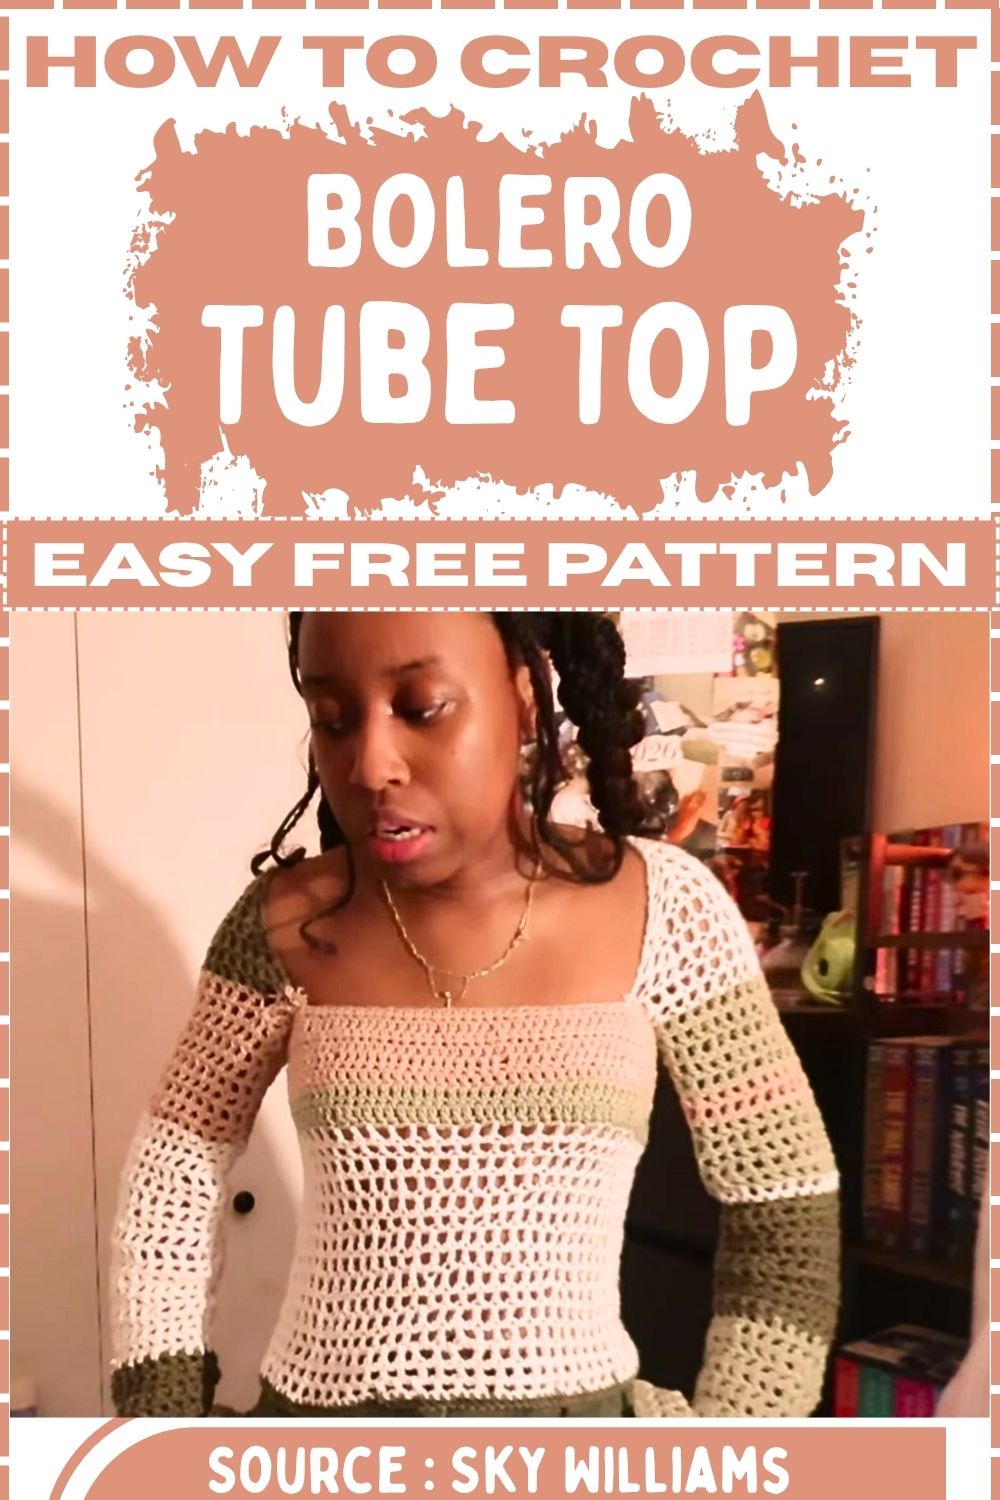
The best part is how customizable it is: you can adjust the tube top for a snug fit, change the mesh openness, and tweak the sleeve width and length for anything from a subtle shoulder cover to dramatic long sleeves. Worn together, it looks like a complete statement top. Worn separately, you get two wardrobe pieces you can style year-round.
Materials
- Yarn in 4 colors
- Dark green
- Dusty rose
- Light sage green
- White or cream
- Crochet hook suitable for your yarn
- Elastic for the top edge support
- Stitch markers
- Scissors
- Yarn needle
- Optional fabric glue for securing ends
Notes Before You Start
- This top is made in two main pieces
- Tube top body
- One-piece bolero that forms both sleeves and the back band
- The tube top is worked in rows, then joined into a tube
- The bolero is worked as one long piece from sleeve to sleeve
- You will get the best fit if you measure as you go
- Bust circumference for the tube top
- Upper arm circumference for sleeves
- Shoulder to shoulder width for the back panel
- The tube top chain should be slightly smaller than your bust measurement
- Double crochet fabric relaxes and expands with wear
Abbreviations
- ch: chain
- sl st: slip stitch
- sc: single crochet
- dc: double crochet
- sk: skip
- rep: repeat
Stitch Options Used In This Pattern
- Solid section stitch
- Use dc across for a clean, classic look
- You can substitute hdc if you want thicker coverage
- Mesh stitch option
- ch 1, sk 1, dc in next stitch across
- On the next row, dc into each ch 1 space
Tube Top Body
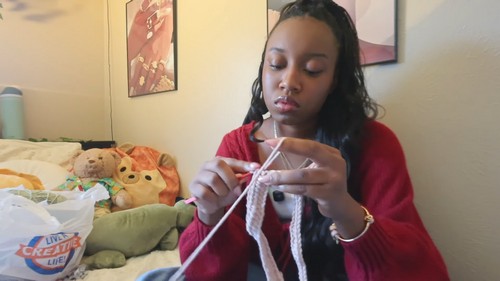
Fit Setup
- Measure around your bust where you want the tube to sit
- Decide tube top height
- Short crop
- Mid length
- Longer tank style
- Decide how snug you want the top
- Light snug is easiest to wear
- Very snug needs elastic and strong seams
Foundation Chain
- Using dusty rose yarn, chain to reach slightly smaller than your bust circumference
- Join to form a ring if you prefer working in rounds
- If working in rows, keep it as a flat strip and seam later
- Place a stitch marker in the first stitch of the row or round to track beginnings
Solid Lower Section In Dusty Rose
- Work 6 rows of solid stitches
- ch 2 or ch 3 to turn depending on your dc height preference
- dc in each stitch across
- keep edges straight and even
- Try on or wrap around your bust
- it should stretch comfortably without sliding
Solid Transition Section In Light Sage Green
- Switch to light sage green yarn
- Work 3 rows in the same solid stitch pattern
- dc in each stitch across
- Keep the tension consistent so the color change rows do not flare
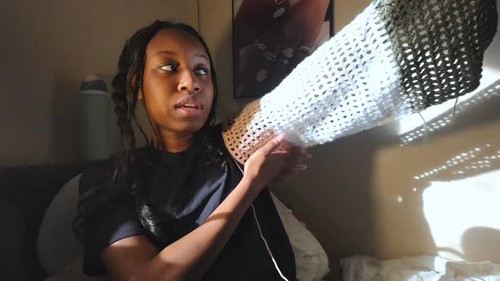
Mesh Section In White Or Cream
- Switch to white or cream yarn
- Work 15 rows using the mesh stitch
- ch 3 to start the row
- sk 1 stitch
- dc in next stitch
- ch 1
- sk 1 stitch
- dc in next stitch
- repeat across
- end the row with a dc in the last stitch
- Next mesh row setup
- ch 3
- dc into the first available ch 1 space
- ch 1
- dc into next ch 1 space
- repeat across
- Keep checking length as you go
- add more mesh rows for extra coverage
- reduce mesh rows for a shorter tube
Bottom Border Stripe In Dark Green
- Switch to dark green yarn
- Work 1 final row in a solid stitch pattern
- dc in each stitch across
- Optional bottom edging
- sc evenly around for a neat finish
- add a simple picot edge if you want detail
- sc, ch 3, sl st into the first chain, sk 1, repeat
Top Edge Elastic Channel
- The top edge needs elastic so it stays up
- If you worked in rows
- seam the side first to form a tube
- Create an elastic casing at the top
- fold the top edge inward about 1 to 1.5 cm
- stitch it down with whip stitch or slip stitch seam
- leave a small opening
- Cut elastic to your comfortable snug bust fit
- Thread elastic through the casing
- Overlap elastic ends and stitch securely
- Close the casing opening with tight stitches
Bolero Piece
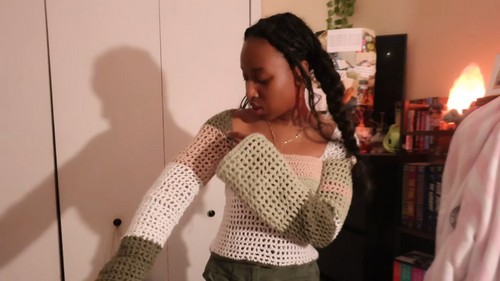
Fit Setup For Bolero
- Measure your upper arm where the sleeve will sit
- Decide sleeve length
- short sleeve look
- elbow length
- full length sleeve
- Measure across your back from sleeve join point to sleeve join point
- this is the back panel width
Construction Overview
- You will crochet one long rectangle-like piece
- first sleeve section
- decrease to a narrower back section
- crochet the back panel
- increase to sleeve width
- crochet the second sleeve section
First Sleeve Panel
- Start with your chosen sleeve yarn color
- most people use the dark green here for contrast
- Chain to match your desired sleeve width
- use your upper arm measurement as a guide
- Work rows back and forth to build sleeve length
- use a mesh stitch for a lighter sleeve
- or use dc for a more solid sleeve
- Keep checking sleeve size by wrapping around your arm
- it should be roomy enough to move
- not so wide that it droops off the shoulder
Decrease Transition Into Back Panel
- Once sleeve length is reached, start decreasing
- Decrease evenly on both sides so the shape stays balanced
- at the start of the row, sk 1 stitch then work into the next stitch
- at the end of the row, stop 1 stitch early
- Repeat decrease rows until the panel narrows to your back width plan
- Mark the center of the piece with a stitch marker
- this helps keep the back panel centered
Back Panel Section
- Work straight rows without increasing or decreasing
- Continue until the back panel is wide enough across your back
- Try it on by holding it across your shoulders
- it should sit comfortably without pulling sleeves inward
Increase Transition Into Second Sleeve
- Begin increasing to return to sleeve width
- Increase evenly on both sides
- at the start of the row, work 2 stitches into the first stitch
- at the end of the row, work 2 stitches into the last stitch
- Repeat increase rows until the panel matches the first sleeve width
Second Sleeve Panel
- Work the second sleeve section to the same length as the first
- Count rows or measure in cm to match accurately
- Fasten off and weave in ends securely
Seaming The Bolero Sleeves
- Fold the first sleeve section so the long edges meet
- Seam along the sleeve length
- leave the back panel unseamed
- Repeat for the second sleeve
- Try on the bolero
- check sleeve comfort
- check back placement
Joining Bolero To Tube Top
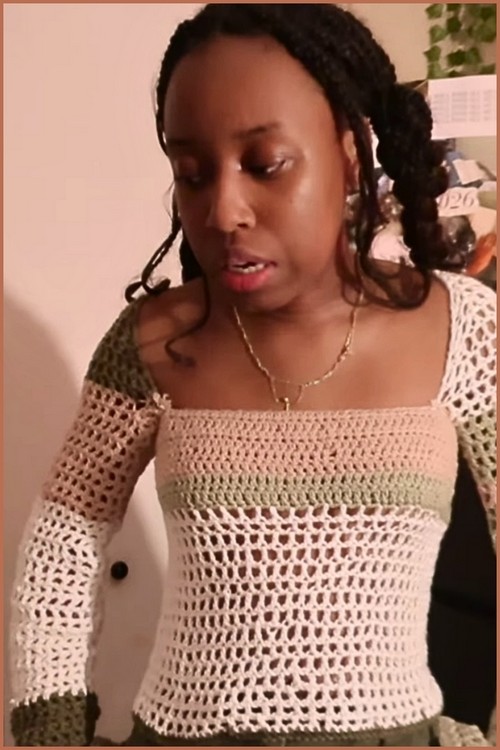
Placement
- Put on the tube top
- Put on the bolero over it
- Use stitch markers to pin the bolero to the tube top in the best position
- mark the front attachment points
- mark the underarm points
- mark the back attachment points if needed
- Take the pieces off carefully without removing markers
Sewing
- Sew bolero edge to tube top using whip stitch or mattress stitch
- Focus on stress points
- underarms
- sleeve corners
- side areas where fabric pulls when dressing
- Reinforce seams with a second pass of stitching if needed
Finishing
- Weave in all ends securely
- Optional securing method for synthetic yarn
- very carefully melt ends with a lighter after trimming
- do not do this with natural fiber yarn
- Optional fabric glue dab on knots for extra security
- Steam lightly to help the fabric settle
- avoid overstretching the sleeves while steaming
Wearing Notes
- This style can be tricky to put on
- Put the bolero on first, then pull the tube top up into place
- Keep seams strong and elastic snug so the tube top stays secure

Leave a Reply