
This crochet bra cup pattern is the perfect project for crafters looking to create a customized and comfortable top that suits their exact size. Whether you're crafting a bikini, a summer bralette, or integrating it into a larger top, this step-by-step tutorial gives you complete control over shaping and fit.
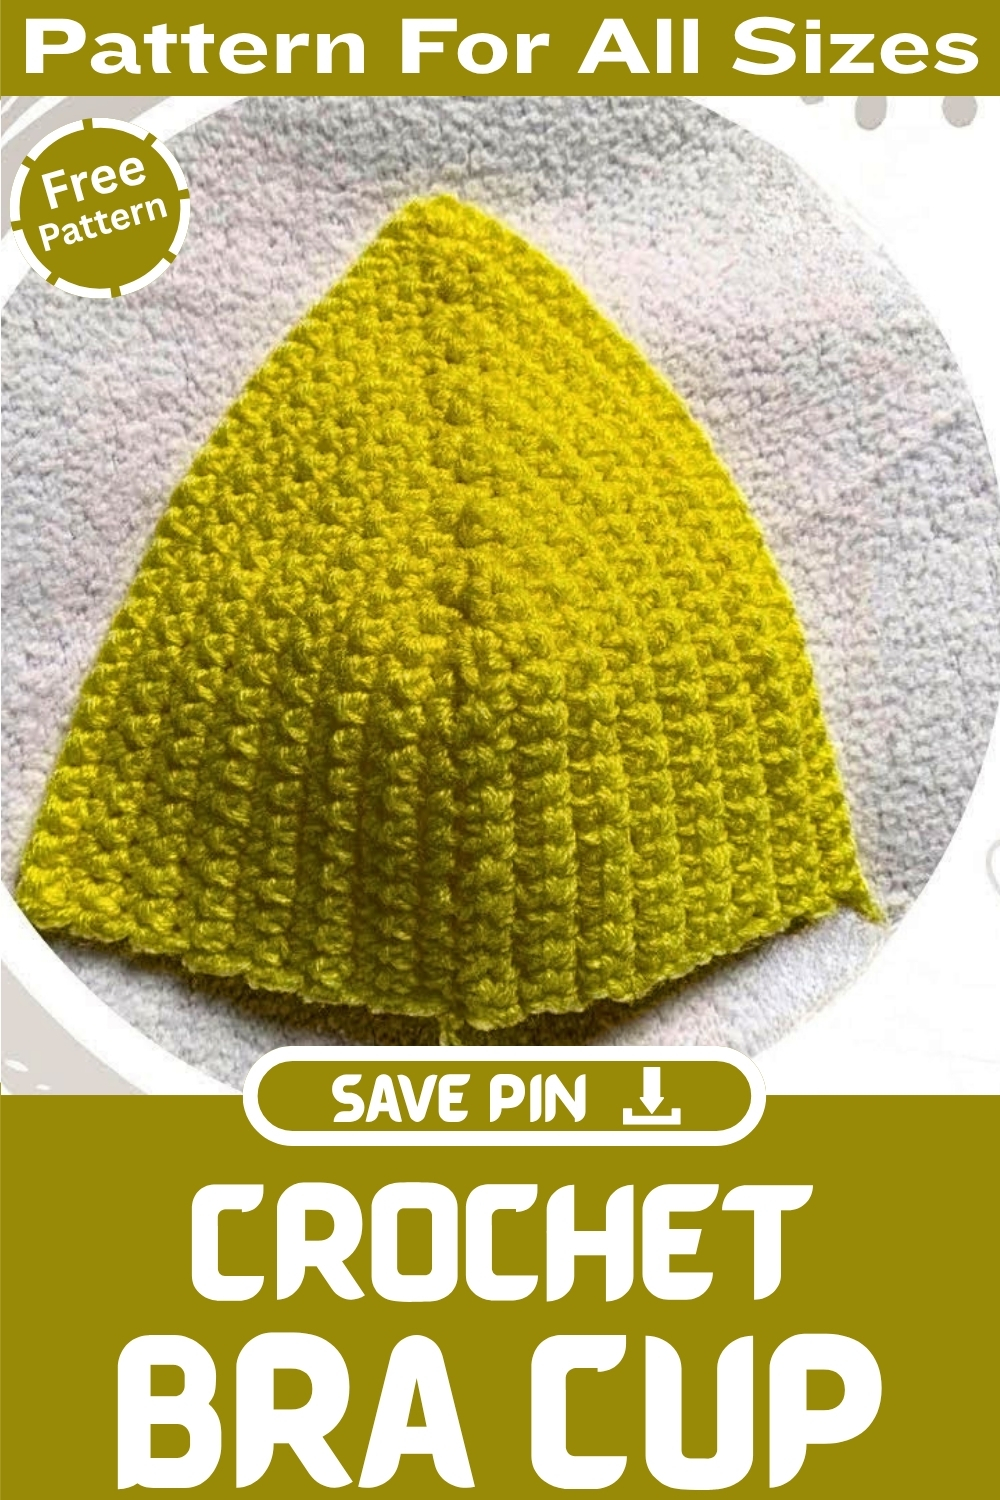
Crochet Bra Cup

The method involves simple single crochets and strategic increases at the center to form a flattering arc that mimics a real cup structure. Ideal for beginners and intermediates alike, the pattern can be easily adjusted for different bust sizes. With just a hook, yarn, and measuring tape, you’ll be able to design a supportive and stylish bra cup tailored to your body.
Materials
- 4mm crochet hook
- Scissors
- Yarn (regular yarn doubled for thickness)
- Stitch marker
- Measuring tape
Slip Knot and Foundation Chain
- Make a slip knot.
- Chain until you reach the length between your nipple and underbust (e.g., 7 cm = 11 chains).

Row 1: Single Crochet Foundation
- Chain 1.
- Make 1 single crochet in each of the foundation chains.
Row 2: Second Single Crochet Row
- Chain 1 and turn.
- Make 1 single crochet into each stitch across.

Adding the Arc Shape
- At the top center (between both sides of your cup), make 3 single crochets in the same stitch.
- Place a stitch marker in the second of those 3 stitches.
- Continue single crocheting down the other side (11 stitches).

Building the Cup with Repeated Rows
- For each new row, chain 1 and turn.
- Single crochet in each stitch until you reach the stitch marker.
- Remove the marker, make 3 single crochets into that stitch, and reinsert the marker in the second of those.
- Continue single crocheting down the rest of the row.

Continue Until Desired Size
- Repeat the above row instructions until the cup reaches your desired width and coverage.
- The number of rows you add will determine the size (e.g., 36B can be achieved using this technique).

Important Note
- Always crochet into each stitch properly to avoid bending or distortion.

Leave a Reply