
This Crochet Balaclava pattern is a must-try project for anyone who loves functional handmade accessories. With simple stitches and clear steps, this crochet balaclava tutorial shows you how to create a warm, comfortable, and versatile piece for chilly days.
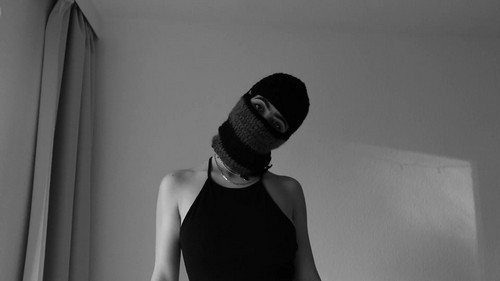
Crochet Balaclava
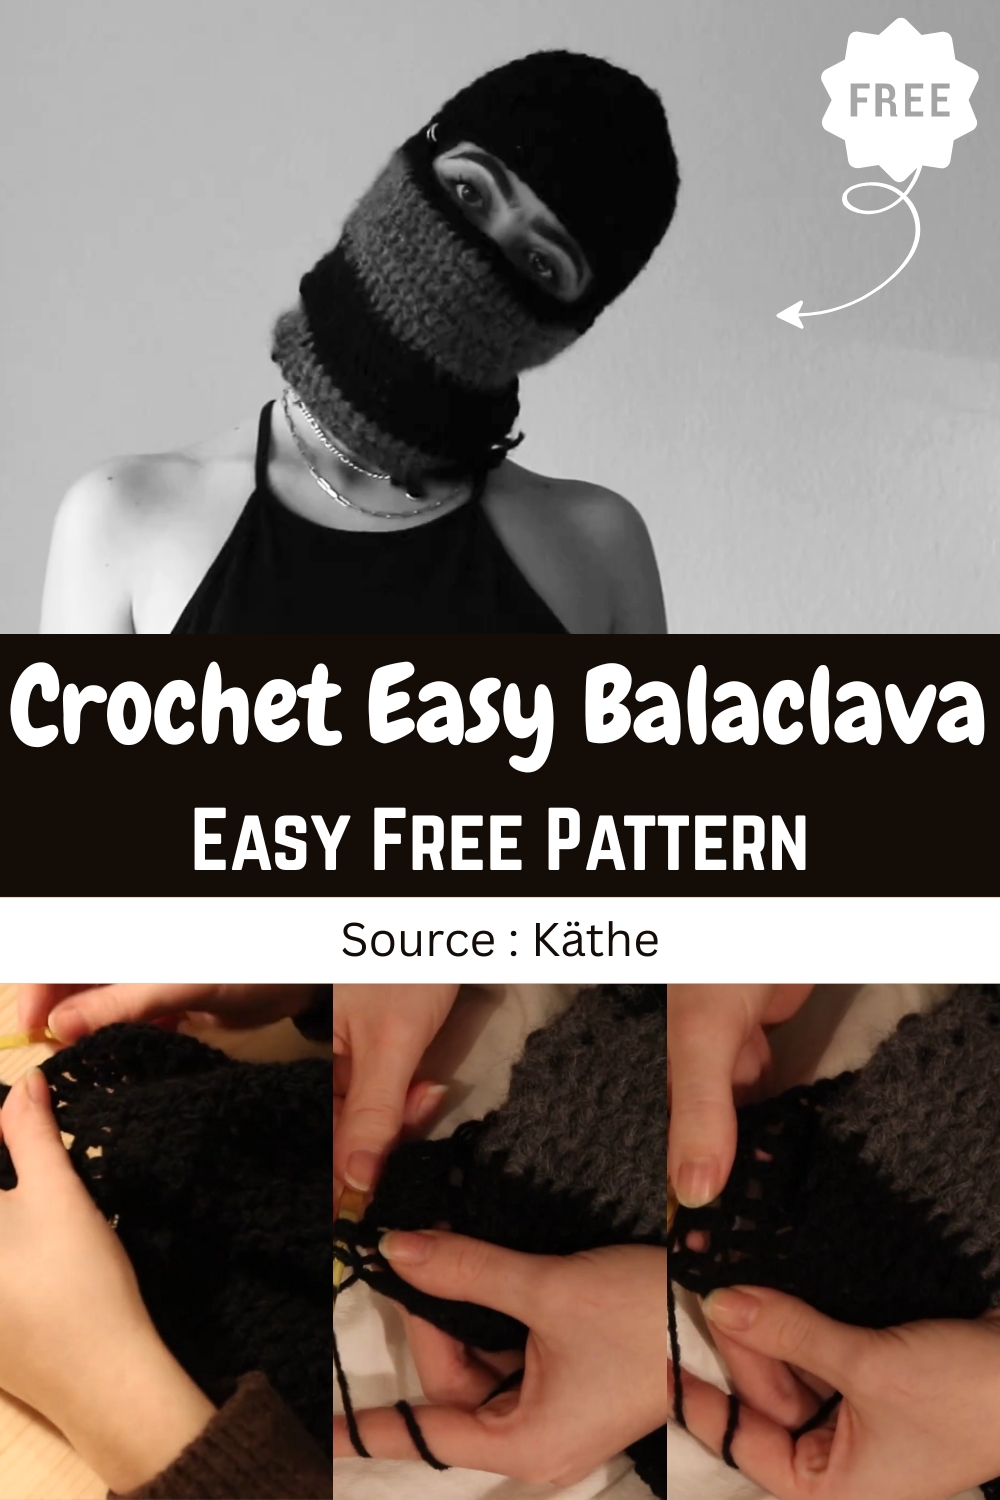
The pattern begins at the crown of the head, works down into the body, and features a neatly shaped eye slit for comfort and visibility. You can personalize your balaclava by choosing different yarn colors, making it striped, or keeping it simple with a solid shade. Whether you’re preparing for outdoor adventures, chilly commutes, or just want a cozy handmade gift, this balaclava is a versatile and practical crochet project.
Materials
- Worsted weight yarn in two colors (black and grey used in example)
- Crochet hook suitable for yarn weight
- Stitch markers
- Scissors and yarn needle
The Crown Increasing
- Make a slip stitch
- Chain 4
- Slip stitch into first chain to form a circle
- Chain 3 (counts as first DC)
- Place 11 DC into circle for a total of 12 stitches
- Slip stitch into top of first chain 3 to close
- Round 2 Chain 3 (counts as first DC)
- In next stitch place 2 DC
- Repeat 1 DC then 2 DC in next stitch all around
- Total of 18 stitches
- Slip stitch to close and chain 3
- Subsequent Rounds Continue increasing in the same way until crown circle reaches temple to temple.
- Stop increasing after about 5 rounds or when size fits.
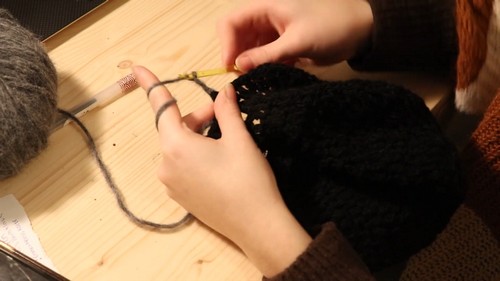
The Body Straight Crochet
- Work 1 DC in every stitch around with no increases
- Continue rounds until reaching above eyebrows where slit begins
- About 7 rounds worked before starting eye slit
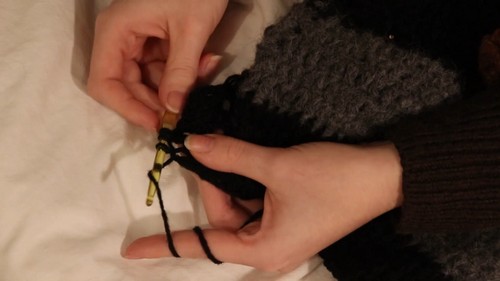
The Eye Slit
- Place stitch markers to mark slit width
- Work DC until first marker
- Chain the number of stitches marked to skip (about 22 chains)
- Skip same number of stitches on body
- Continue with DC into next stitch after skipped section
- Complete round with DC in each stitch and slip stitch to join
- Next round work 1 DC into every chain stitch of slit and DC across rest of round
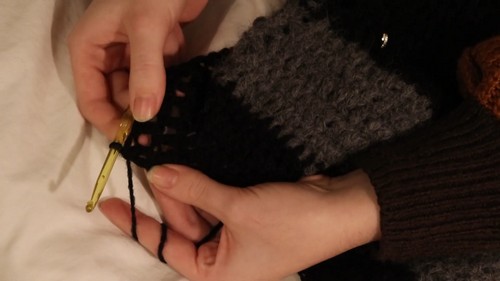
The Neck and Finishing
- Continue DC rounds until reaching desired neck length
- Optional decrease row to tighten neck by working 5 DC then DC2tog repeated around
- To make DC2tog yarn over insert hook into next stitch yarn over pull through (3 loops) yarn over pull through 2 loops yarn over insert hook into next stitch yarn over pull through (4 loops) yarn over pull through 2 loops yarn over pull through all remaining loops
- Work straight DC rows until balaclava reaches desired length
- Cut yarn and weave in all ends


Leave a Reply