
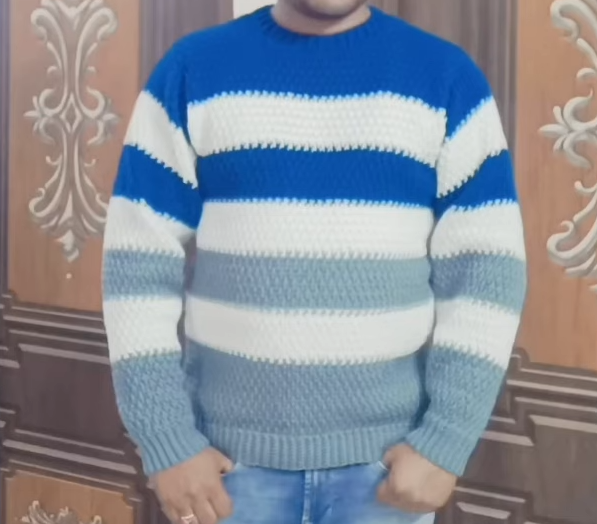
This crochet men’s full-sleeve sweater pattern is the perfect project for creating a stylish and practical handmade garment. Worked with a simple repeat of double crochet and single crochet stitches, the sweater combines structure, comfort, and durability.
Crochet Men’s Sweater

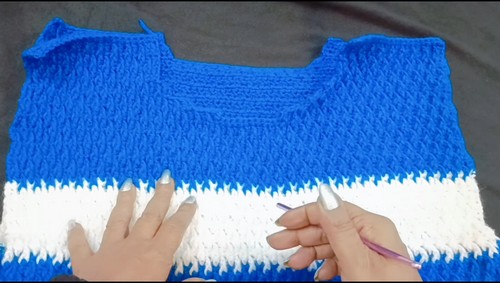
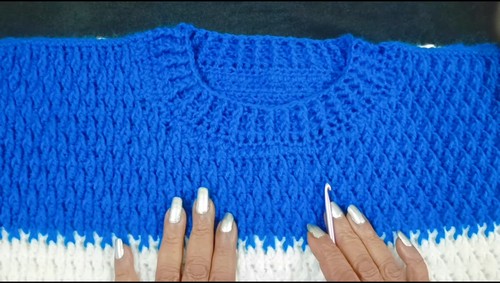
The step-by-step shaping of the shoulders, neckline, and sleeves ensures a tailored fit, while the classic V-neck design adds versatility to the finished look. With clear guidance on sleeve shaping, assembly, and finishing touches like ribbed borders, this pattern is ideal for crocheters looking to make a customized sweater that works for everyday wear or as a thoughtful handmade gift.
Materials
- Yarn of choice suitable for sweaters
- Crochet hook size to match yarn gauge
- Scissors
- Yarn needle
- Stitch markers
Back Panel Neck and Shoulder Shaping
- Finish main body pattern until required length (about 25 inches for Large).
- Count total chains across the top and mark 23 or 24 chains in the center unworked for the neckline.
- Divide remaining stitches equally for two shoulders.
First shoulder shaping (4 rows):
- Row 1: Work pattern across shoulder stitches.
- Row 2: Chain 1, turn, skip first stitch, work pattern to end.
- Row 3: Work pattern with no decrease.
- Row 4: Work pattern with no decrease, fasten off.
Second shoulder shaping (4 rows):
- Row 1: Reattach yarn, work pattern across shoulder stitches.
- Row 2: Work pattern in SC, skip last stitch at neck edge, turn.
- Row 3: Work pattern with no decrease.
- Row 4: Work pattern, fasten off.
Front Panel Neck Shaping (V Neck)
- Begin shaping when panel is about 22.5 inches long for Large.
- Start V-neck with 30 stitches to allow reduction to 20 stitches for shoulder width.
On first side, decrease at neck edge:
- Row 3: Decrease 4 stitches.
- Row 5: Decrease 3 stitches.
- Row 7: Decrease 2 stitches.
- Row 9: Decrease 1 stitch.
- Once shoulder matches back panel width, work 4 rows straight with no decreases.
- Repeat same shaping on the opposite side.
Sleeve Shaping
- Work cuff ribbing first (about 21 ribs for larger sizes).
- Begin main pattern after cuff.
- Increase 1 stitch at both ends every 4th round until sleeve width is about 13 inches.
- After desired width is reached, work straight until sleeve measures about 23 inches.
Assembly
- Join shoulders by placing back and front panels together with wrong sides out and using single crochet.
- Attach sleeves by aligning sleeve center with shoulder seam and stitching into armhole opening.
- Join side seams and underarm seams with single crochet through both layers.
Neck Border (Collar)
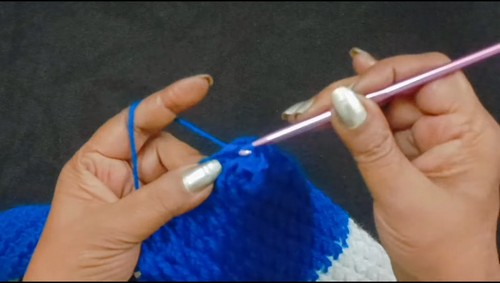
- Round 1: Work double crochet evenly around neckline. Use a 6-loop decrease at shoulder seams and adjust stitch placement at V-neck edges. Ensure total stitch count is odd. Join with slip stitch.
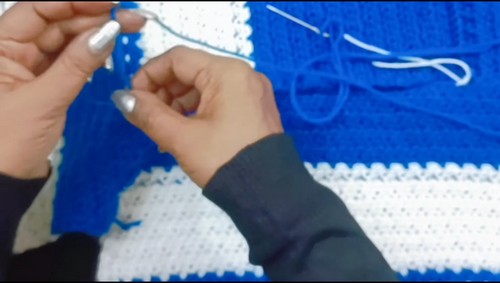
- Rounds 2 and onward: Work front post double crochet and back post double crochet alternately to create ribbing. Continue for 3 to 4 rounds. Fasten off.


Leave a Reply