
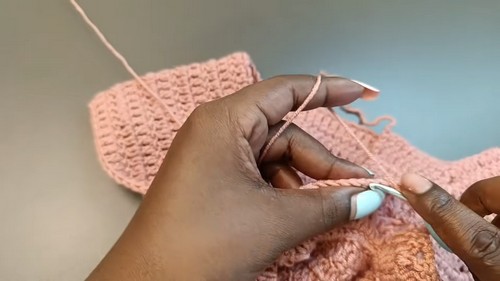
This crochet pattern for a baby dress is the perfect continuation from the first part of the tutorial. In this section, you’ll learn how to shape the bodice to fit comfortably, create a lovely waistband with elastic, and craft a beautiful flared skirt using the V-stitch technique.
Crochet Baby Dress

Designed with flexibility in mind, this pattern is adjustable to fit a variety of sizes, ensuring your little one looks adorable in a custom-made dress. The detailed instructions cover all necessary steps, from armhole shaping to adding buttonholes and a charming skirt border. Whether you're a beginner or seasoned crocheter, this pattern is easy to follow and provides the opportunity for personalized touches.
Complete the Bodice/Yoke
Armhole Shaping
- Measure your current yoke length to determine if you need to add chains for chest size.
- Increase if needed by dividing extra chains for each armhole.
- Work the first side by chaining 3 (counts as 1 DC), turn, and work 1 DC in every stitch until you reach the first corner.
- For the armholes, chain the necessary amount, skip sleeve stitches, and work 1 DC into the next corner.
- Work the back with 1 DC into every stitch until you reach the next corner.
- For the second armhole, repeat the process.
- Complete Row 11 by working 1 DC to the end.
Joining Row (Close for Skirt)
- Chain 3 and slip stitch onto the beginning Chain 3 of Row 11, leaving the back opening for buttons.
First Round
- Chain 3 (first DC), turn. Work 1 DC into the first 3 chains of the previous join area.
- Continue with 1 DC in every stitch and place 1 DC into the armhole chain space.
- Slip stitch onto the beginning Chain 3 to join.
Subsequent Bodice Rows (Row 13 and up)
- Slip stitch into the next stitch, chain 3, and turn.
- Repeat the pattern with 1 DC into each stitch until the bodice length reaches the desired measurement.
- Continue repeating until the desired shoulder-to-waist length is achieved.
Waistband (Single Crochet Over Elastic)
- Prepare the elastic to fit the waist (e.g., 19–20 inches).
- Chain 1 and turn to work from the outside of the dress, ensuring the elastic is on the inside.
- Work 1 SC into every stitch, crocheting over the elastic and pulling it as you go to gather the fabric.
- Finish by slip stitching onto the first SC to join the round.
Skirt – Main Body (V-Stitch)
Increase for Flare
- Chain 3 (first DC), turn, work 1 DC into the next stitch, and create a V-Stitch (DC, Chain 2, DC) into the next stitch.
- Repeat the pattern around, ending with a slip stitch onto the beginning Chain 3.
V-Stitch Pattern
- Chain 3, turn, work a V-Stitch into the Chain 2 space from the previous row's V-Stitch, and 1 DC into the DC stitch from the previous row.
- Continue repeating this pattern around and slip stitch to join.
Skirt Border (Last Row)
- Connect the final color, Chain 3, and work 3 DC into the same V-Stitch space.
- Slip stitch onto the next DC stitch and work 4 DC into the next V-Stitch space.
- Repeat the pattern around the entire row, finishing with a slip stitch onto the beginning Chain 3. Cut and fasten the yarn.
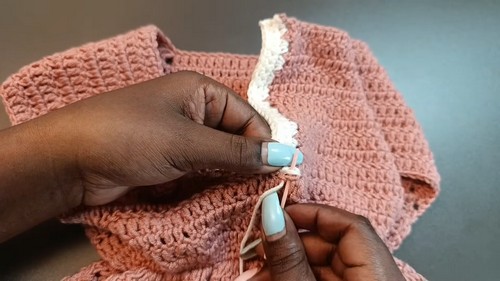
Back Opening: Button Placket and Buttonholes (using contrast yarn)
Buttonhole Side
- Work SC up the side of the back, creating buttonholes by chaining 2 and skipping 2 stitches at the designated points.
- Complete the final SC row and fasten off.
Button Side
- Work SC up the side from the top, creating a solid edge for the buttons.
- Use the long end of yarn to sew the button side together.
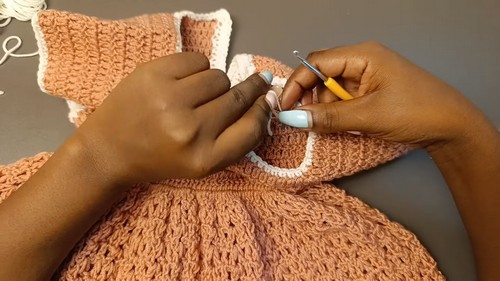
Neckline and Sleeve Edging (Optional Border)
- Work SC around the neckline and sleeves using the contrast color.
- Slip stitch to join and fasten off after completing the edges.


Leave a Reply