
This chunky color block crochet sweater combines comfort and modern style with the timeless Moss Stitch texture. Featuring a cozy ribbed waistband, cuffs, and neckline, this project is perfect for beginners looking to make a fashionable and functional piece.
Chunky Crochet Sweater
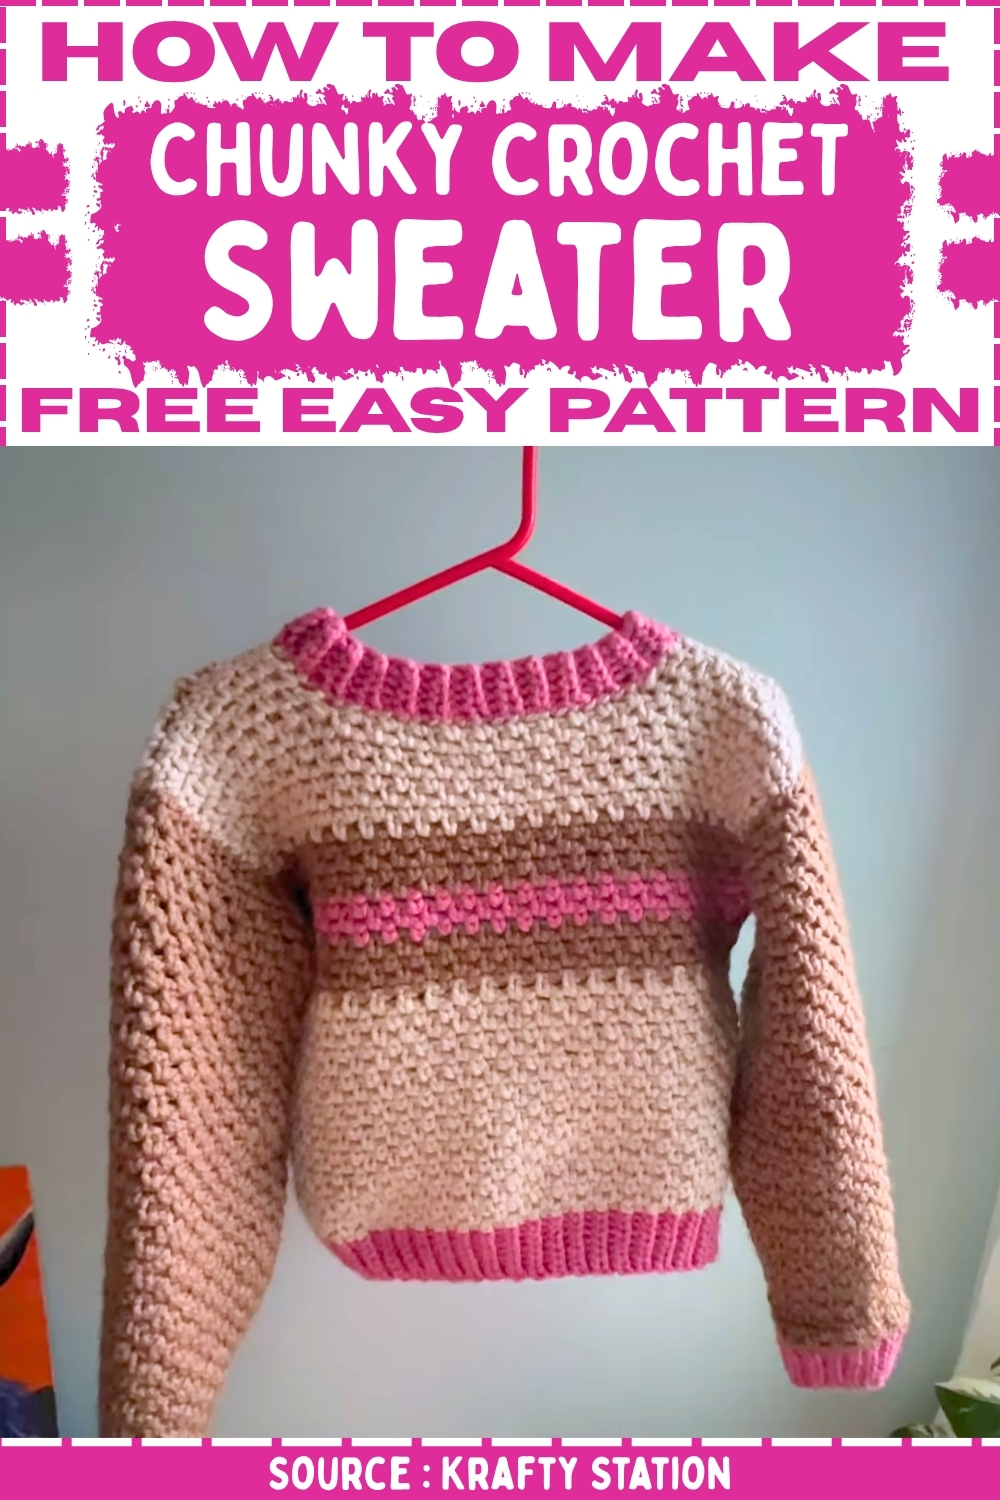
You can easily customize the color blocks to match your style, making every sweater unique. The use of super chunky yarn ensures quick progress and a beautifully soft finish that’s perfect for cool weather layering or relaxed home wear.
Materials
- Three colors of super chunky yarn (e.g., James S Brett Top Value Super Chunky Premium Acrylic)
- 10 mm crochet hook
- Tapestry needle, scissors, and stitch markers
Front and Back Panels (Make Two)
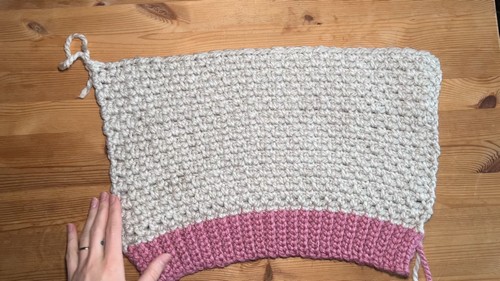
Waistband
- Make a slip knot and chain eight.
- Row 1: Work slip stitches across, starting in the second stitch from the hook.
- Next Rows: Chain one, turn, and work slip stitches in the front loop only.
- Continue until desired waistband length is reached.
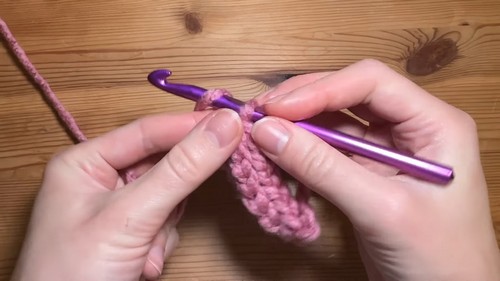
Main Body (Moss Stitch)
- Attach the next color to the waistband.
- Row 1: Chain one, turn, and work one row of single crochet along the waistband.
- Row 2: Chain one, turn, start with a single crochet, then chain one, skip one, single crochet in the next stitch. Repeat.
- Row 3 and onward: Continue the Moss Stitch, working into each chain-one space from the previous row.
- Change colors to create your preferred color block pattern (for example: 20 rows color one, 4 rows color two, 3 rows color three, 4 rows color two, 8 rows color one).
Neckline Shaping
- Place stitch markers for your neckline width (e.g., 13 stitches from each side).
- Continue Moss Stitch up to the first marker for the first shoulder.
- Work four rows for this section only.
- Attach yarn to the other side and repeat for the second shoulder.
- For the back panel, repeat all steps but skip the neckline opening.
Sleeves (Make Two)

Ribbing
- Create the cuff ribbing using slip stitches in the front loop only.
Main Sleeve Body
- Attach yarn and work one row of single crochet along the cuff.
- Row 2: Chain one, turn, and work a Moss Stitch row.
- Row 3: Chain one, turn, start with an increase (two single crochets in the first stitch), continue Moss Stitch, end with another increase.
- Row 4: Work a Moss Stitch row with no increases.
- Alternate between increase and no-increase rows until the sleeve reaches desired width.
- Continue working straight Moss Stitch rows until the sleeve is the desired length.
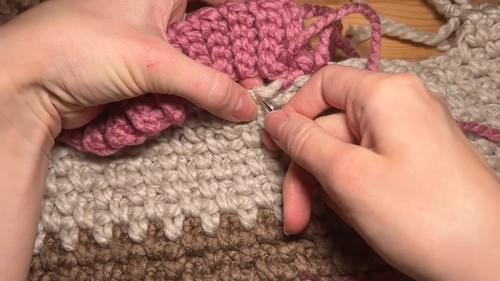
Assembly and Finishing
- Create a narrow ribbing strip (about five stitches wide) for the neckline.
- Sew front and back panels together at the shoulders using a tapestry needle.
- Attach sleeves along the shoulder seam, centering them evenly.
- Sew the sides of the sweater and sleeves together in one continuous seam.
- Attach the neckline ribbing around the opening and sew securely.
- Weave in all yarn ends neatly to finish.


Leave a Reply