
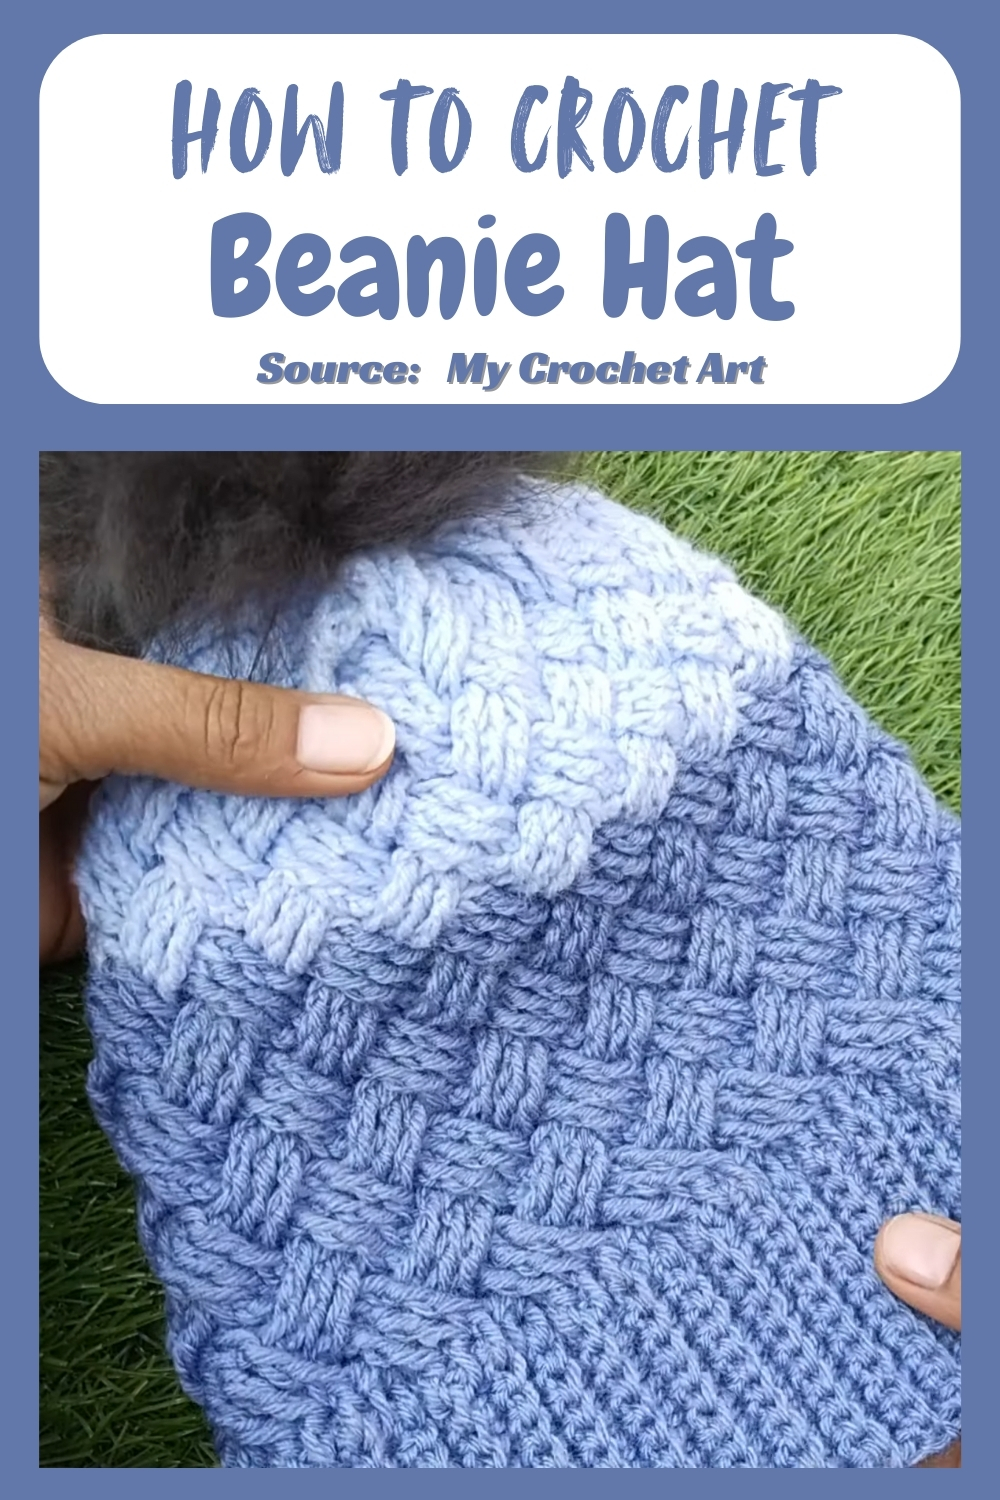
This crochet Beanie Hat pattern offers a cozy, stylish, and beginner-friendly design that combines functionality with flair. Made with 3-ply wool and a 3.0 mm hook, it features a soft ribbed border and a unique crisscross triple crochet stitch pattern that adds depth and texture to the Beanie Hat body.
Stylish Crochet Beanie Hat
The repeating two-row design allows for easy customization in length, while the final decrease and secure finishing ensure a snug fit. Suitable for children or adults depending on the measurements, this versatile Beanie Hat is ideal for cooler seasons and can be personalized further with the addition of a pompom for extra charm.
Materials
- 3-ply wool yarn
- 3.0 mm crochet hook
- Yarn needle
- Scissors
Getting Started (Border)
- Begin with a slip knot and chain 13.
- Skip the first chain and make a slip stitch in the second chain.
- Single crochet in each chain to complete the first row.

- Chain one, turn, and work single crochet into the back loop of each stitch.
- Chain one, turn. Slip stitch in the back loop of the first stitch, then single crochet into the back loops of the remaining stitches.
- Repeat the second and third rows until the border reaches about 16 inches (8 inches doubled). The base row count should be a multiple of six.
Joining the Border
- Fold the border in half.
- Use slip stitches through the back loops of both edges to join the ends and form a loop.
Starting the Beanie Hat Body (First Row - Double Crochet)
- Chain three.
- Double crochet in the top of each border row around the loop.
- Join with a slip stitch into the third chain to close the round.
Design Pattern (Rows 2–5 and Beyond)

Row 2 (Crisscross Front Post Triple Crochet)
- Chain three.
- Skip three double crochets.
- Make three front post triple crochets.
- Go back and make three front post triple crochets in the skipped stitches.
- Repeat this sequence around.
- Slip stitch into the third chain to join.
Row 3 (Alternating Post Stitches)
- Chain three.
- Make front post triple crochets into the bottom three stitches of the second crisscross.
- Make back post triple crochets into the top three stitches of the first crisscross.
- Repeat around.
- Slip stitch into the third chain to join.
Rows 4 and 5
- Repeat Row 2 for Row 4.
- Repeat Row 3 for Row 5.
- Continue alternating these two rows until the Beanie Hat reaches a height of 8 inches or desired length.
Decreasing the Beanie Hat

First Decrease Row
- Chain three.
- Make two incomplete double crochets, then pull through all loops to decrease.
- Repeat across the row.
- Slip stitch to join.
Second Decrease Row
- Chain two.
- Make two incomplete double crochets, pull through all loops to decrease.
- Repeat across the row.
- Slip stitch to join and chain one.

Finishing the Beanie Hat
- Cut the yarn, leaving a long tail.
- Thread the tail through a needle and weave through the top stitches.
- Pull tightly to close the hole.
- Tie a knot, weave in the end, and trim excess yarn.
- Optional: Add a pompom to the top for a fun finish.


Leave a Reply