
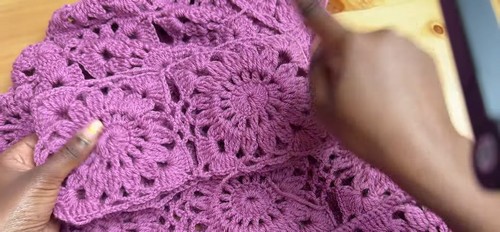
This Sunburst Granny Square Cardigan is the perfect project for anyone looking to add a cozy, handmade piece to their wardrobe. The pattern involves creating beautiful sunburst granny squares and assembling them to form a stylish cardigan. The finished cardigan is versatile and can be made in any color combination to suit your personal style.
Crochet Sunburst Granny Square Cardigan
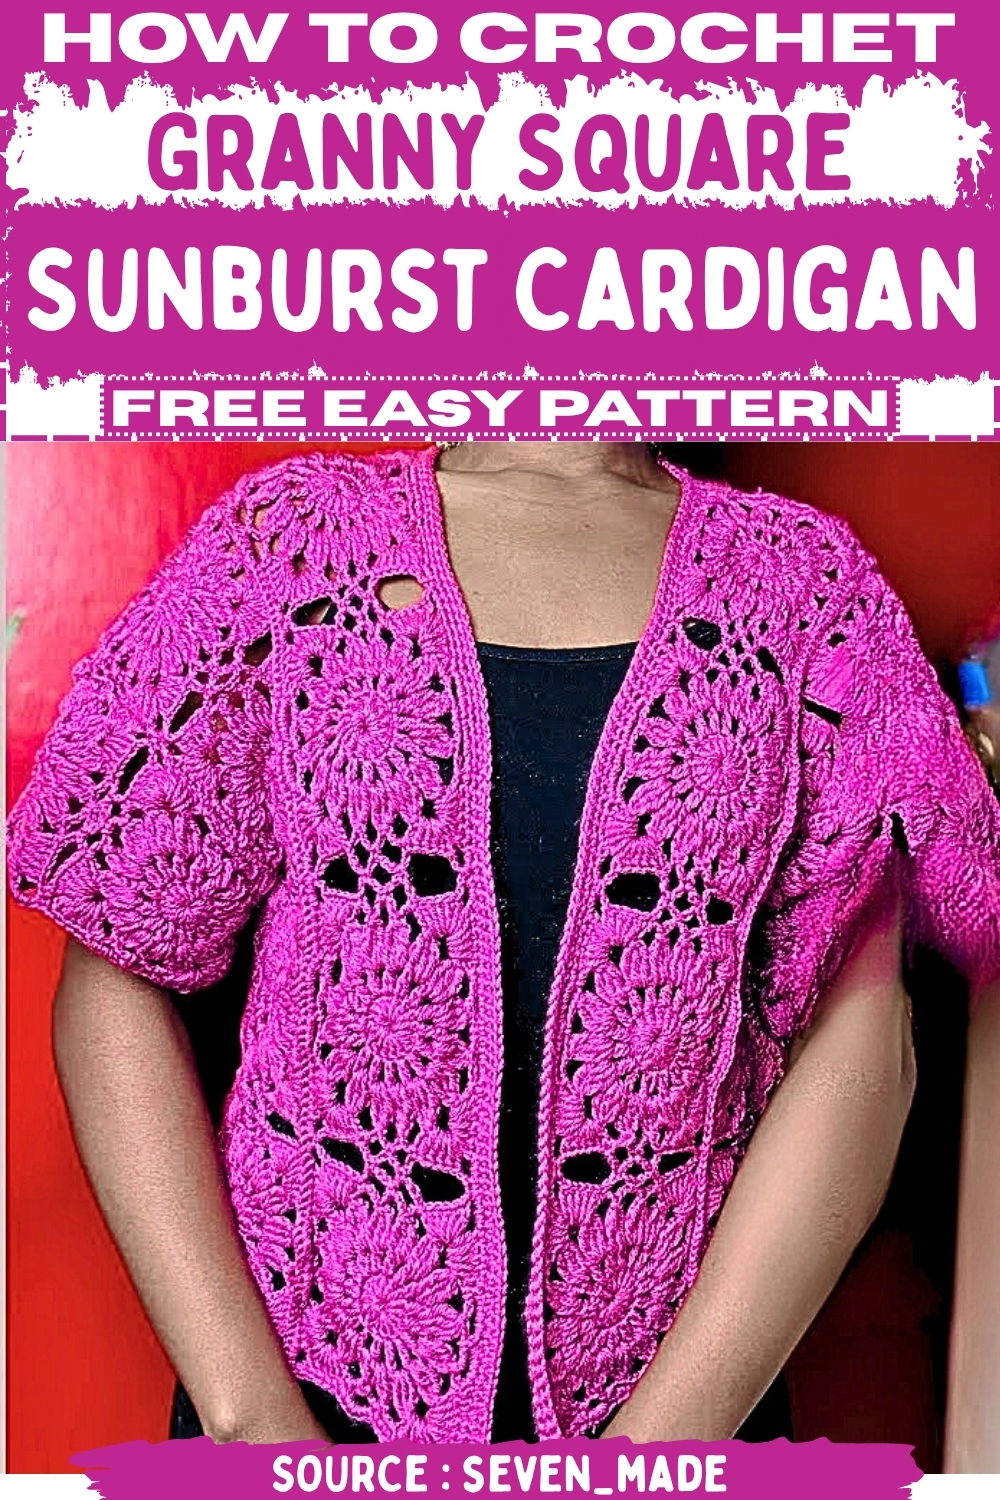
The step-by-step guide ensures that even beginners can follow along with ease, while experienced crocheters can enjoy a relaxing and satisfying project. The combination of soft yarn and intricate stitchwork creates a cozy garment that is both fashionable and functional. Whether you're making it for yourself or as a gift, this cardigan will be a statement piece that showcases your crochet skills.
Crochet the Sunburst Granny Square
The Center
- Start with a slip stitch.
- Make a Chain of 6 (ch 6).
- Slip stitch into the first chain to form a ring.
- Chain 3 (ch 3) (counts as your first double crochet, or dc).
- Make 15 double crochets (dc) into the ring.
- You should have a total of 16 stitches (including the starting ch 3).
- Slip stitch into the third chain of the starting ch 3 to close the round.
Creating Spaces
- Chain 5 (ch 5). (The first 3 chains count as a dc, and the next 2 chains count as a chain-2 space).
- In the next stitch, make a double crochet (dc).
- Chain 2 (ch 2).
- Repeat the sequence: [dc in the next stitch, ch 2] around the entire circle.
- You should have 16 chain-2 spaces (boxes).
- To finish, slip stitch into the third chain of the starting ch 5.
The Sunburst
- Chain 1.
- Make a single crochet (sc) in the first chain-2 space.
- Chain 3 (ch 3) (this counts as the first leg of your triple double crochet cluster).
- Triple Double Crochet Cluster: Yarn over three times (tr), insert hook into the same space, yarn over, pull through 2 loops, yarn over, pull through 2 loops (do not finish the stitch).
- Repeat this process two more times for a total of three incomplete triple double crochets in the same space.
- You will have four loops on your hook.
- Yarn over and pull through all four loops to complete the cluster.
- Chain 5 (ch 5).
- Triple Double Crochet Cluster into the next chain-2 space (using the same technique as step 4).
- Repeat [ch 5, Triple Double Crochet Cluster in the next chain-2 space] around.
- To finish: Instead of chaining 5, chain 2, and then make a double crochet through the loop on the top of the very first cluster.
Squaring the Circle
- Chain 1.
- Make a single crochet (sc) in the space you just created (the chain-3 space from the end of the previous round).
- Chain 5 (ch 5).
- Make a single crochet (sc) in the next chain-5 space.
- Chain 5 (ch 5).
- Make a single crochet (sc) in the next chain-5 space.
- First Corner: In the next chain-5 space, make: [5 dc, ch 5, 5 dc].
- Side: Make a single crochet (sc) in the next chain-5 space.
- Chain 5 (ch 5).
- Side: Make a single crochet (sc) in the next chain-5 space.
- Second Corner: In the next chain-5 space, make: [5 dc, ch 5, 5 dc].
- Repeat the sequence [Side, Side, Corner] two more times.
- To finish: Slip stitch into the first single crochet you made.
- Chain 2 and cut off your yarn.
Joining the Granny Squares
Joining Squares Side-by-Side (as you go)
- Crochet the second square through Round 3.
- Start Round 4 (The Squaring Round).
- First Corner (Unjoined): Complete the first corner as usual: [5 dc].
- Joining Loop: Instead of chaining 5,
- Chain 2 (ch 2).
- Take your finished granny square (Square 1).
- Insert your hook into the chain-5 space of the corner of Square 1, and make a single crochet (sc).
- Chain 2 (ch 2).
- Complete the first corner of Square 2: [5 dc] in the same corner space.
- First Side Join: Make a single crochet (sc) in the next chain-5 space of Square 2.
- Joining Chain: Chain 2 (ch 2).
- Insert your hook into the corresponding chain-5 space on Square 1 and make a single crochet (sc).
- Chain 2 (ch 2).
- Repeat steps 7-10 for the next chain-5 space.
- Continue with the standard pattern for the remaining two sides of Square 2.
For Joining Panels (Wrong Sides Together)
- When joining the completed panels (shoulders, sides, sleeves), you will use a simple single crochet join with the wrong sides of the work facing out.
- Insert your hook into a corner stitch on both sides.
- Make a single crochet in every corresponding stitch along the seam (matching stitch-for-stitch).
- Chain-5 Spaces: When you encounter a chain-5 space, place 5 single crochets (sc) into the space.
- Granny Square Joins: When you reach the seam where two squares meet, insert your hook through the stitch on both panels and make a single crochet.
Cardigan Assembly
- Back Panel: Join 20 granny squares (5 rows of 4 squares).
- Front Panels: Create two identical panels, each with 8 granny squares (4 rows of 2 squares).
- Shoulders/Upper Back: Place the two Front Panels on top of the Back Panel, with wrong sides facing out.
- Join the top edge of each Front Panel to the top edge of the Back Panel using the single crochet joining method.
- Side Seams (Armholes): Place the Front and Back Panels together (wrong sides facing out).
- Join for the first two squares' height and then stop to leave an opening for the armhole.
- Sleeves: Create 4 granny squares for each sleeve (8 total).
- Join the squares into a closed loop/tube using the single crochet joining method.
- Attach the sleeve tube to the armhole opening using the single crochet joining method.
Finishing/Edging
- Front Opening/Collar: Make three rows of single crochet (sc) around the entire front opening.
- Bottom Hem: Make one row of single crochet (sc) along the bottom edge of the cardigan.
- Sleeves: Make one row of single crochet (sc) around the cuff of each sleeve.
- Weave in all ends on the wrong side of your work to finish.


Leave a Reply