
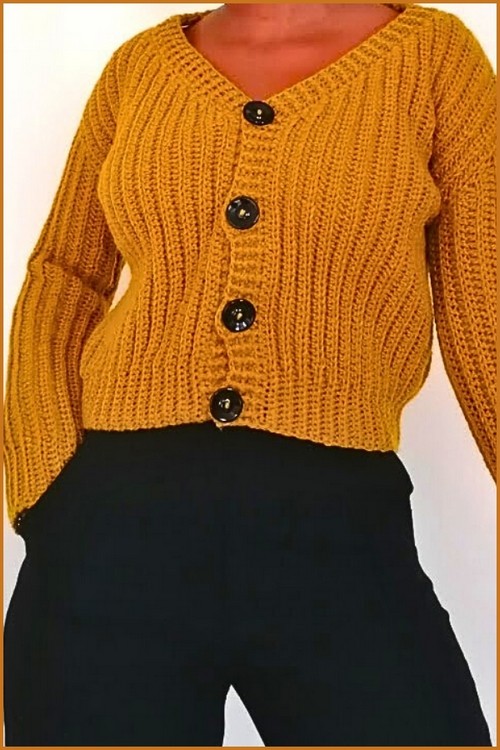
This Crochet Ribbed Cardigan pattern makes a semi cropped cardigan with a defined V neckline, clean vertical ribbing, and a comfortable fit that still looks structured. The cardigan is worked sideways, which means you can adjust the height first, then shape the neckline and shoulder width gradually, making it easier to customize without complicated math.
Crochet Ribbed Cardigan
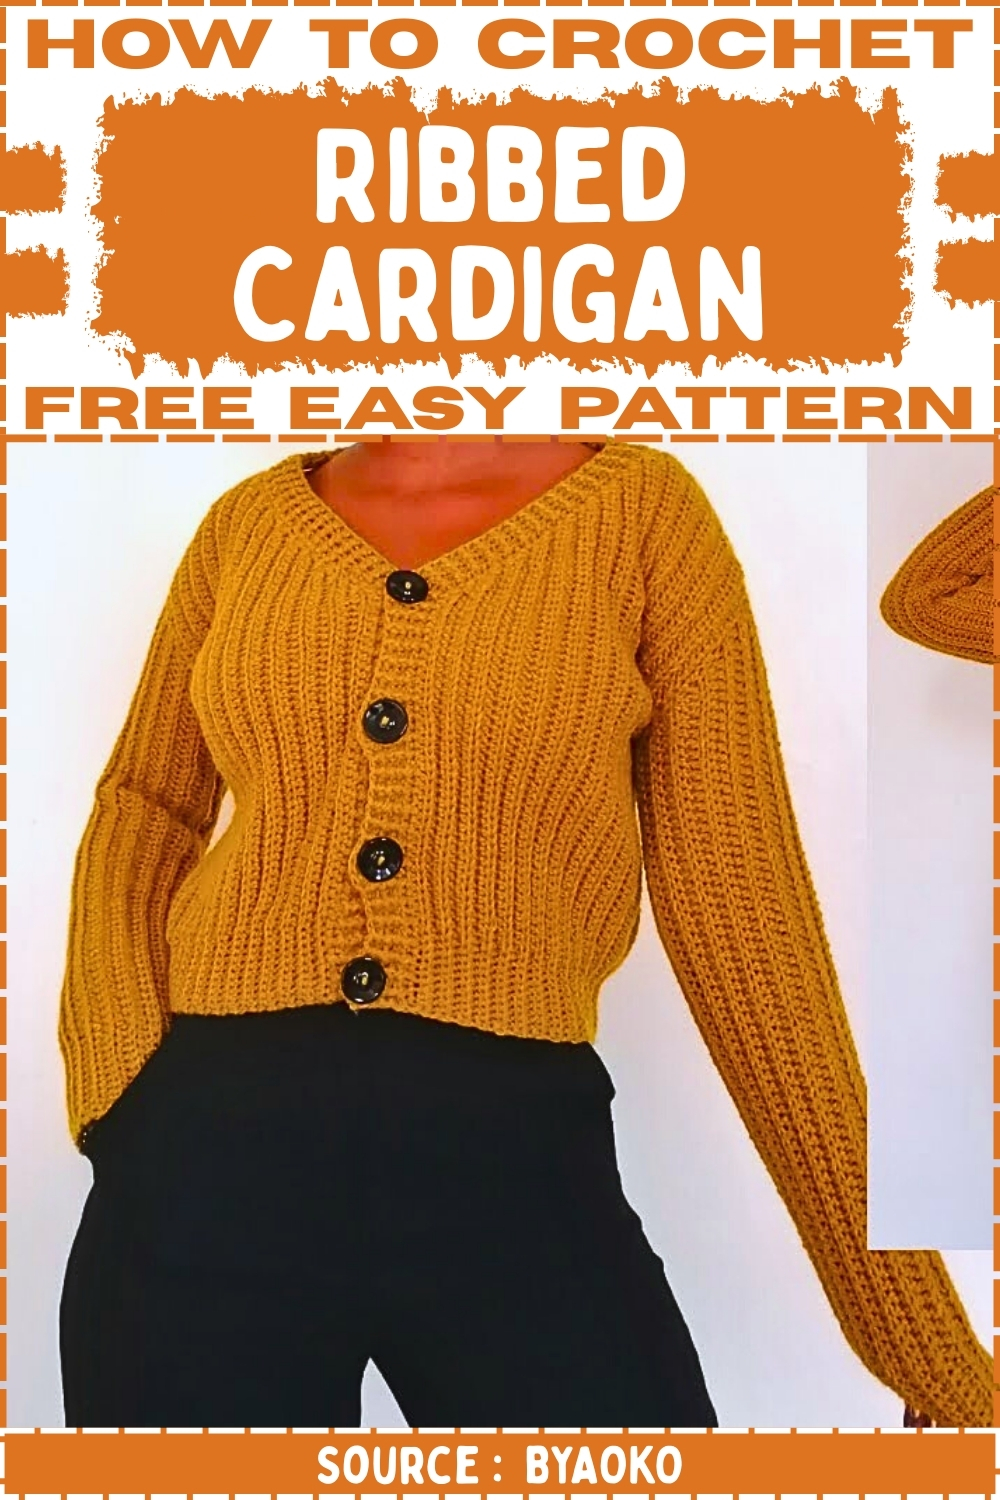
The ribbed band at the bottom keeps the hem neat, the sleeves are shaped to sit smoothly around the armhole, and the neck binding adds a polished finish with optional buttonholes. If you want a cardigan that works as an everyday layer, this design is versatile enough to wear open, buttoned, or slightly oversized depending on how wide you make the panels.
Materials
- Medium weight yarn held double or a single heavier yarn that matches gauge
- 5 mm hook for the main cardigan body
- 4 mm hook for neckline binding and ribbing rows
- Tape measure
- Scissors
- Tapestry needle
- Stitch markers
- Buttons
Notes and Sizing
- The cardigan is worked sideways so your starting chain sets the cardigan height
- The bottom band is made with single crochet stitches and gives a firm edge
- The body uses half double crochet in back loop only to create the ribbed look
- The V neckline slope is created by increases at the neckline edge
- Make two mirrored front panels then one back panel
- Armholes are left open during assembly then sleeves are attached and shaped
- Use your own measurements for best results
- Semi cropped length usually ends around the natural waist or slightly above
Abbreviations
- ch chain
- sc single crochet
- hdc half double crochet
- sl st slip stitch
- blo back loop only
- fp front post
- bp back post
How to Measure Before You Start
- Height measurement for starting chain measure from the bottom hem where you want the cardigan to end up to the top of the shoulder
- Shoulder width measurement from the center front edge to where you want the shoulder seam to sit
- Front panel width measurement how wide you want each front panel to be from center front edge toward the side seam
- Back width measurement across your back from one side seam area to the other
- Armhole depth measurement from top of shoulder down to underarm
- Sleeve length measurement from armpit to wrist or from shoulder to wrist depending on how you prefer sleeves
Front Panels Make 2
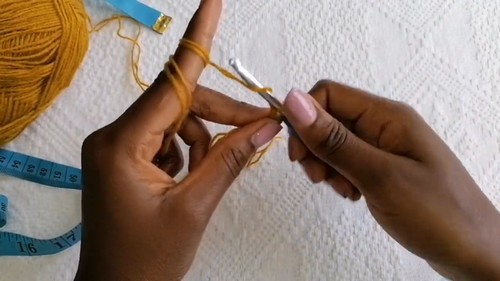
Front Panel Foundation and Setup
- Chain the length you want for the cardigan height
- Add 1 extra chain for turning
- Example the tutorial uses 60 plus 1 chains for about 11 inches height
- Keep the chain relaxed but even so the fabric does not pull
Band and Main Body
- Ch 1 and turn if needed depending on how you start
- Work sc into the second chain from the hook and continue for 10 sc total to create the bottom band
- Place a stitch marker in the 10th sc if that helps you separate band from body
- Switch to hdc stitches for the remaining chains
- Work 1 hdc into each chain to the top edge
- Turn
Increase Row for V Neck Slope
- Ch 1 and turn
- In the first stitch at the neckline edge work 3 hdc into the same stitch using both loops
- This is the increase that creates the V neck angle
- Continue across the body section with 1 hdc in blo in each stitch
- When you reach the band section work 1 sc in blo in each band stitch
- In the last band stitch work through both loops to keep the edge clean and stable
- Turn
Band Straight and Top Increase
- Ch 1 and turn
- Work the band first with sc in blo across the band stitches
- Continue with hdc in blo across the body stitches
- In the very last stitch at the neckline edge work 3 hdc into the same stitch
- This increase keeps the neckline slope consistent
- Turn
Up Building the Neckline and Shoulder
- Repeat the same shaping rhythm used in rows 2 and 3
- Keep increases at the neckline edge only
- Continue until the slanted edge reaches your shoulder width measurement
- Check by folding the panel against your body from center front up toward shoulder
- Once the shoulder width is reached stop increasing
Straight Shoulder Section
- Continue working rows without increases
- Keep the band stitches in sc blo
- Keep the body stitches in hdc blo
- Work until the front panel reaches your desired width
- For a more open cardigan make the front panel narrower
- For more coverage make it wider
Finish the First Front Panel
- Fasten off leaving a long tail for seaming if you want to sew later
- Make the second front panel the same size
- If you want mirrored panels orient the increases so both panels slope correctly for a V neck
- The easiest way is to place the first panel down and begin the second so the increase edge will become the inner neckline edge again
Back Panel Make 1
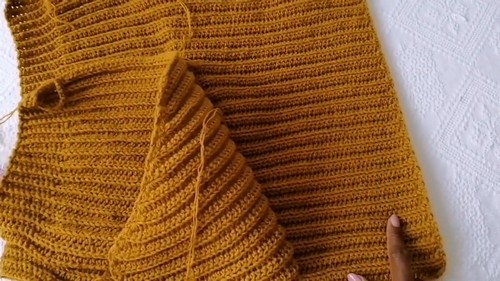
Back Panel Foundation
- Chain the same number of stitches as the outer edge height of your front panels
- Add 1 chain for turning
For Back Panel Body Rows
- Work the same fabric pattern as the front panels but without neckline increases
- Row 1 work 10 sc for the band then hdc to the top
- Next rows work band stitches in sc blo and body stitches in hdc blo
- Work straight rows until the back width matches the combined width of both front panels
- Measure by laying the two front panels side by side then match the back panel width to that total
Finish Back Panel
- Fasten off leaving a tail for seaming
Assembly
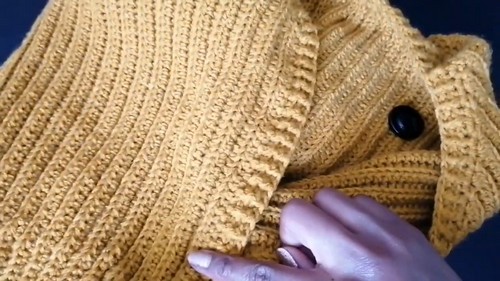
Layout Before Seaming
- Lay the back panel flat
- Place the two front panels on top of the back panel
- Align the top edges and the shoulder areas
- Make sure the neckline edges are facing inward toward the center front
- Make sure the outer edges align with the back panel edges
Join Shoulder Seams
- Join each front panel to the back panel at the shoulder
- Use sc seam or sew with a tapestry needle
- Seam only the shoulder width area
- Keep seams even so the neckline sits flat
Join Side Seams and Leave Armholes
- Fold the cardigan so right sides are together if you want hidden seams
- Starting at the bottom hem sl st or sc seam upward along the side edges
- Stop when you reach the armhole opening
- Leave an armhole depth opening of about 8 inches or your preferred measurement
- Repeat on the other side
- Turn cardigan right side out
Sleeves Make 2
Foundation and Attachment
- Attach yarn at the armpit point of the armhole opening
- Chain the length you want for sleeve length
- Example chain about 74 for around 18 inches depending on yarn and hook
- Add 1 chain for turning
Row 1 Wrist Band and Sleeve Body
- Work 12 sc to create the wrist band section
- Continue with hdc stitches for the rest of the row
- Attach the sleeve row to the armhole by making a sl st into the next available stitch or row edge on the armhole
- This connects the sleeve to the body as you build it
Row 2 and Up Working the Sleeve Fabric
- Ch 1 and turn
- Work sc blo for the wrist band section
- Work hdc blo for the sleeve body section
- At the end of each row join to the armhole edge with a sl st
- Continue building rows around the armhole opening
Sleeve Shaping Increases
- To fit the armhole circumference you will add width near the armhole side
- On increase rows add 1 extra stitch at the armhole side before joining
- You can do this by working 2 hdc in the final stitch or by adding one extra hdc into the join area depending on how your edge looks
- Alternate increase rows with regular rows until the sleeve fabric curves smoothly around the armhole
- Keep checking by laying the sleeve fabric against the armhole edge as you go
Sleeve Shaping Decreases
- When you reach the top center of the armhole begin decreasing
- Skip 1 stitch at the armhole side at the start of the row or at the end of the row depending on which side is joining
- Keep the wrist band section consistent in width
- Continue decreasing gradually until the sleeve section is complete and fits the remaining armhole edge
Close Sleeve Seam
- Fold the sleeve so right sides are together
- Sl st or sew the sleeve seam from wrist to armpit
- Turn right side out
- Repeat for the second sleeve
Neck Binding Ribbing and Buttons
Base Binding Row
- Switch to the 4 mm hook
- Attach yarn at the bottom of one front edge
- Work hdc evenly up the front edge toward the neckline
- Continue around the neck and down the other front edge
- At the V point work 3 hdc in one stitch to keep the point defined
- Along the back neckline work 1 hdc per row edge so the neck does not flare
- Continue until you return to the start
- Join with a sl st
Ribbing Rows for a Professional Finish
- Ch 1 and turn
- Work fp hdc around the next stitch then bp hdc around the next stitch
- Repeat fp hdc and bp hdc across to create ribbing
- Join and turn at the end of each row
- Continue for several rows until the neckline looks sturdy and neat
Buttonholes
- Decide button placement and mark with stitch markers on one side of the front edge
- Work ribbing until you reach a marked buttonhole position
- Ch 4 then skip 2 stitches
- Continue ribbing across
- Repeat for each buttonhole placement on that same row
- On the next row work hdc stitches into each ch 4 space to secure and size the hole
- Continue ribbing rows if you want a thicker band
Finishing
- Weave in all ends securely
- Sew buttons onto the opposite front edge aligned with buttonholes
- Try the cardigan on and adjust button placement if needed
- Block lightly if your yarn benefits from it so the ribbing lays flat and the neckline sits cleanly
Customization Tips
- For longer cardigan add more chains at the beginning to increase height
- For a less cropped style increase the height measurement and chain longer
- For a looser fit add more straight rows on front and back panels for extra width
- For tighter sleeves reduce sleeve chain length slightly or reduce increase frequency
- For a deeper V neck continue increase rows longer before stopping at the shoulder point
- For a higher neckline stop increases earlier and begin straight rows sooner
Troubleshooting
- If the neckline edge ruffles reduce how often you do the 3 hdc increase or tighten your turning tension
- If the cardigan feels stiff use a larger hook or a softer yarn
- If the hem curls add one extra row of sc at the band or block the finished piece
- If armholes feel tight increase the armhole opening depth during side seam assembly
- If sleeves feel too wide reduce increase rows and start decreasing earlier


Leave a Reply