
The Slip Stitch Purl Hat Crochet Pattern is a stylish and functional project that creates a warm, stretchy, and knit-like beanie. Using the unique slip stitch purl technique, this hat combines texture and comfort in one simple design.
Crochet Purl Hat


Its ribbed brim offers a snug yet flexible fit, making it perfect for adults of all sizes. The pattern is easy to follow, with clear rows that repeat until you achieve the desired width. Whether you’re making it for everyday wear, a thoughtful handmade gift, or to expand your crochet skills, this hat is both versatile and beginner-friendly.
Materials
- Yarn of your choice suitable for hats
- Crochet hook size recommended for your yarn
- Stitch markers
- Darning needle
- Scissors
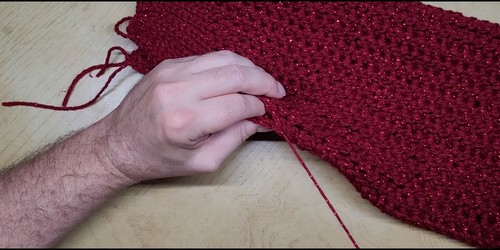
Initial Setup
- Make a slip stitch
- Chain 10 stitches
- Place a stitch marker in the 10th chain
- Chain 30 more stitches for a total of 40 chains
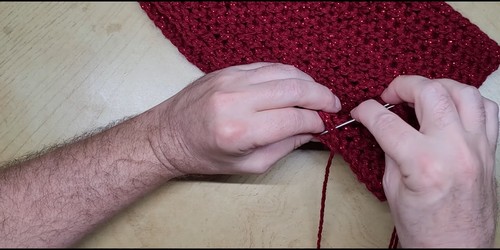
Foundation Row
- Starting from the chain next to the hook, work Slip Stitch Purl stitches
- Continue until you reach the stitch marker for a total of 30 Slip Stitch Purl stitches
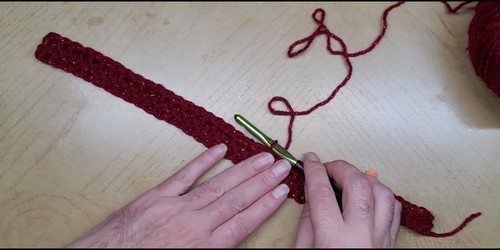
Creating the Brim
- Work across the remaining 10 stitches with slip stitches in the back loops
- Chain one, turn, and make 10 slip stitches back down the row
- Place a stitch marker in the 10th slip stitch
- Return to the body by working Slip Stitch Purl stitches across the 30 stitches
Repeat and Measure
- Repeat the three-row sequence until the piece measures about 16 inches wide
- The finished hat will stretch to fit most adult heads
Finishing the Hat
- Cut the yarn and leave a long tail for sewing the seam
- With a separate piece of yarn, thread through the top edge for gathering and leave tails on both ends
- Fold the hat with right sides together and seam the edges using the long tail
- Pull the gathering strings tightly to close the top and tie securely
- Weave in all yarn ends and turn the hat right side out


Leave a Reply