
Granny squares are a versatile and timeless crochet design that adds charm to any project. Whether you're crafting a cozy blanket, a vibrant bag, or a stylish scarf, this step-by-step granny square pattern offers a simple and enjoyable way to create beautiful squares.
Crochet Granny Square

The easy-to-follow instructions are perfect for beginners looking to master the classic technique, and the pattern can be customized to fit any color scheme. By repeating the process, you can create squares of different sizes and combine them to form unique projects. Start crocheting today and unlock the endless possibilities with this pattern!
Round 1
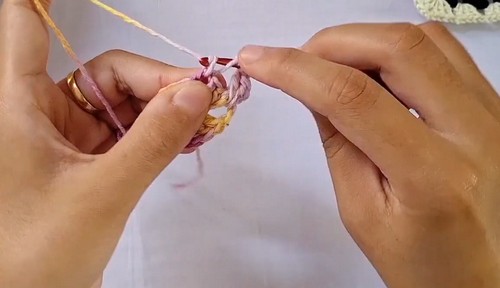
- Start: Create a slip knot and chain 3.
- Double Crochet: Create 2 double crochets into the last chain to form the first cluster.

- Chain & Repeat: Chain 2, then create 3 double crochets into the same loop.
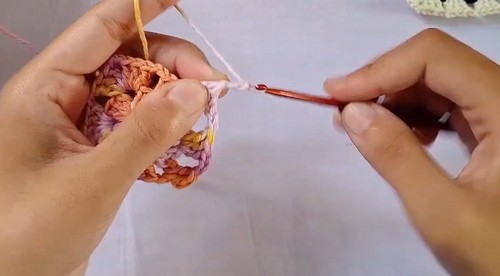
- Repeat this step two more times to form a total of four clusters.
- Connect: Chain 2 and slip stitch into the top of the first chain 3 to connect the round.
Round 2
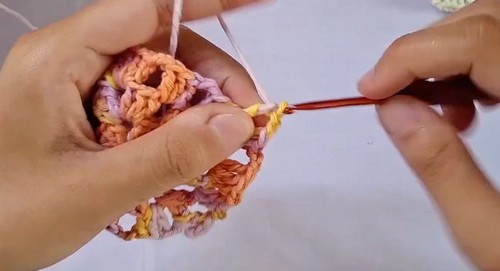
- Initial Stitching: Chain 3, then create 2 double crochets in the same space to form the first corner cluster.
- Corner Clusters: Chain 2, then create a 3 double crochet cluster in the same space.
- This completes the first corner.
- Next Corners: Chain 2, then create a 3 double crochet cluster in the next corner space.
- Chain 2 and repeat this cluster in the same corner.
- Repeat this process for the remaining two corners.
- Connect: Chain 2 and slip stitch to the top of the initial chain 3.
Round 3
- Initial Stitching: Chain 3, then create 2 double crochets in the same space.
- Next Sides: Chain 1, then create a 3 double crochet cluster into the next space.
- Chain 2 and create another 3 double crochet cluster in the same space to form the corner.
- Repeat: Chain 1 and create a 3 double crochet cluster in the next space, then chain 2 and create another 3 double crochet cluster in the same space.
- Repeat for the remaining sides and corners.
- Connect: Chain 1 and slip stitch to the top of the initial chain 3.
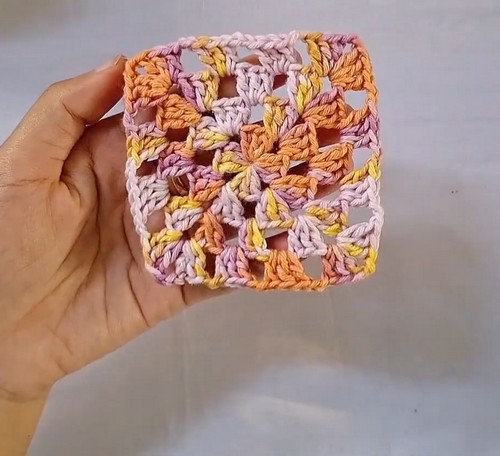
Finishing
Once you've completed the desired number of rounds, cut the yarn and weave in the ends to secure your granny square.


Leave a Reply