
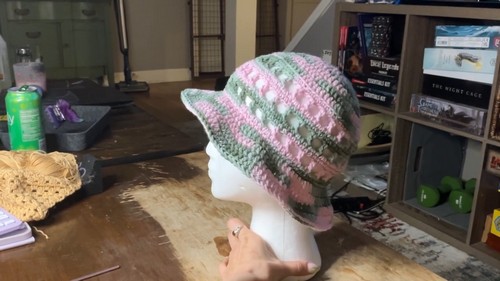
Stay stylish and sun-safe with this breezy bucket hat crochet pattern! Perfect for warm weather, this pattern walks you through crafting a lightweight, breathable hat featuring mesh stitches and a wide brim for added shade. With clear steps from crown to edging, you can customize the size and brim width to suit your style.
Crochet Mesh Bucket Hat
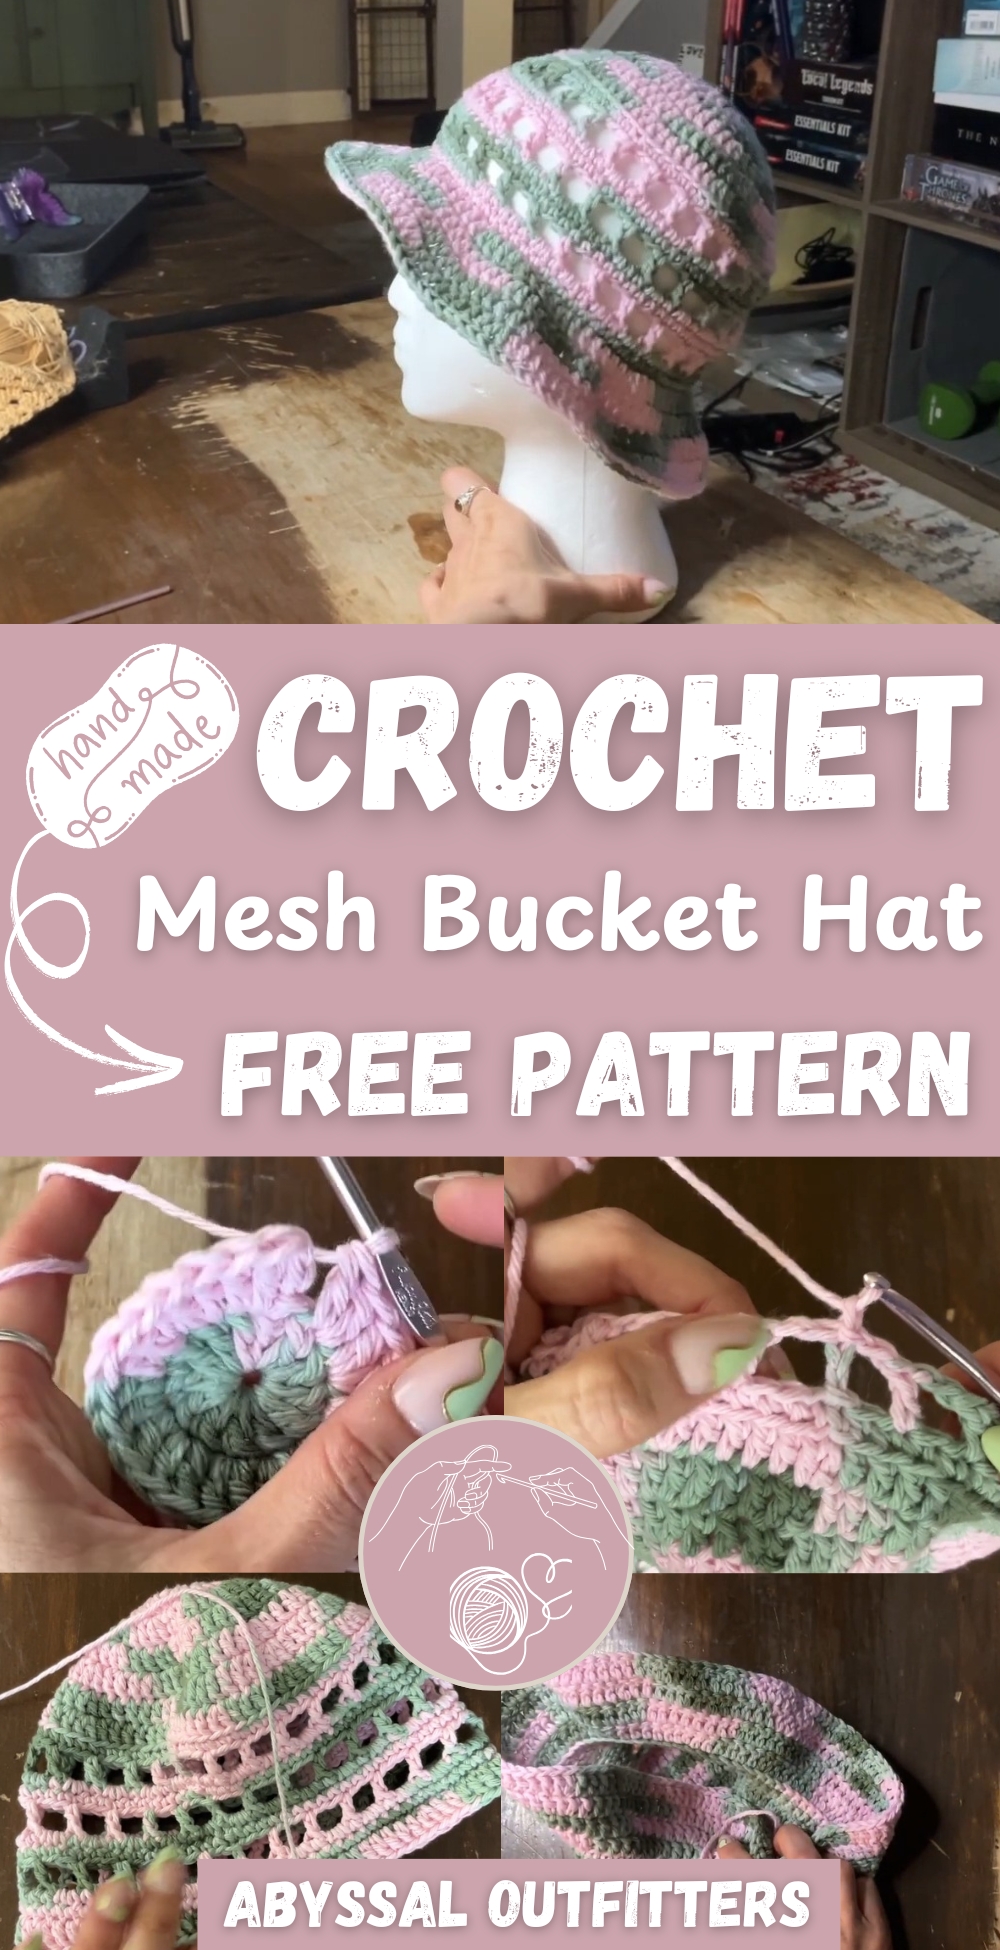
Whether you're headed to the beach, the park, or just out and about, this hat offers both comfort and fashion. Ideal for beginners and experienced crocheters alike, it's a fun, functional project to add to your summer collection.
Materials
- 4.0mm crochet hook (5.0mm optional for edging)
- Cotton or lightweight yarn
- Tapestry needle
- Scissors
Crown of the Hat

Row 1:
- Make a magic loop.
- Chain 2.
- Work 12 double crochets (DC) into the circle.
- Join with a slip stitch into the first DC (not the chain).
Row 2:
- Chain 2.
- Make 2 DC in each stitch (24 total).
- Slip stitch to join.
For Row 3:
- Chain 2.
- Alternate: 1 DC in next stitch, 2 DC in next (repeat around).
- Slip stitch to join.
Rows 4–7 (or more for larger size):
- Continue increasing evenly by spacing DC increases one stitch further apart in each round (e.g., next row = 2 DC, 1 DC increase... then 3 DC, increase... etc.)
- Stop increasing when desired crown width is reached (typically 7 rows for a 22-inch circumference).
Body of the Hat

Transition Ridge (First Body Row):
- Chain 1.
- Work single crochets (SC) in the back loop only (BLLO) around.
- Slip stitch to join.
Mesh Stitch Row:
- Chain 4 (counts as DC + chain 2).
- Skip 2 stitches, DC in 3rd stitch, chain 2 – repeat around.
- Slip stitch to join.
First SC Row After Mesh:
- Chain 1.
- Work 2 SC in each mesh gap and 1 SC into each DC stitch.
- Slip stitch to join.
Second SC Row:
- Chain 1.
- SC into each stitch across the row.
- Slip stitch to join.
Second Mesh Stitch Row:
- Chain 4.
- Skip 2 stitches, DC in 3rd stitch, chain 2 – repeat around.
- Slip stitch to join.
Brim of the Hat
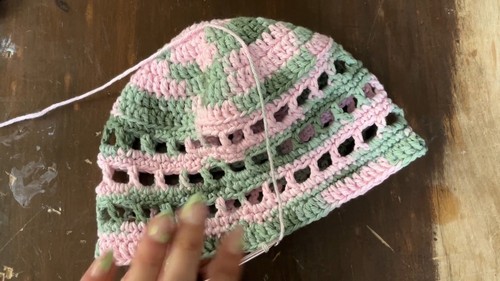
Round 1 (Start of Brim):
- Chain 2.
- DC into the front loop only (FLO) around.
- Pattern: 6 DC, 1 increase (2 DC in same stitch) – repeat.
- Slip stitch to join.
Round 2:
- Chain 2.
- DC in both loops.
- Pattern: 7 DC, 1 increase – repeat.
- Increases can be staggered within the group to reduce visible bumps.
For Rounds 3–5 (or 6 for wider brim):
- Each new round increases the number of DC between increases by 1:
- Round 3: 8 DC, 1 increase
- Round 4: 9 DC, 1 increase
- Round 5: 10 DC, 1 increase
- Slip stitch to join each round.
Finishing Touches
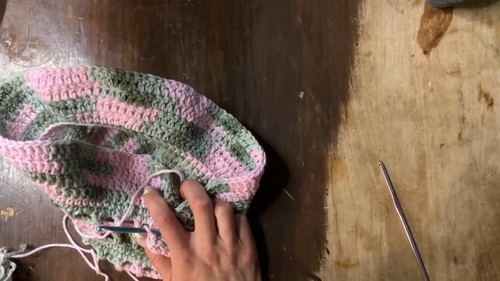
Optional Slip Stitch Edging:
- Switch to a hook 1mm larger (e.g., 5.0mm).
- Slip stitch around the brim (avoid slip stitching into the very first stitch to prevent unraveling).
Weaving in Ends:
- Use a tapestry needle to weave in all loose yarn tails securely.


Leave a Reply