
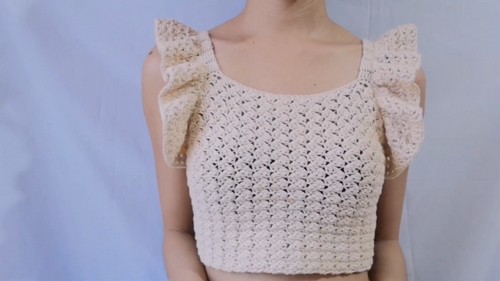
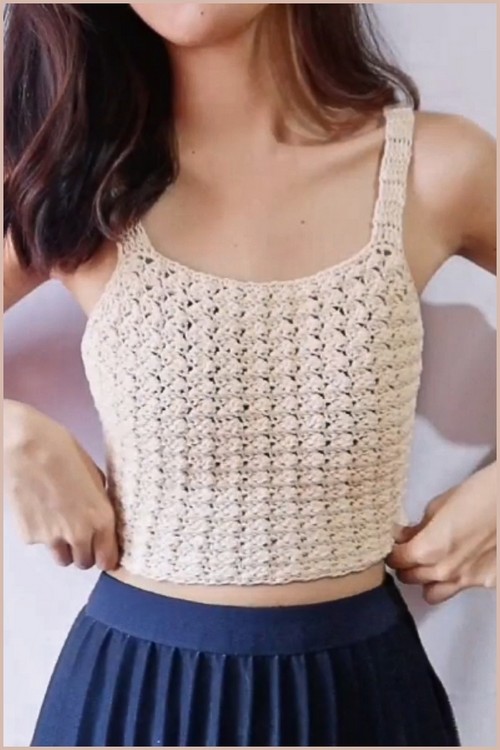
These ruffle straps are the signature finishing detail that gives the Cali Crochet Top a soft, romantic look while keeping the construction simple and repeatable. In this section, you build a ruffle panel using V stitches, then sew it neatly onto the back of each strap for clean structure and pretty movement.
Crochet Ruffle Straps
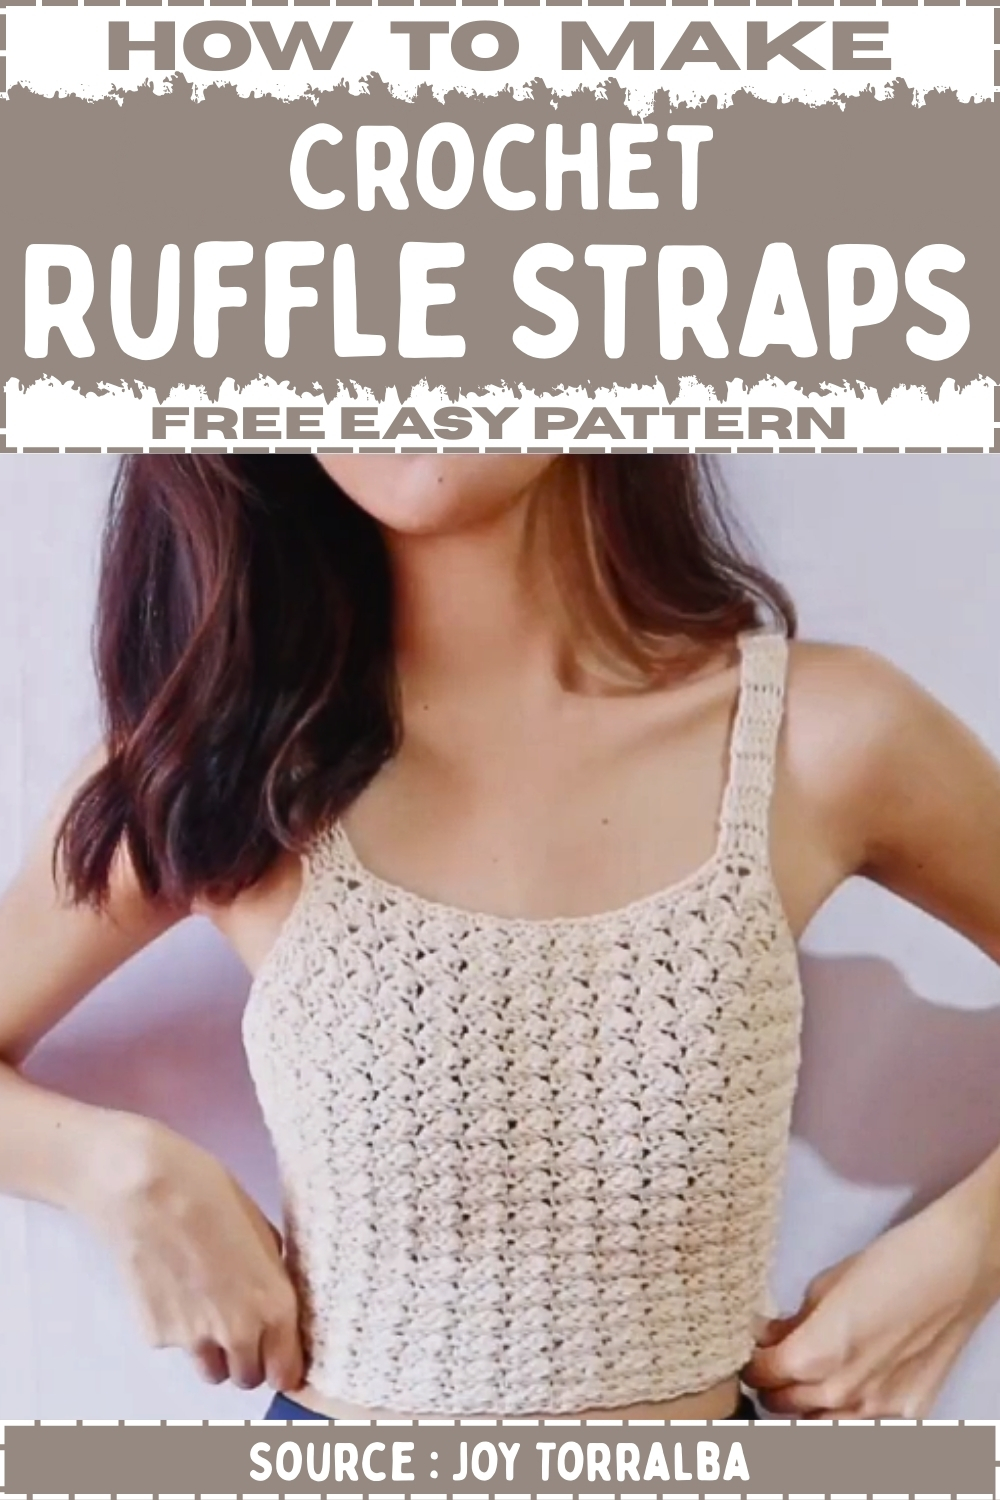
The best part is how customizable it is: you can choose exactly where the ruffles start and stop, adjust the fullness by changing where you place double V stitches, and control the height by adding more or fewer V stitch rows. If you want your Cali Crochet Top to feel more elevated without changing the main body of the top, this strap ruffle method is a perfect add on.
Materials
- Yarn used for the top
- Hook used for the top
- Stitch markers
- Scissors
- Tapestry needle
Abbreviations
- ch = chain
- sl st = slip stitch
- dc = double crochet
- V st = V stitch (dc, ch 1, dc) in the same stitch or space
Notes Before You Start
- The ruffles are made in a shaped section first, then worked evenly up the strap area
- You will use stitch markers to control three things
- Where the ruffles begin
- Where the ruffles end
- Where the initial V stitch shaping must stop
- The ruffle is attached to the back side of the straps for a clean finished look
- Keep your stitch marker positions the same on both straps for symmetry
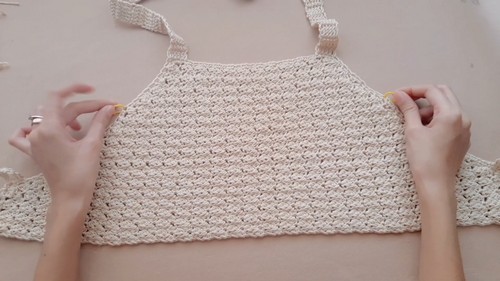
Setup and Marking
- Put your top on or lay it flat and identify the underarm area where the strap begins to rise
- Place your first stitch marker on the 11th row or the row that sits directly above your upper bust near the underarm
- Decide how far up the strap you want the ruffles to go
- Place your second stitch marker at the point where you want the ruffles to end
- Measure about 2.5 inches upward from your first marker along the strap area
- Place your third stitch marker on the 5th row or at that 2.5 inch point
- This third marker shows the last point where your increase style V stitch pattern will be used
- Beyond that point you will work evenly with 2 V stitches into each row of the strap
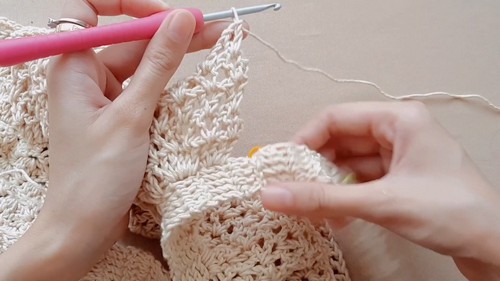
Join Yarn and Begin the Ruffle Base Row
- Make a slip knot on your hook
- Join yarn at the first stitch marker on the strap edge
- Work your first V stitch in the same joining stitch
- Chain 2
- Double crochet in the same stitch
- Chain 1
- Double crochet in the same stitch
- You now have 1 V stitch
Ruffle Base Row Shaping Along the First Marked Section
- Continue working along the edge stitches toward the third marker
- Repeat this shaping pattern across the stitches
- Work 2 V stitches in the next stitch
- Work 1 V stitch in the next stitch
- Keep repeating
- 2 V stitches in one stitch
- 1 V stitch in the next stitch
- Continue until you reach the third stitch marker
- This creates fullness in the lower part of the ruffle
Transition Into the Strap Row Section
- After you pass the third marker you will stop the shaping pattern
- Work along the strap edge rows evenly
- Place 2 V stitches into every row as you move upward
- Keep the same rhythm all the way up the strap edge
- Continue until you reach the second stitch marker where the ruffles should end
Ending the Base Row at the Stop Marker
- When you reach the second marker, complete your last set of V stitches
- Slip stitch into the stitch at the marker to anchor the end neatly
- Do not fasten off yet if you are ready to continue to the next rows
Build the Ruffle Height Rows 2 to 5
- Chain 2 and turn your work
- Work 1 V stitch into each chain 1 space across
- Double crochet into the chain 1 space
- Chain 1
- Double crochet into the same chain 1 space
- Repeat that in every chain 1 space until you reach the end
- When you reach the end, chain 2 and turn
- Repeat the same row again
- 1 V stitch in every chain 1 space
- Continue until you have a total of 5 rows of V stitches including the base row
- If you want a taller ruffle, add more rows using the same method
- If you want a shorter ruffle, stop at fewer rows
Fasten Off With a Long Sewing Tail
- After completing your final V stitch row
- Slip stitch into the stitch at your end marker
- Chain 1 to secure
- Cut yarn and leave a long tail for sewing
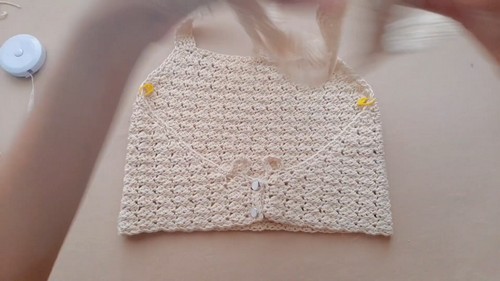
Sew the Ruffle to the Back of the Strap
- Thread the long tail onto a tapestry needle
- Position the ruffle behind the strap
- Make sure the ruffle sits flat and centered
- Check the placement before stitching fully
- The ruffle should sit about 2.5 inches away from the starting point that was marked earlier
- Sew through the ruffle edge and the strap stitches using small secure stitches
- Keep stitches even so the ruffle lays smoothly
- Weave in the tail securely on the inside
Section 8 Repeat for the Second Strap
- Repeat the exact same marking placements
- Start the ruffle from the back side and work toward the front side
- Keep the shaping pattern and number of rows identical for symmetry
- Sew the second ruffle to the back of the strap the same way
Customization Options
- For more dramatic ruffles
- Extend the shaping section by continuing the 2 V stitch then 1 V stitch pattern farther up before switching to 2 V stitches per row
- Add 1 to 3 extra V stitch rows for added height
- For more subtle ruffles
- Shorten the shaping section so it ends sooner
- Work only 3 to 4 rows total
- For a longer ruffle strap
- Move the end marker higher on the strap
- Keep the same row repeat for the height
Stitch Clarity Quick Check
- V stitch is always dc, ch 1, dc in the same stitch or same chain space
- Row 1 is where fullness is created using double V stitches in one stitch
- Rows 2 onward are worked into chain 1 spaces only, which keeps the texture clean and consistent


Leave a Reply