
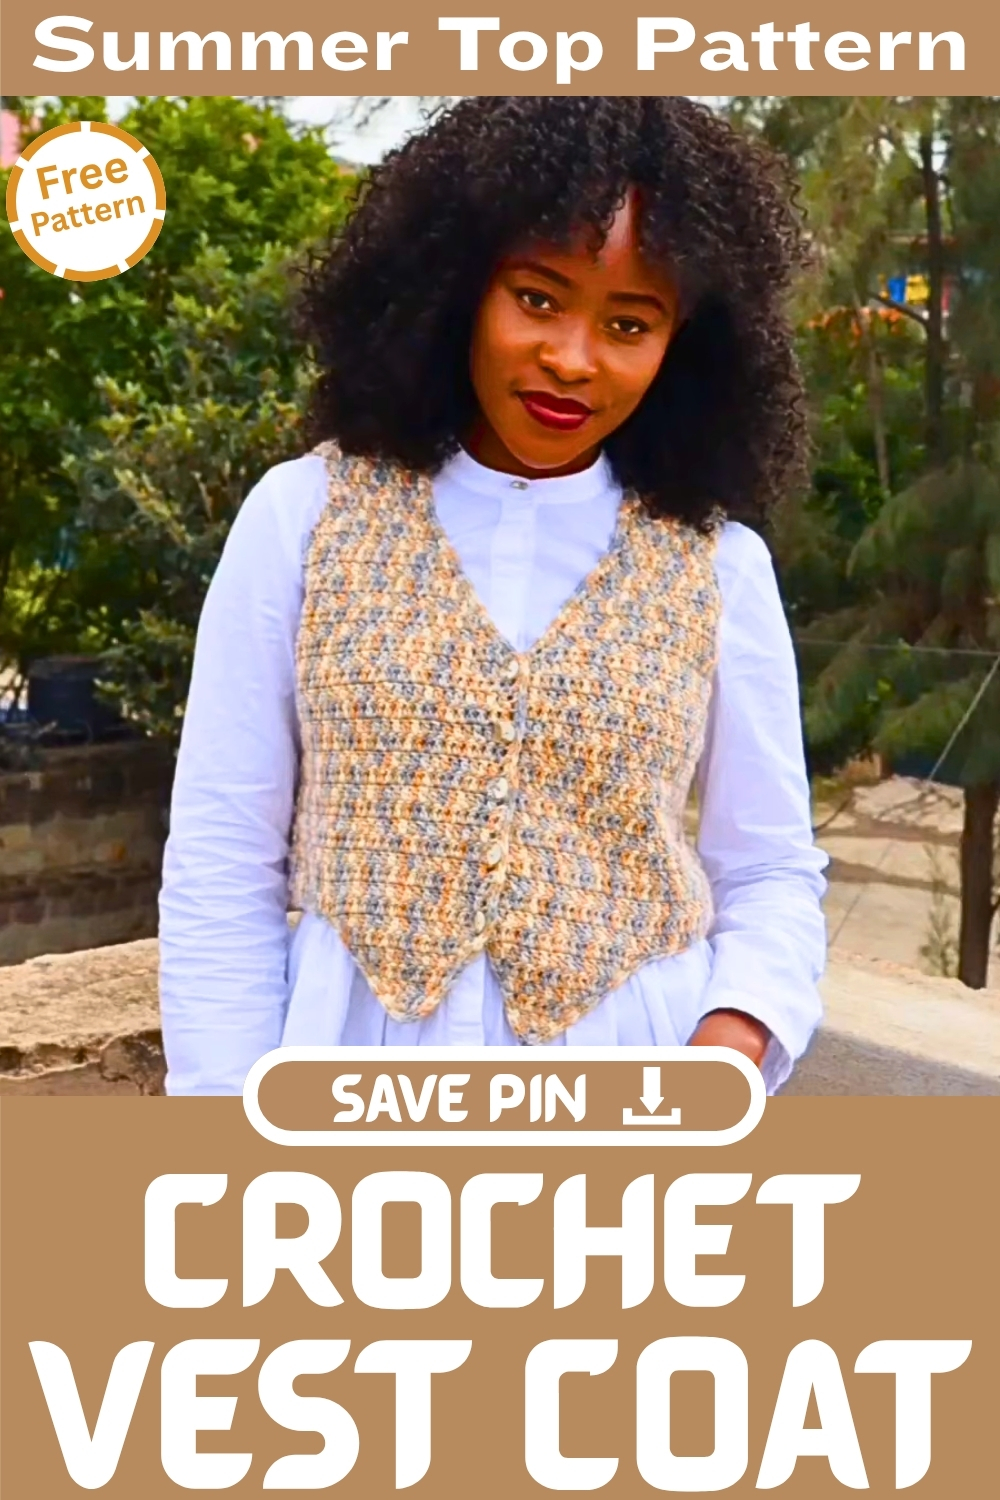
The Crochet Vest Coat Pattern is a perfect blend of cozy warmth and stylish flair, offering a timeless piece for any wardrobe. With its intricate stitchwork and versatile design, this pattern lets you craft a beautifully textured vest coat that can easily be dressed up or down.
Crochet Vest Coat

Whether you're looking to add a touch of boho chic to your outfit or need an extra layer for chilly days, this pattern provides a fun and satisfying project for crochet enthusiasts of all levels. Get ready to create a unique, handmade garment that combines comfort and fashion effortlessly!
Materials Needed:
- Variegated yarn (100 grams, medium weight)
- 4.5 mm crochet hook
- Measuring tape
- Stitch markers
- Scissors
- Approximately two and a half balls of yarn
Pattern Instructions:

Front Panel Creation (Start at the bottom and work your way up):
- Make a slipknot leaving a long tail for weaving in ends later.
- Chain 5.
- Double crochet (DC) in the first stitch.
- Note that the first 4 chains will count as a double crochet.
- You will have two double crochet stitches now.
Start increasing on one side more than the other:
- Chain 2.
- Increase by adding two stitches in the first stitch (the chain 2 space), which means making two DCs in the same stitch resulting in 3 DCs including the chain space.
- Mark this side with a stitch marker as the faster increasing side.
- In the last stitch of the row (the initial chain), place 2 DCs to increase slowly on this side.

Increasing Rows:
- Chain 2 at the start of each new row (for the side where you are slowly increasing, where you only add one additional stitch in the first stitch).
- Place 3 DCs in the last stitch of the row where your marker is (for the faster increasing side).
Continue Increasing:
- Repeat the steps for increasing until you have about 3 inches of work done.
Extending the Front Panel:
- Extend the work on the faster increasing side.
- Chain according to your size to reach half of your intended front panel width.
- For example, the presenter chains 34 stitches to reach 9 inches for half her front panel width.
- Double crochet in each stitch, including the new chains made, to continue the row.
- Remember not to increase at the end of this row.

Work in Straight Line:
- After achieving the desired width, work straight up without any further increases.
- Chain 2, turn, place a DC in each stitch across.
- Continue for the desired length until just under your armpit, which in the example was around 7 inches from the wider side.
Decreasing for Armholes:
- Start decreasing to shape the armholes:
- Chain 2, turn your work.
- To decrease, yarn over, insert your hook into the next stitch, pull through, yarn over, go into the next stitch, pull through, yarn over, pull through two loops, yarn over, pull through all three loops on the hook.
- Continue placing one DC in each stitch until the last two stitches, where you then decrease again.

Repeat Decrease Rows:
- Repeat the decrease at the beginning and end of each row until you reach the desired height for the part that rests on your shoulder (the presenter stops at 3 inches).
Create the Second Front Panel:
- Repeat all the steps above to make another identical front panel.
Back Panel:
- Make the same amount of starting chains as your total front panels width.
- Work in a straight line exactly as you did for the front panels.
- Decrease on both sides when you reach the same height where you started decreases for the front panels.
- Stop decreasing at a point to leave space for the neckline.
Joining Shoulder Seams:
- Sew the front and back panels together at the shoulders using a darning needle.

Joining Side Seams:
- Sew the sides together from the bottom up to just below the armpit using a darning needle for a smooth finish.
Binding:
- Single crochet all the way around the piece to create a neat edge.
- If you need buttonholes and your stitches aren't large enough for the buttons, make loops within the binding process appropriate for your button size.


Leave a Reply