
Spirit of fall with this adorable and unique Granny Square Pumpkin crochet pattern. This creative project combines the timeless technique of crochet with a fun, seasonal twist, making it the perfect addition to your autumn décor.The pattern walks you through creating six granny squares and joining them into a pumpkin shape, topped with a cute little cinnamon stick as a stem.
Crochet Pumpkin
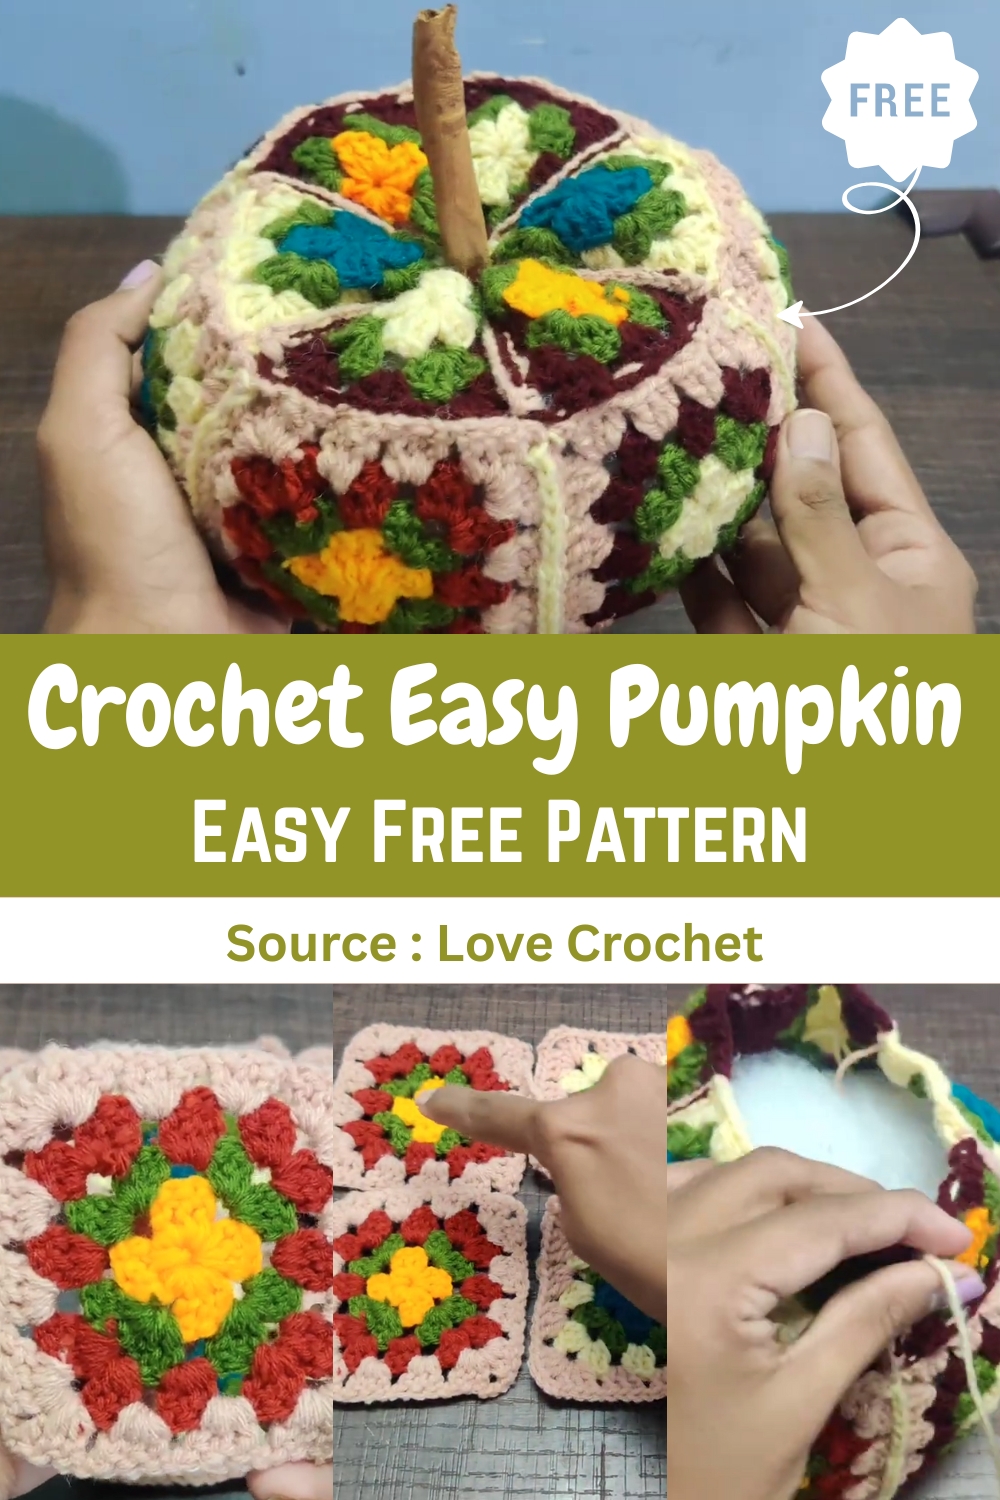
Whether you're a crochet beginner or an experienced crafter, this easy-to-follow tutorial allows you to personalize your pumpkin, making it a fantastic gift or centerpiece. Its versatility also offers the opportunity to experiment with different yarn colors for a variety of seasonal looks!
Materials
- Yarn (Orange, Green, Brown, and any other color you prefer)
- Crochet hook (appropriate size for your yarn)
- Darning needle
- Poly-fil stuffing
- Cinnamon stick (for stem)
- Scissors
Create the Crochet Pieces
- Make six granny squares.
- Create a round coaster base.

Join the Granny Squares
- Join two granny squares with a slip stitch, working through the front loop of the front square and the back loop of the back square.
- Continue this process to join all six granny squares into a ring.

Attach the Base and Top
- Sew the six-square ring to the coaster base using a darning needle and yarn.
- Create six smaller granny squares to form the top.
- Join the six small squares together using the same slip stitch method.
- Sew the small granny square ring to the top of the pumpkin form with a darning needle.

Stuff and Close
- Stuff the pumpkin with poly-fil.
- Using a darning needle, sew the top of the pumpkin closed and pull the yarn tight to cinch the opening.

Add the Stem
- Glue a cinnamon stick to the top of the pumpkin to create the stem.


Leave a Reply