
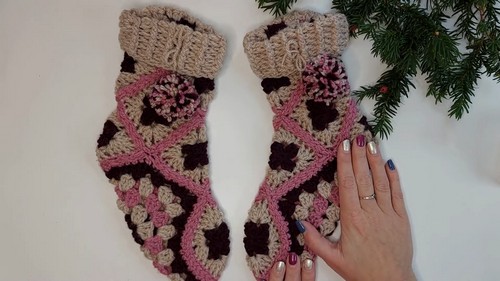
These Crochet Granny Square Slipper Socks are a fun and cozy project for any crocheter! This pattern guides you through creating a comfortable pair of slippers using classic granny squares, making it perfect for beginners and experienced crafters alike.
Crochet Slipper Socks
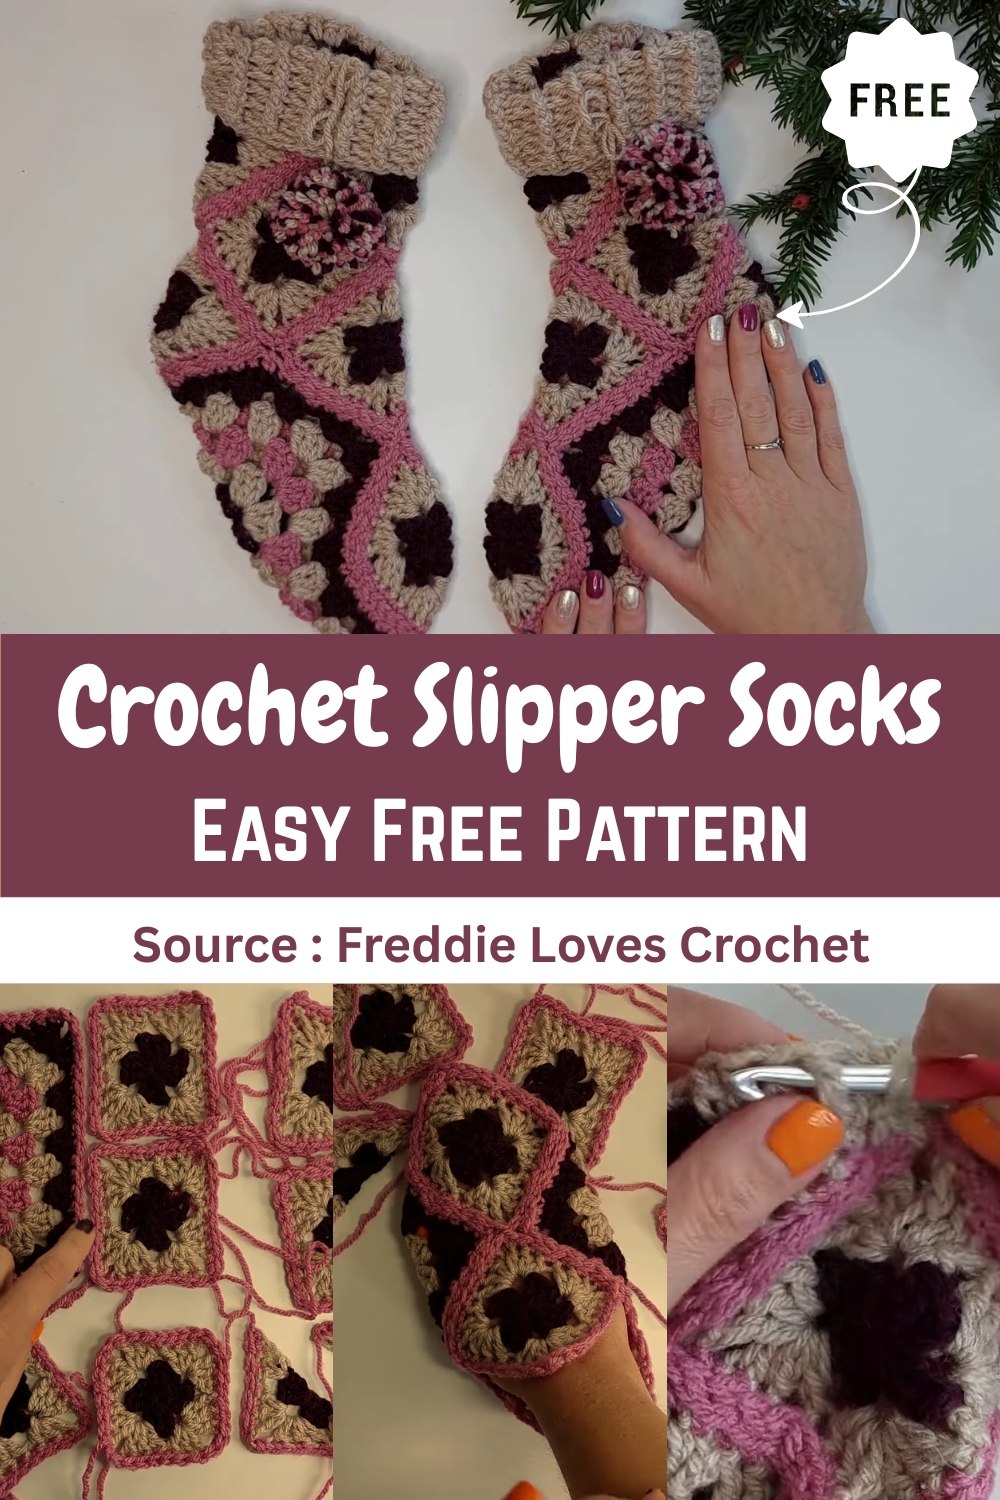
With three main stages—preparation, assembly, and cuff building—you'll be able to customize the fit and style to your liking. Whether you're looking to keep your feet warm or make a thoughtful handmade gift, these slippers offer versatility in color and design, and the ribbed cuff adds a beautiful, polished finish. This pattern is also great for using up your yarn scraps and experimenting with different granny square motifs.
Materials
- Aran weight yarn (or worsted weight)
- 6mm crochet hook
- Yarn needle for sewing
- Optional pom-pom for decoration
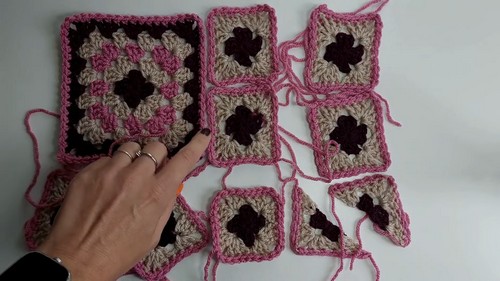
Preparation and Materials
You will need a total of ten squares for one slipper:
- 1 Big Square – 16 cm (6.5 inches) across (5 rounds)
- 7 Small Squares – 8 cm (3 inches) across (2 rounds)
- 2 Half Squares
Big Square (Sole):
- About 16 cm (6.5 inches) across
- Add a single crochet edge
Small Squares:
- About 8 cm (3 inches) across
- Add a single crochet edge
Tip: Leave long tail ends to sew squares together without weaving in extra ends.
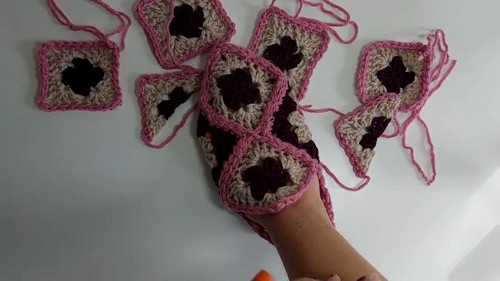
Assembly of the Base Sock
Start the Toe:
- Place three small squares in a row along one edge of the Big Square (the sole). Sew them onto the big square.
Turn and Sew:
- Flip the work so the wrong sides are facing out.
Close the Toe:
- Sew the adjacent edges of Ues together to form the curved tip of the toe.
Form the Sides:
- Continue sewing the side edges of the Big Square to the side edges of the small squares to form the sides. Leave the top open for now.
Close the Heel:
- Sew a fourth small square to the back opening to close the heel.
Building the Cuff and Height
Add Height:
- Sew one small square onto the top edge on one side of the sock opening, and a second small square on the opposite top edge.
Fill the Front and Back:
- Sew the remaining small square at the front and another at the back to connect the sides.
Square Off the Top:
- Use the two half squares to fill in the gaps at the sides/corners of the opening.
Ribbing and Finishing
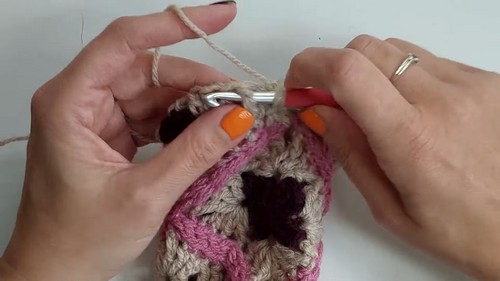
Pick Up Stitches (Round 1):
- Attach yarn to the top raw edge and pick up stitches around the opening using double crochet (US term). Aim for 25-30 stitches around.
Create the Ribbing:
- Alternate between Front Post Double Crochet (FPDC) and Back Post Double Crochet (BPDC) for the ribbed texture.
- Start each row with a chain two.
Repeat:
- Continue repeating the ribbing row until the cuff is your desired height (e.g., 6 to 8 rows).
Final Touches:
- Fasten off yarn, weave in ends, and fold the cuff over. Add a pom-pom for decoration if desired.


Leave a Reply