
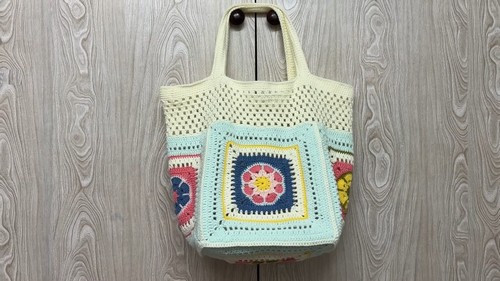
This crochet granny square bag is the perfect project for both beginners and seasoned crocheters alike. With just five granny squares and a few simple crochet techniques, you can create a stylish and functional bag for everyday use.
Crochet Granny Square Bag
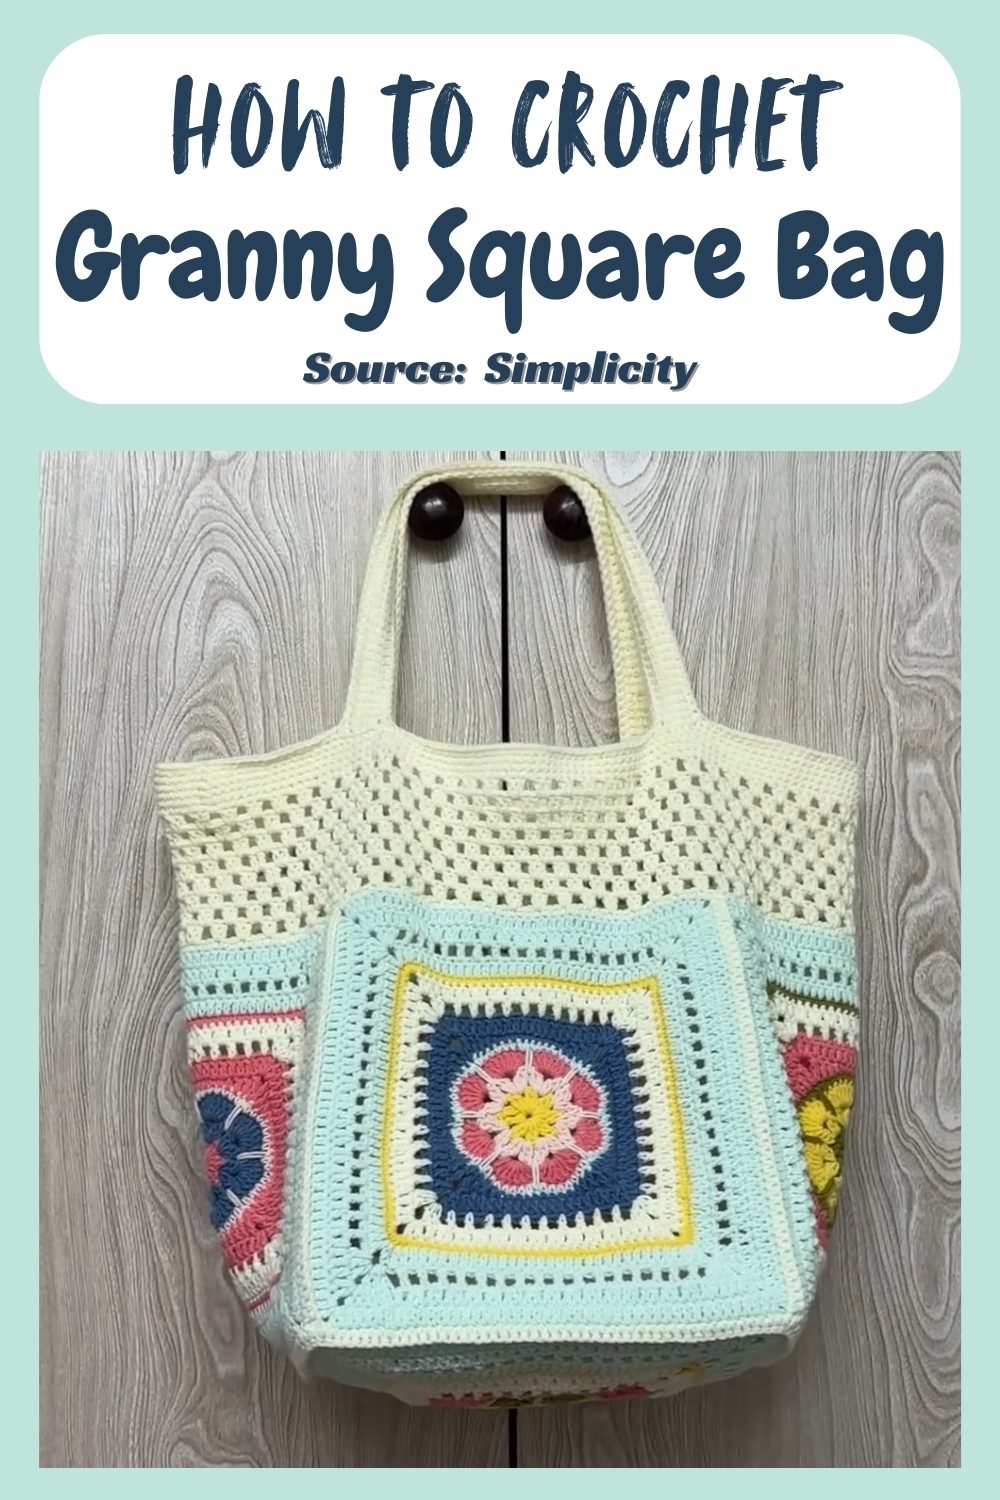
The design allows for versatility, whether you prefer a classic look or want to customize with your favorite yarn colors. This project combines simplicity with creativity, giving you the opportunity to craft a piece that is both beautiful and practical.
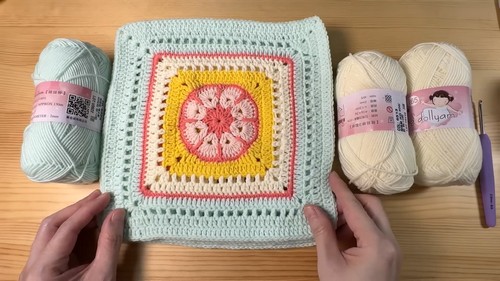
Materials
- Five granny squares of the same size.
- Yarn of the same size.
- A 3.5mm crochet hook.
Assembly and Joining
- Join the squares for the sides: Lay out four granny squares and stitch them together side by side, with the wrong sides facing each other.
- Use a slip stitch method to join the sides.
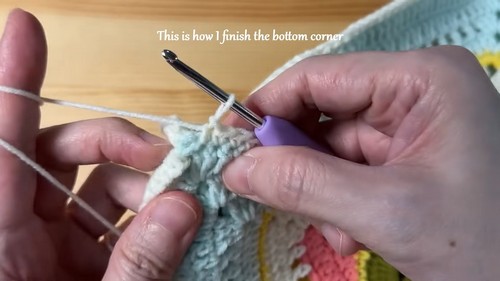
- Attach the bottom square: Attach the fifth granny square to the bottom of the four joined squares to form the base of the bag.
- Close the bag sides: Use the slip stitch to close the sides of the bag, connecting the first and last granny squares to form a tube shape.
Creating the Upper Section
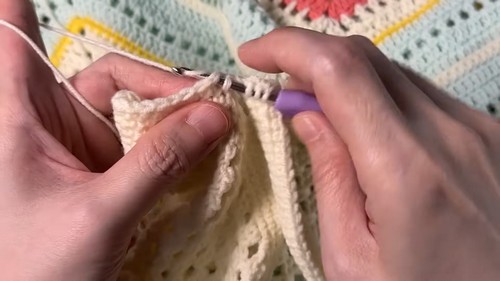
- First row: Work a row of single crochet stitches around the top opening of the bag.
- Begin with a chain one, then work a single crochet in each stitch around, skipping the corners.
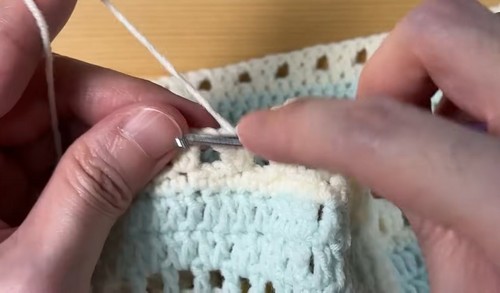
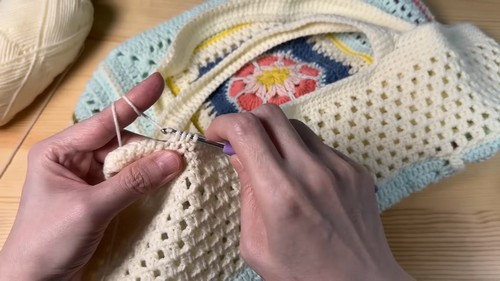
- Continue the mesh pattern: For subsequent rows, slip stitch two stitches, chain three, then work one double crochet in the same space.
- Chain one, skip two stitches, and work two double crochets in the next chain-one space.
- Repeat this pattern to reach your desired bag height.
Making the Handles
- Mark the handle placement: Use markers to indicate where the handles will be placed, about 7 inches (18cm) or 18 stitches apart.
- Start the handle strap: Create a chain of stitches for the handle, approximately 16 inches (41cm) long.
- Attach the handle: Attach the chain to the next marker using a single crochet stitch.
- Work single crochet rows on the strap: Work rows of single crochet stitches down the length of the handle to create a sturdy strap.
- Add an extra row on the inward part of the strap for reinforcement.


Leave a Reply