
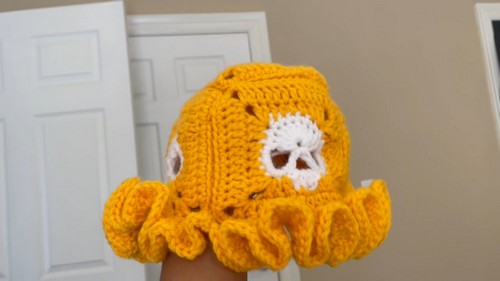
Get ready to turn heads with the Crochet Floppy Hat Pattern—the ultimate blend of laid-back vibes and effortless chic! This pattern lets you create a stunning, oversized hat that’s perfect for a day at the beach or a stylish afternoon stroll.
Crochet Floppy Hat
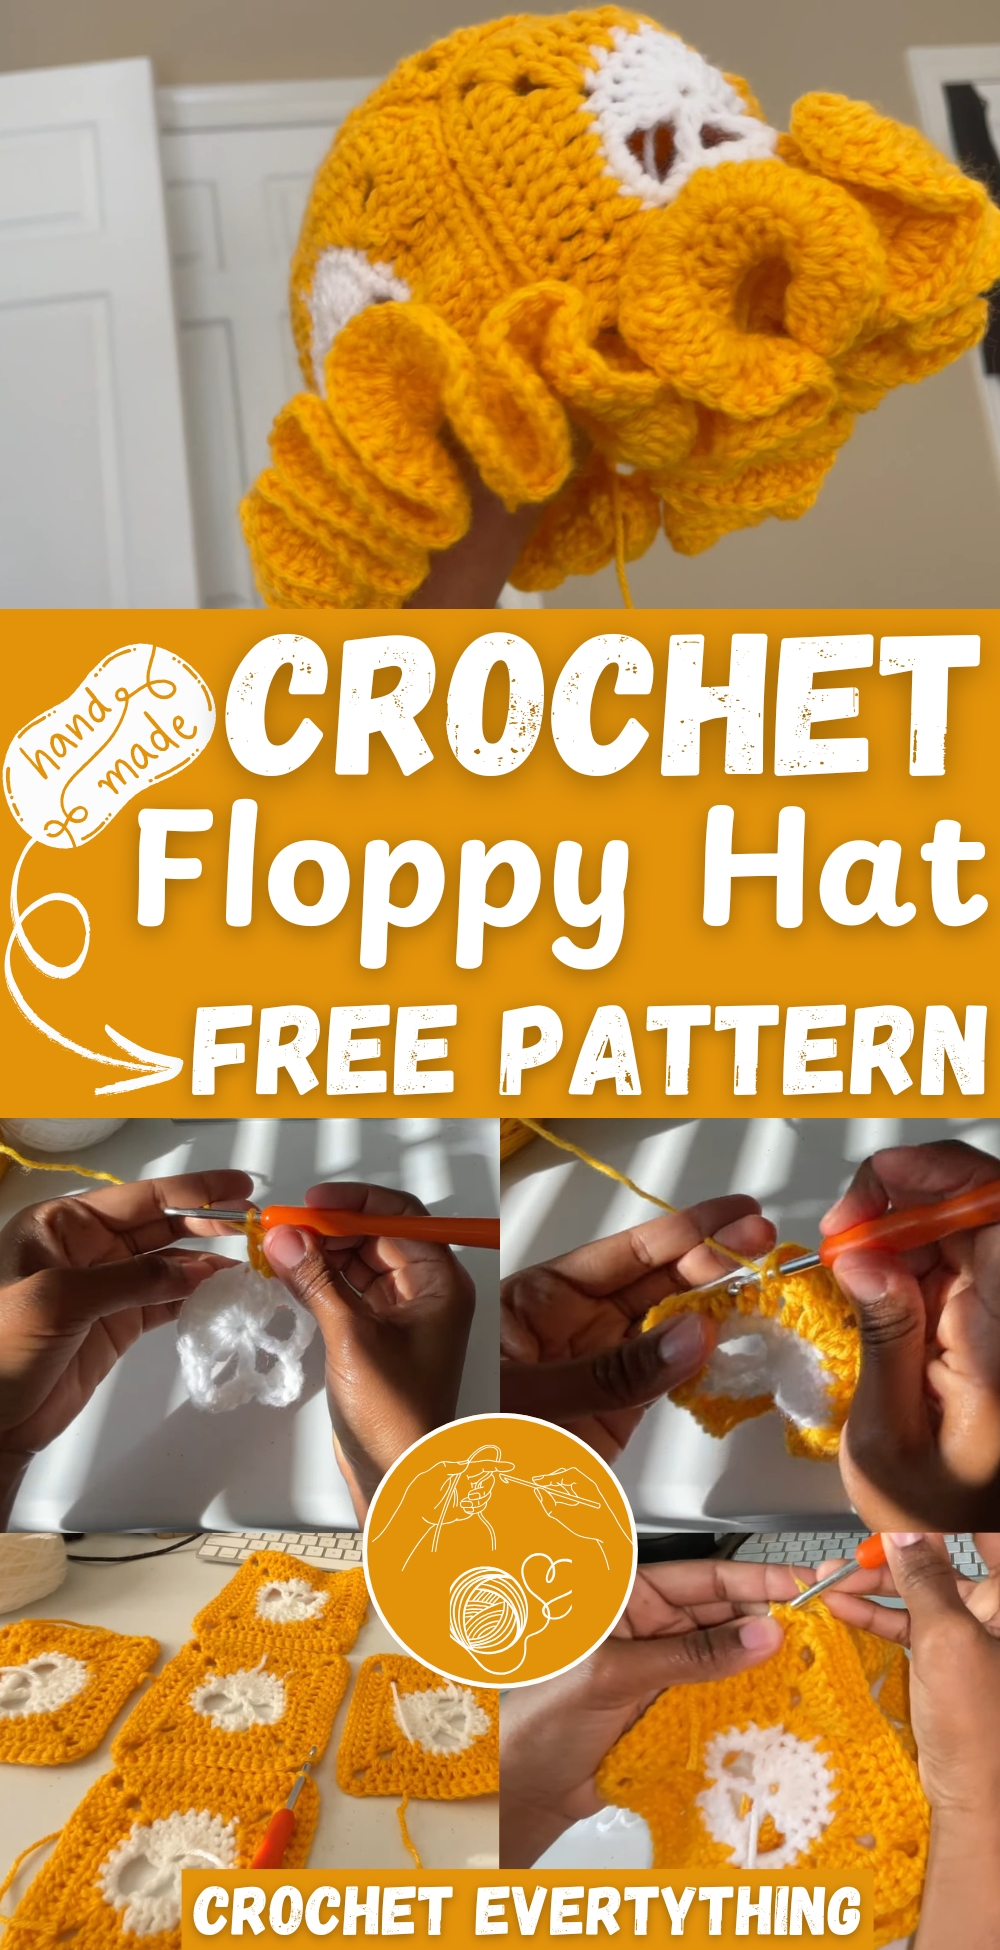
With its wide brim and breezy design, this crochet project brings fun, flair, and just the right amount of drama to any outfit. Whether you're looking to jazz up your summer wardrobe or add a playful touch to your accessories collection, this floppy hat is your new go-to piece for turning ordinary days into fabulous moments!
Materials Needed:
- Crochet hook: 5 mm
- Yarn of choice
Pattern
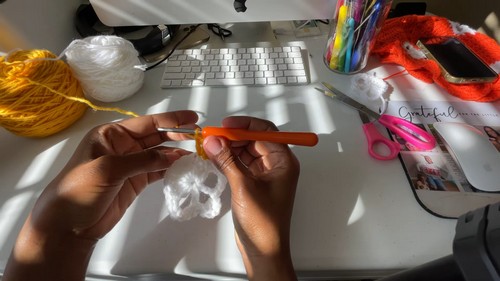
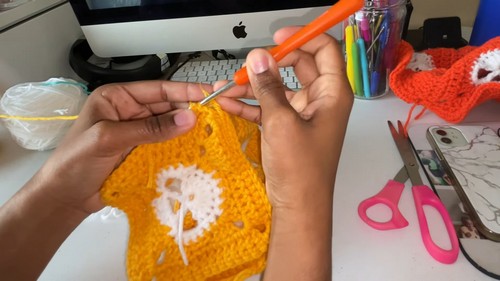
Skull Motif:
- Begin with a slip knot.
- Chain 4 to create a foundation ring (alternative to a magic circle).
- Slip stitch into the first chain to form a ring.
- Chain up 2, then double crochet 9 times into the center ring.
- Chain 5, double crochet into the center ring.
- Chain 3, double crochet into the center ring.
- Chain 5, then slip stitch into the first double crochet stitch (not the chain), completing the skull's shape.
- Pull the string at the back to tighten up the circle.
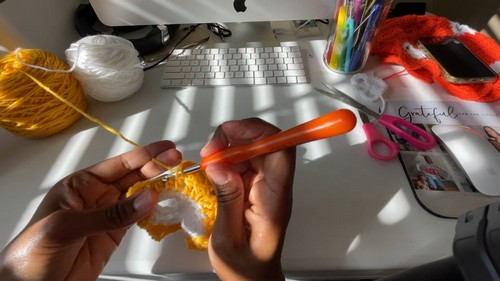
Row 2:
- Loop your hook back to the yarn and chain 1.
- Single crochet once in the next eight double crochets.
- In the chain 5 space, make 6 double crochets around that space.
- Slip stitch into the chain 3 space.
- Chain 1, make one double crochet into the chain 3 space, chain 1 again, and add another double crochet into the space.
- Slip stitch back down, then single crochet 6 times over the next chain 5 space.
- Slip stitch into the first single crochet to close the round.
- Cut your yarn and fasten off as the skull portion is complete.
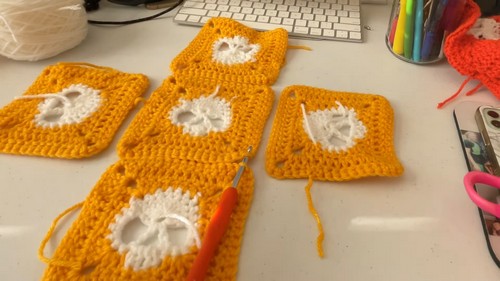
Square Base (around the skull):
- Start with a slip knot and attach your yarn to the skull, but not at the first single crochet. Go to the second one and join your yarn there.
- Chain up 3 (counts as your first double crochet).
- Place a double crochet in the same stitch.
- Chain 3 and place two more double crochets in the same single crochet stitch (first corner made).
- Double crochet in the next stitch, followed by half double crochets in the next three stitches.
- Double crochet in the next stitch, then create the next corner by making two double crochets – chain 3 – two double crochets in the same single crochet stitch.
- Continue creating corners by double crocheting, half double crocheting, and creating corners as outlined in the steps above.
Finishing the Square Base:
- Join with a slip stitch to the first chain 3.
- Chain 3, double crochet into the same stitch.
- Work your corners by making two double crochets, chain 3, and two more double crochets into the same corner space.
- Double crochet in each stitch between corners.
- Join with a slip stitch once you reach the end of the round.
For the Border:
- Chain 1, then single crochet into each double crochet all the way around.
- In the corner spaces, place three single crochets around the chain 3.
- Join with a slip stitch to close the round.
- 5 pieces of this pattern are needed for a complete hat.
Seaming the Squares:
- Arrange the squares in a T or plus (+) sign shape, right sides down.
- Use a slip stitch, single crochet stitch, or a tapestry needle to join the squares together, starting with joining all squares to the center top square.
For the Brim:
- Chain up 3, double crochet three times into the next stitch, continue doing this all the way around to create a ruffled, fluffy edge.


Leave a Reply