
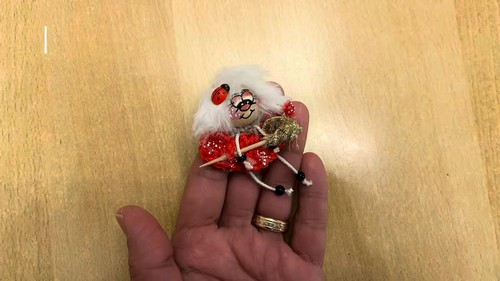
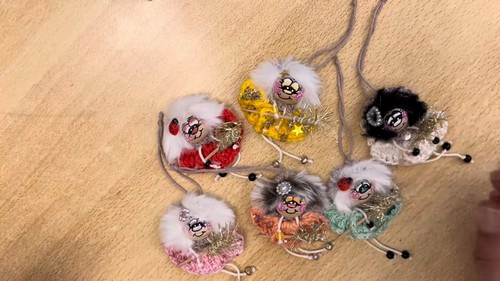
Bring a bit of magic to your crochet creations with this delightful Crochet Magic Fairies (Zauberfeen) pattern! Ideal for whimsical home décor, handmade gifts, or as enchanting companions for imaginative play, these crochet fairies combine charm and creativity with ease. With colorful cotton yarn, fun fringe hair, and sparkly details like glitter wands and beaded limbs, this pattern lets you fully customize each fairy to match any color palette or occasion.
Crochet Magic Fairies
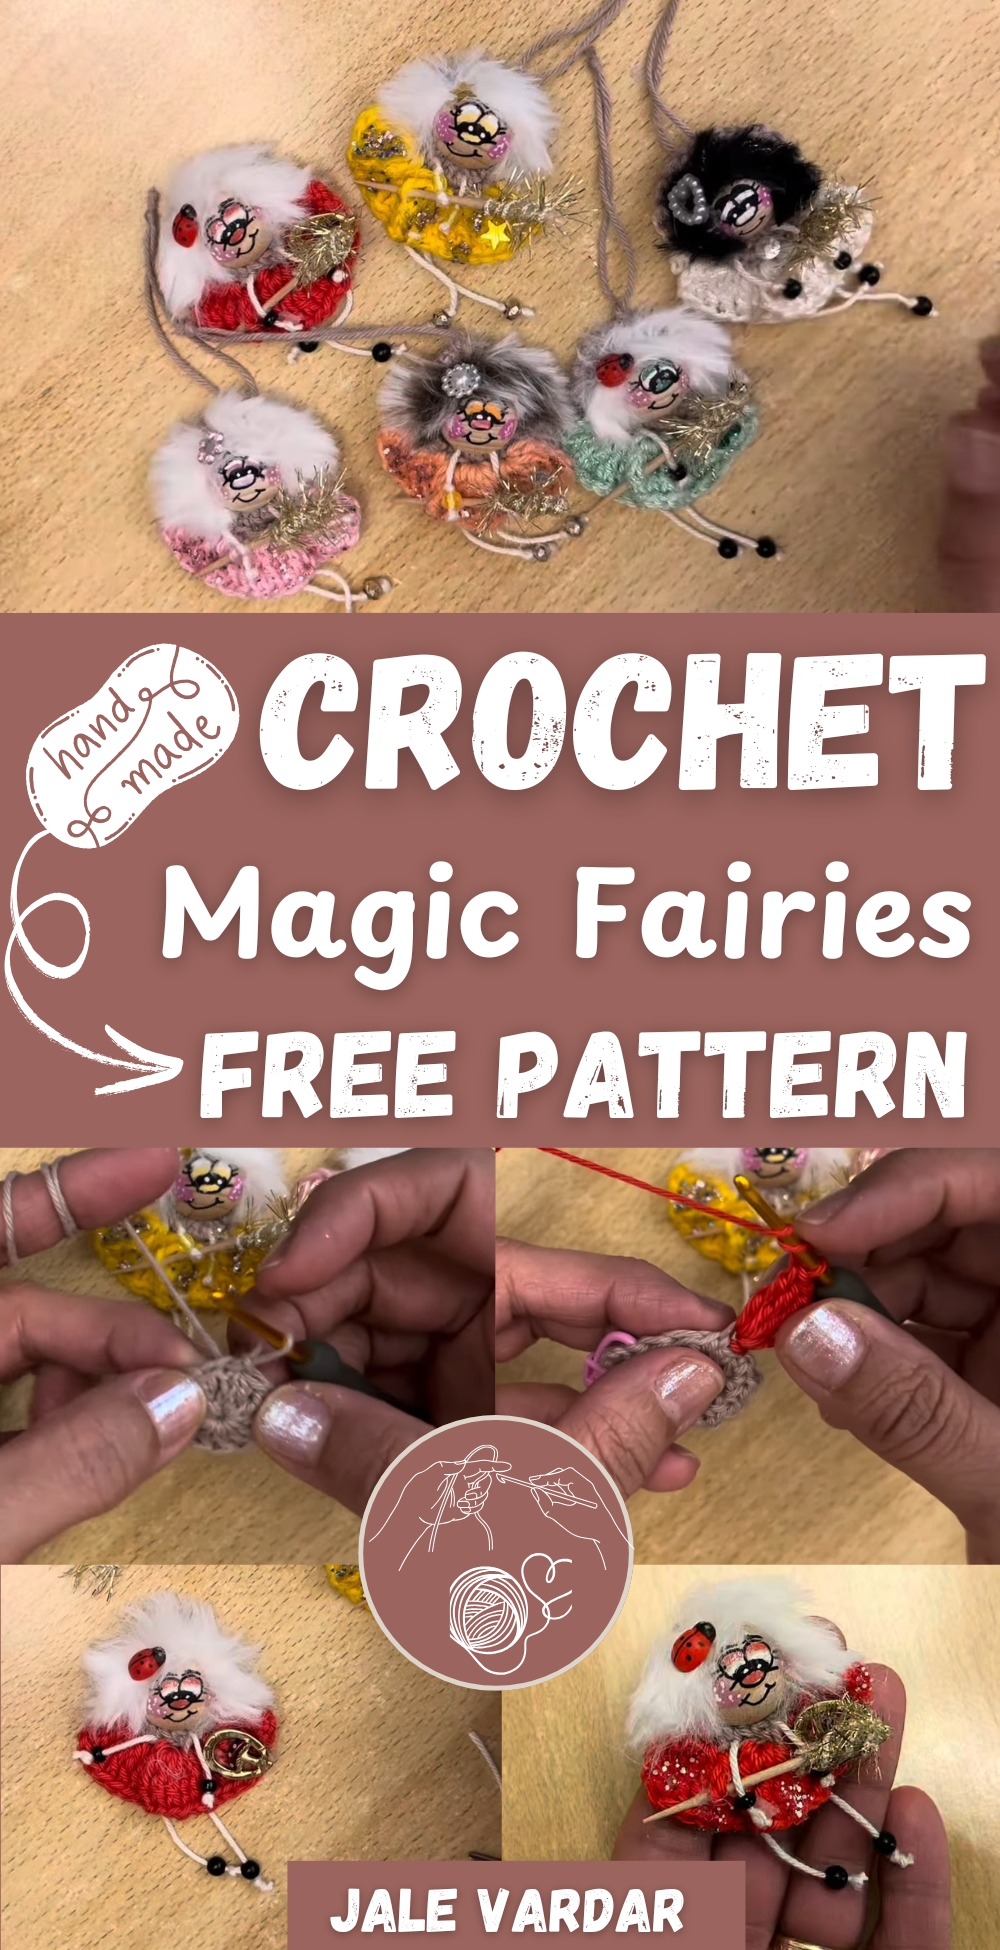
Perfect for crafters who love to blend yarn with playful accessories, this project is both quick and rewarding. Whether you want to hang them as ornaments, add magnets for fridge fun, or create magical scenes, these fairies are guaranteed to sparkle in any setting!
Materials Needed
- Cotton yarn in three different colors
- Fringe yarn for hair (two colors)
- Glitter fringe yarn
- Scissors
- 2.5 mm crochet hook
- Hot glue gun
- Two stitch markers
- Toothpicks (for the wand)
- Lucky charms or embellishments
- 20 mm wooden beads (for head)
- Larger beads (for feet), smaller beads (for hands)
- Thin yarn needle (for beads)
- Medium needle
Optional: Magnet or hanging yarn
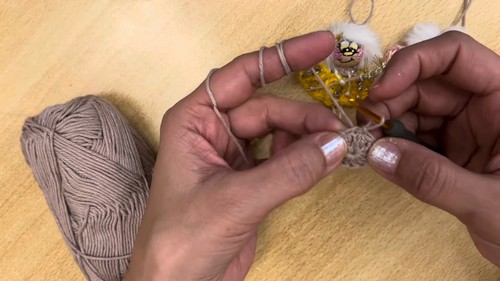
Crocheting the Base (Body)
- Create a magic ring.
- Round 1: Chain 3 (counts as first double crochet).
- Make 13 more double crochets into the ring (total: 14).
- Pull the ring tight to close.
- Slip stitch into the top of the chain-3 to close the round.
- Place stitch markers at the 1st stitch and 5 stitches behind it.
Crocheting the Dress/Skirt (First Layer)
- Chain 2.
- Work half double crochets (HDC) in the front loops only of each stitch until reaching near the second stitch marker.
- Slip stitch into the stitch with the second marker.
- Cut and fasten off the yarn.
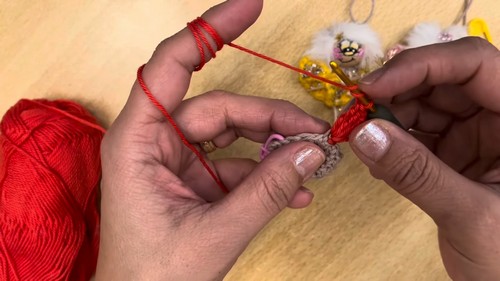
For Crocheting the Skirt (Second Layer)
- Switch to a different color yarn.
- Insert hook into the back loop of the first base stitch and attach yarn.
- Chain 4.
- Make 5 double treble crochets into the same back loop.
- Continue this pattern in alternating front and back loops.
- Create a total of 5 fan sections.
- Cut yarn, secure ends, and weave them in.
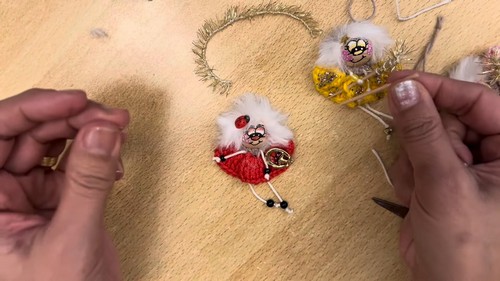
Assembling the Fairy
- Head: Glue a 20 mm wooden bead to the top of the body.
- Hair: Glue fringe yarn to the top of the head and forehead, then trim as desired.
- Decorations (optional): Glue on charms or decorative pieces.
Creating Arms
- Thread a small bead onto a yarn end and tie a knot to secure.
- Pull through the body with a needle to desired arm length.
- Thread another small bead on the other end, tie a knot, and secure with glue.
Creating Legs
- Insert hook into the bottom center of the body.
- Pull a piece of yarn through.
- Thread larger beads for the feet.
- Adjust leg length, knot securely, and trim the ends.
Making the Magic Wand
- Break a toothpick to ~1 cm length.
- Wrap and glue glitter fringe yarn around the toothpick.
- Insert the wand into one hand and secure with glue.
Final Touches (Optional)
- Add glitter nail polish to the skirt for sparkle.
- Attach a magnet to the back or a loop of yarn for hanging.
- For wings, refer to the separate video tutorial mentioned in the original video.


Leave a Reply