
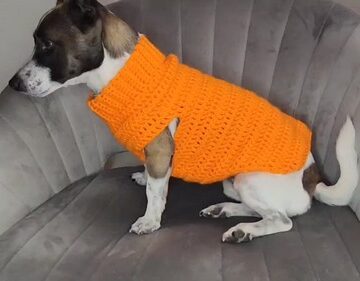
Get ready to add a touch of cozy charm to your spring wardrobe with this Crochet Unisex Spring Sweater Pattern! Perfect for both men and women, this versatile design combines comfort and style, making it ideal for those breezy days and cool evenings.
Crochet Unisex Spring Sweater

The lightweight, breathable fabric ensures you stay comfy, while the classic crochet pattern adds a unique, handcrafted flair. Whether you're a seasoned crocheter or just starting, this easy-to-follow pattern will have you creating a stunning, custom sweater in no time—one you'll want to wear again and again.
Materials Needed:
- Chunky Robin yarn, 100% acrylic (8 x 100g balls)
- Crochet hook size 4.0 mm
- Tape measure
- Stitch markers
- Scissors
Sweater Pattern:

Foundation and Body:
Foundation Chain:
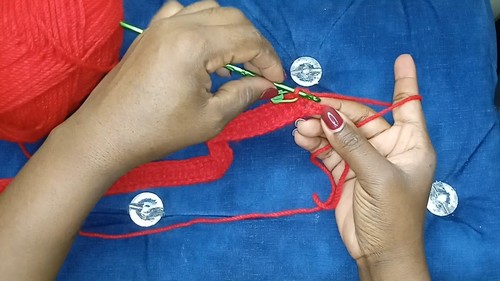
- Start by creating a slip knot. Chain 72 stitches (adjust number based on your size; this is for a medium size).
After Row 1 (Extended Half Double Crochet Row):
- Add one chain (this does not count as a stitch). Skip the first stitch from the hook and work in the second stitch.
- Yarn over, insert the hook into the stitch, yarn over and pull up a loop (four loops on hook), yarn over and pull through one loop (three loops on hook), yarn over again and pull through all three loops on the hook.
- Repeat from to across until you have 62 extended half double crochets.
Row 1 Ending:
- For the remaining 10 stitches of the row, switch to single crochet stitches.
- Place a stitch marker after completing the first single crochet to differentiate between the stitch types in the row.
Row 2 (Back Loop Single Crochet and Extended Half Double Crochet):
- Chain one and turn your work. Start with 10 back loop single crochets. Then, work 62 back loop extended half double crochets for the rest of the row.
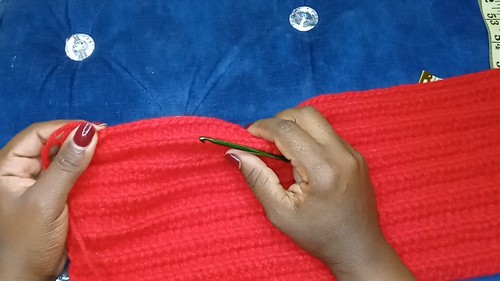
Rows 3 and Beyond:
- Continue repeating the pattern established in row 2, maintaining 10 back loop single crochets at the start of each row, followed by 62 back loop extended half double crochets.
Length Measurement:
- After several rows, measure the length. Once the body reaches 6.5 inches, prepare to work on the neck and shoulders.
Neck and Shoulders:
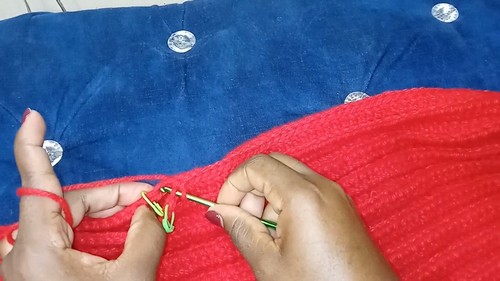
Neck Opening:
- Work 57 stitches for the neck, incorporating the existing stitches. Leave a gap of 15 stitches for the neck space.
Shoulder Formation:
- After shaping the neckline, continue working on the sweater body until you achieve your desired length for the shoulders, maintaining the pattern established.
Final Rows for Shoulders:
- For accurate length, measure and adjust the number of rows as necessary to match both shoulders evenly.
Sleeves:
Sleeve Setup:
- Start by slip stitching the sides of your sweater together, working from the wrong side for a seamless look.
For Sleeve Foundation:
- Begin at the center underarm point, working single crochets around the armhole to establish the base round for the sleeve.
Sleeve Pattern:
- Continue with extended back loop half double crochets.
- To gradually decrease the sleeve width, skip the first stitch at the beginning of each row, then slip stitch to join and chain two to turn.
- Use stitch markers as necessary to keep track of decreases.
Finishing Sleeve:
- Repeat the decrease method until the sleeve fits snugly around the wrist. Fasten off and weave in ends.
Finishing Touches:

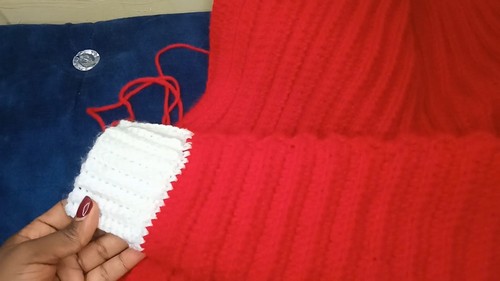
Neck and Hem Ribbing:
- Depending on the style you prefer, you can add ribbing around the neckline and hem.
- This usually entails switching to a smaller hook size and working in a ribbing pattern that complements the sweater.

Assembly:
- If not already done, seam any open sides or shoulders together using a tapestry needle or slip-stitching method for a clean finish.


Leave a Reply