
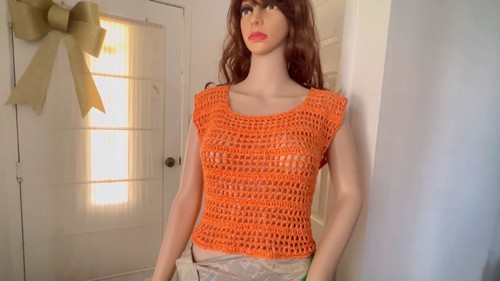
The Crochet Professional Style Vest Pattern is the perfect blend of timeless elegance and modern craftsmanship. Designed for those who love to create with style and precision, this pattern offers a sophisticated yet approachable project.
Crochet Professional Style Vest

Whether you're looking to elevate your wardrobe with a custom-made piece or enhance your crochet skills, this vest will become a go-to favorite. With clear instructions and a flattering fit, you'll be able to craft a beautiful vest that transitions seamlessly from casual to professional settings, making it a versatile and chic addition to any closet.
Materials:
- Yarn: 4-ply cotton blend yarn; the amount will depend on your size and the desired length of the top.
- Crochet Hook: 4 mm crochet hook.
- Additional Tools: Scissors, yarn needle for weaving in ends.
Pattern:

Foundation and Setup:
Setup Row:
- Create a slip knot and chain a length that suits the size you are making. Verify your gauge if necessary to adjust the chain count.
Establishing the Pattern Rows:

Row 1 (Double Crochet Row):
- Skip 3 chains from the hook, then double crochet into each following chain across.
Rows 2-4 (Mesh Pattern Rows):
- Chain 4, turn your work, [skip 1 dc, 1 dc into next dc, 1 chain] repeat across the row.
Body of the Top:

Repeat:
- Continue repeating the established pattern (one row of dc followed by three rows of mesh), until the panel reaches the desired length before shaping begins.
Shaping the Front Panel:

Neck Opening:
- Begin shaping for the neckline by dividing the work into two sections partway through the height of the top. Continue the established pattern on each section, decreasing as necessary to shape the neckline gracefully.
Construction:

Joining Panels:
- Once both panels are completed, lay them with correct sides facing each other. Join them along the side and shoulder seams using slip stitch or single crochet stitches.
Finishing Touches:
Edging:
- Optionally, add a crochet edge around armholes and neckline to give a clean, finished look.
Weave in Ends:
- Secure and weave in all loose ends with a yarn needle.


Leave a Reply