
The easy-to-follow steps guide you through creating the perfect crochet halter top for summer. From the creation of the cups to the final finishing touches, this tutorial ensures you get a seamless, comfortable, and stylish top.
Crochet Halter Top
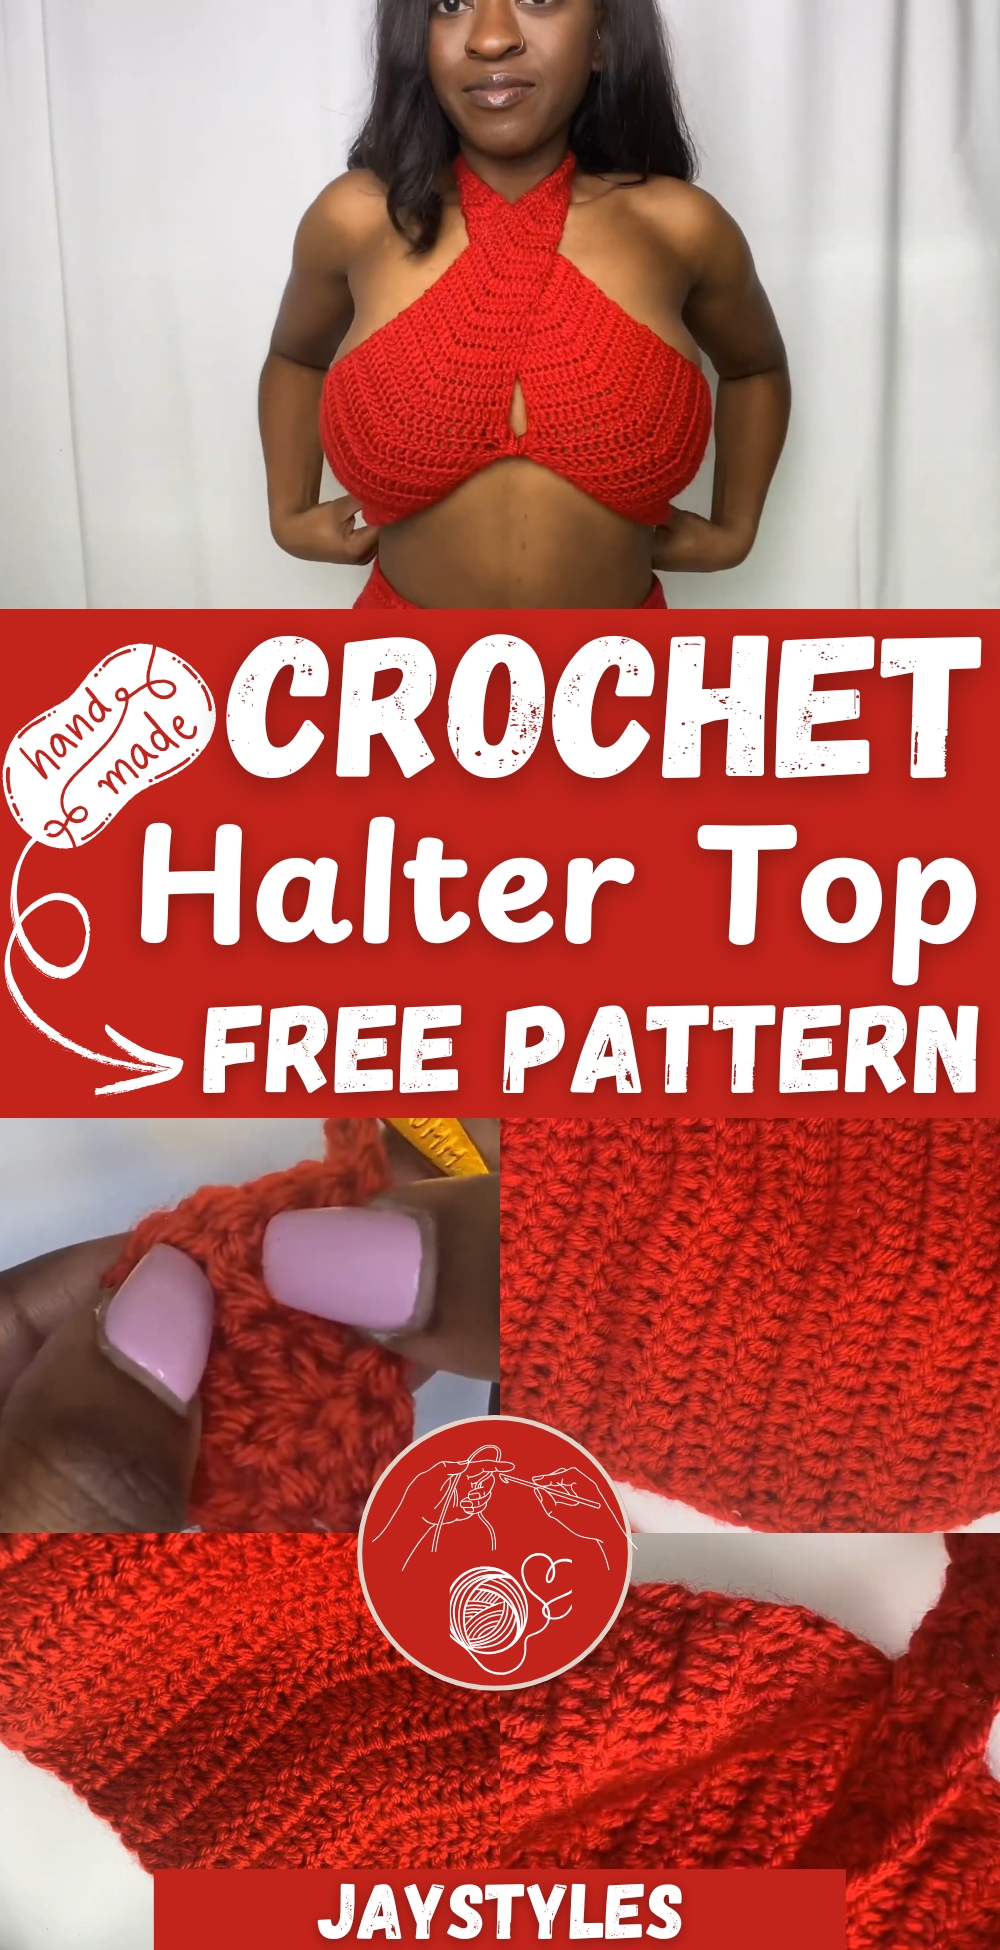
You can customize the look with different yarn colors or add optional edging for a more polished finish. With its straightforward instructions and clear guidance, you'll have a gorgeous new crochet piece in no time!
Materials Needed
- 4.5-millimeter hook
- Yarn
- Scissors
Creating the Cups

Step 1: Slip Knot and Chain
- Make a slip knot.
- Chain four.
Step 2: Double Crochet Rows
- Double crochet in the third and fourth chain from the hook.
- Chain two, turn your work.
- Repeat this pattern for a total of 33 rows.
For Step 3: Increasing
- Chain two and turn.
- Place two double crochets in the first stitch.
- Place one double crochet in each of the next stitches, ending with a double crochet in the chain-2 of the previous row.
- Repeat this increase pattern for 27 rows.

Step 4: Straight Stitch Rows
- Chain two and turn.
- Double crochet in each stitch across for two rows.
Step 5: Decreasing
- Chain two and turn.
- Decrease over the first two stitches.
- Double crochet across, decreasing over the last two stitches.
- Repeat this decrease pattern for 9 rows.

For Step 6: Final Straight Stitch Rows
- Chain two and turn.
- Double crochet in each stitch across for 7 rows.
Step 7: Make Two Cups
- Repeat the previous steps to create a second cup.

Joining the Cups
- With the wrong sides facing outward, use the working yarn to single crochet the two pieces together.
- Fasten off and weave in the ends.

Finishing Touches
- Weave in all ends to ensure a clean finish.
- Optional: Add edging for a cleaner look.


Leave a Reply