
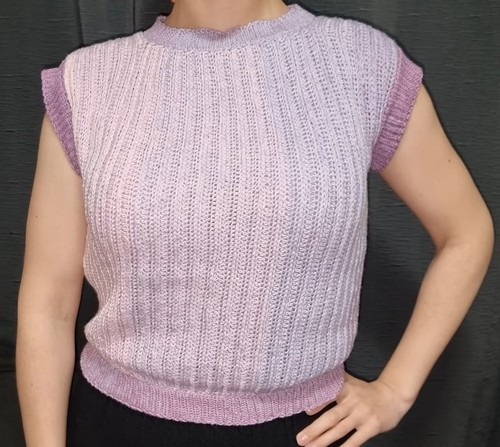
This beautiful crochet pattern guides you through making a sleek and stylish sleeveless sweater—perfect for layering in any season. Using simple stitches and techniques, this design creates a textured look with a clean fit, ideal for minimalistic fashion lovers.
Minimalist Crochet Sleeveless Sweater
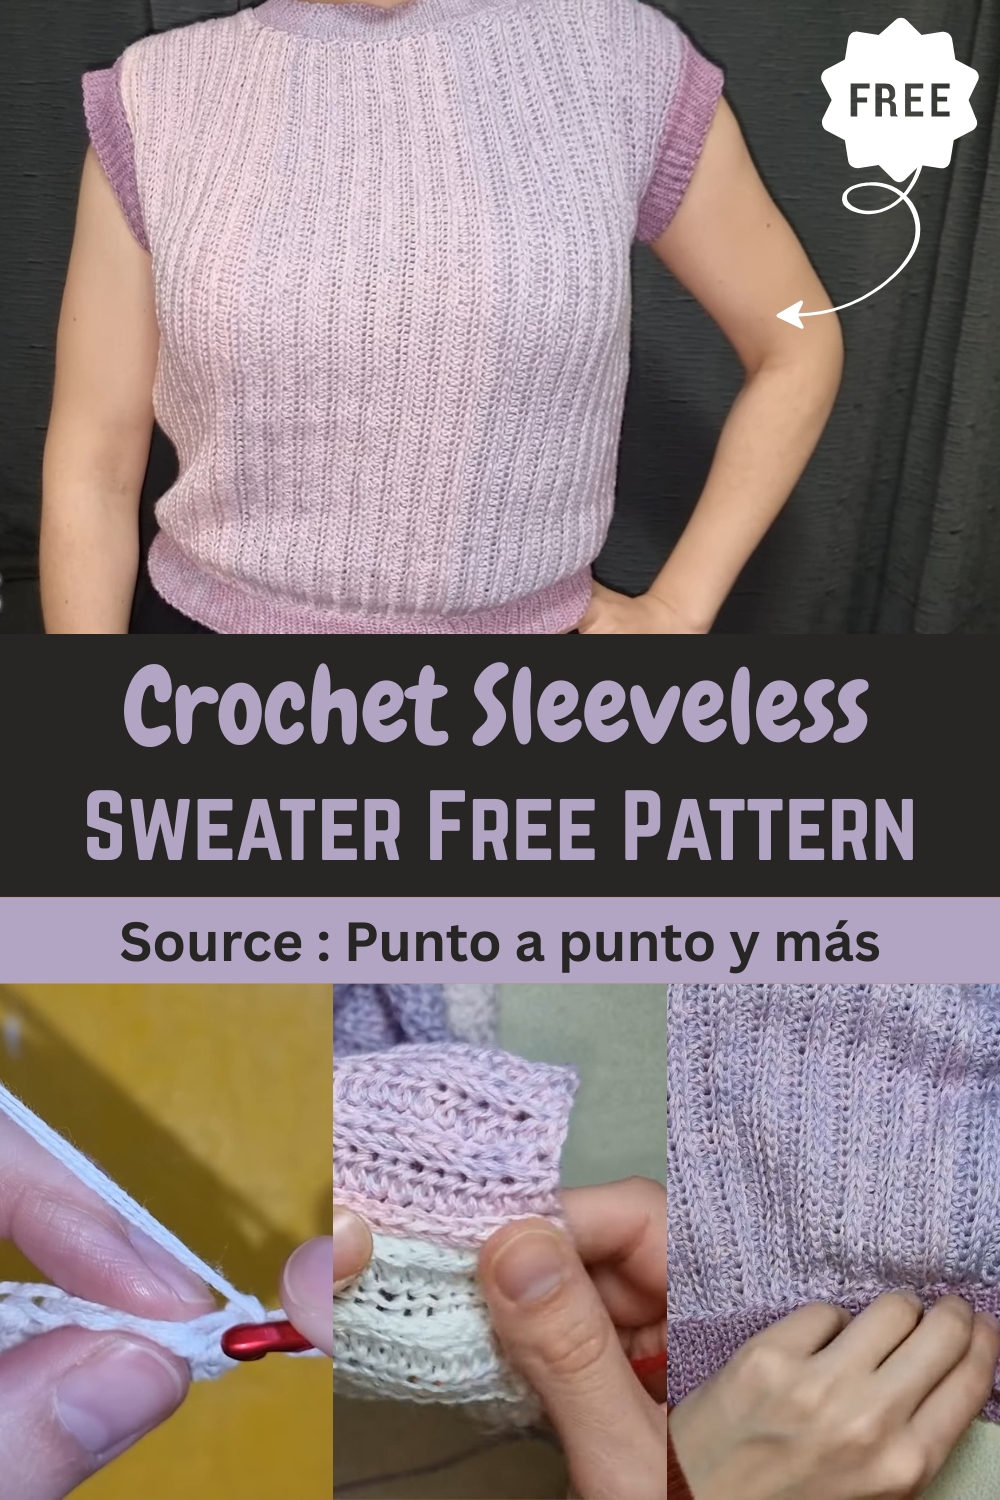
Whether you want to dress it up with a collared shirt underneath or keep it casual for summer wear, the project is highly customizable in size and color. The best part? The ribbing adds a professional finish while keeping the construction beginner-friendly.
Materials
- Yarn: 179 grams (for size S)
- Crochet Hook: 2 sizes larger than the maximum recommended on the yarn label
- Stitch Marker
Slip Knot
- Start by making a slip knot.
Base Chain
- Create a base chain that measures from your shoulder to the desired length.
- For size S, chain 61.
Back of the Sweater
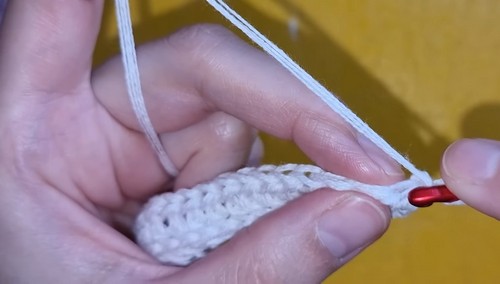
Row 1
- Single crochet in the second chain from the hook.
- Insert the hook into the “paw-shaped space” of the previous single crochet and then into the next chain.
- Yarn over and pull through all 3 loops.
- Repeat across the row.
Row 2
- Chain 1 and turn.
- Work single crochets in the front loops only.
- In the last stitch, insert through both loops.
For Row 3
- Chain 1 and turn.
- Work in the back loop of each stitch until the second-to-last.
- Insert the hook into the “leg-shaped space” of the previous single crochet and then into the back loop of the next stitch.
- Pull through all 3 loops.
- In the last stitch, insert through both loops.
Row 4 Onwards
- Chain 1 and turn.
- Repeat the alternating front-loop and back-loop pattern from Rows 2 and 3.
- Continue until the back panel measures approximately 45 cm wide and 46 cm high.
Front of the Sweater
- Chain the same number of stitches as the back (e.g., 61).
- Work one side of the front panel to the width of your shoulder (e.g., 7 cm).
- Mark the neckline drop at 4 cm.
- Continue crocheting to the marked point using the same front and back loop method.
- To shape the neckline, chain 1 and turn.
- Work only in the front loops following the same stitch pattern.
- Once one side is complete, continue the other shoulder:
- Chain 11 to bridge the neckline.
- Start with single crochet in the second chain and continue across using the front-loop method.
Joining the Sweater
- Chain 1 and cut the yarn, leaving a long tail for sewing.
- Sew the shoulders together, aligning one stitch from the front with one from the back.
- For the sides, leave a 20 cm opening for the sleeves and mark the spot.
- Sew up to the markers on each side.
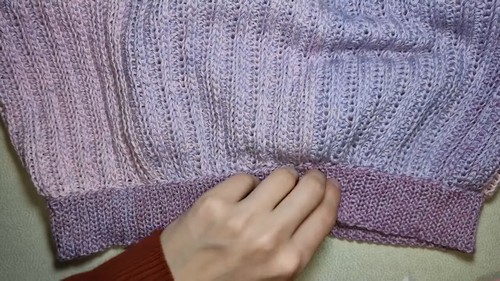
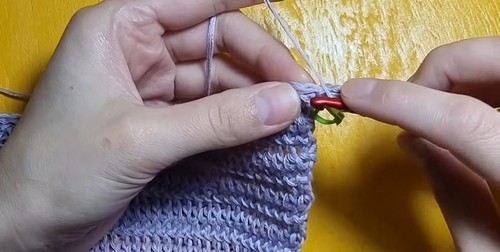
Ribbing
- Make a slip knot.
- Work 1 slip stitch around the entire neckline.
- Chain 13.
- Starting from the second chain, make 12 slip stitches.
- Remove the hook, skip one stitch, insert it into the next, and pull the loop through.
- Work 1 slip stitch in the back loops of each stitch (both loops for the last stitch).
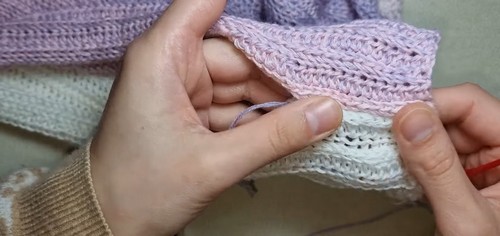
- Chain 1 and turn.
- Repeat the ribbing pattern around the neckline, sleeve openings, and hem of the sweater.
- Slip stitch one stitch on each side to finish.
- Ribbed edge should measure 4 cm wide.


Leave a Reply