
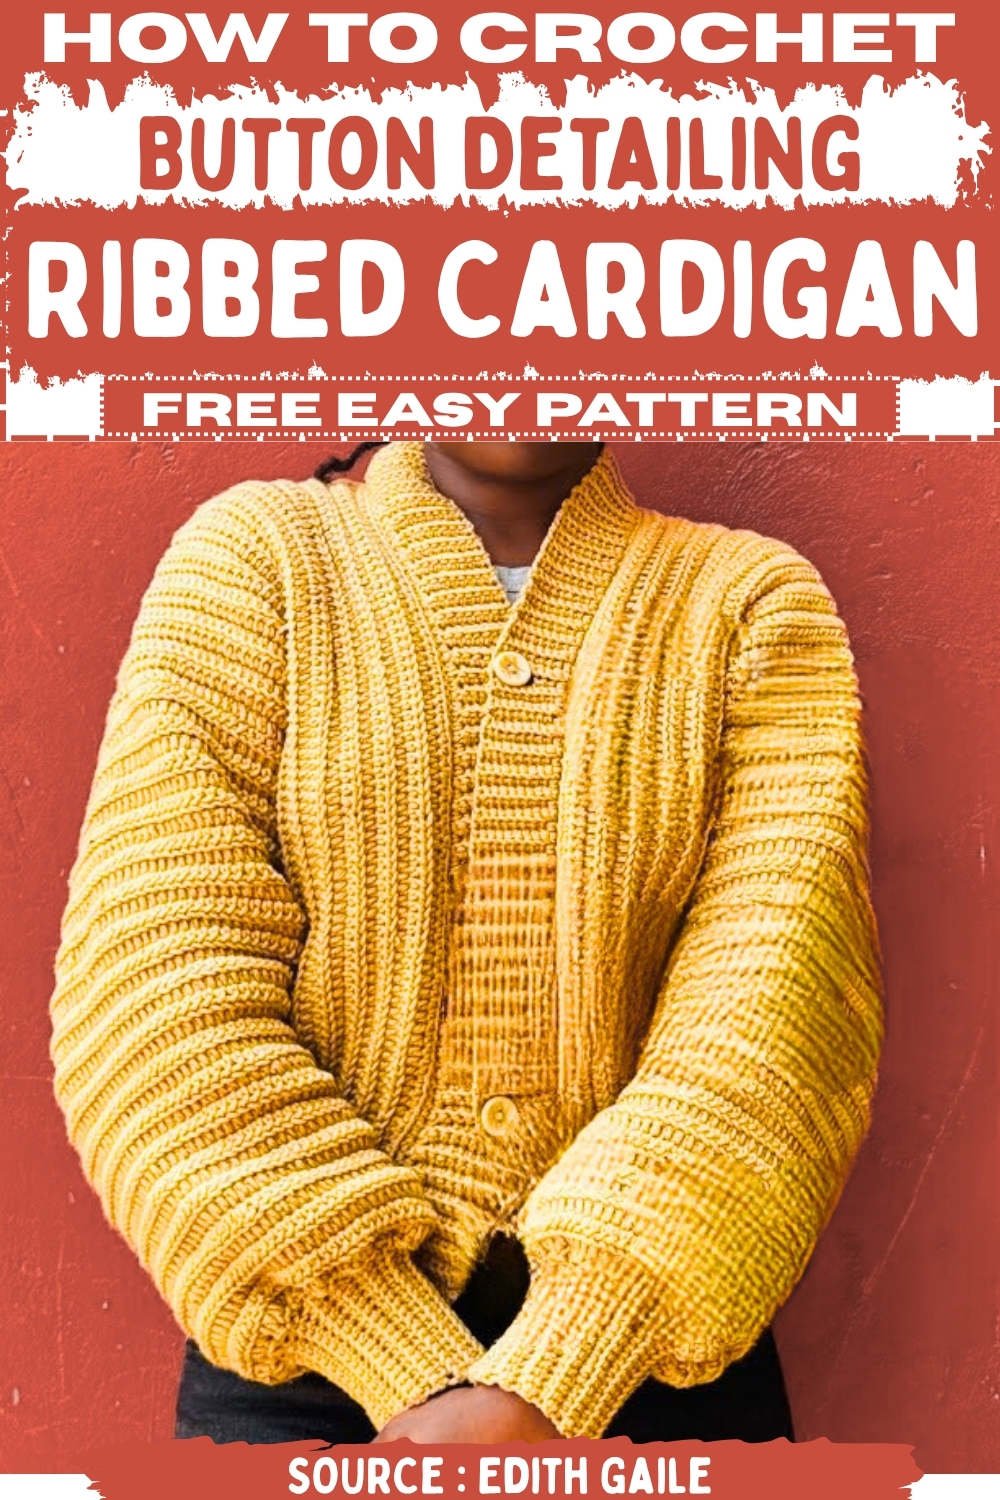
This charming ribbed button-up cardigan crochet pattern is designed specifically for medium sizes, blending the elegance of a buttoned-up front with the cozy texture of ribbing. Using a 3 mm hook and a mix of acrylic and milk cotton yarn, this pattern offers an accessible yet stylish design that can be easily customized to your preferences.
Crochet Ribbed Cardigan
Whether you're crafting a cozy layer for cooler days or looking for a versatile piece to pair with any outfit, this cardigan is sure to become a wardrobe staple. With step-by-step instructions, including ribbing techniques and shoulder shaping, you’ll be able to create a perfect, snug fit every time.
Materials
- Yarn: Approximately 3 balls of super saver yarn (acrylic/milk cotton blend).
- Hook: 3 mm.
- Other: Scissors, tape measure, stitch markers, and buttons.
- Gauge/Initial Chain: Chain 90 stitches (your chain should measure approximately 20 inches).
Back Panel
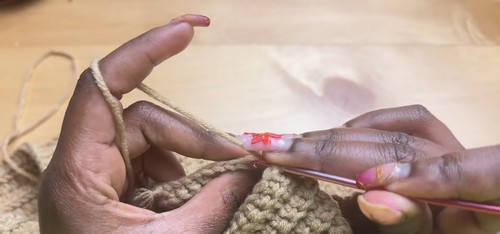
Row 1 (Foundation):
- Starting in the second chain from the hook, make 17 Single Crochets (SC), working on the back side of the stitches.
- Place a stitch marker on the 17th SC.
- Make Half Double Crochet (HDC) in the remaining stitches until the end of the row.
For Row 2:
- Chain 2 (does not count as a stitch), turn your work.
- Work BLO HDC until you reach the stitch marker.
- Remove the stitch marker and work BLO SC in the 17 stitches of the ribbing section. Place the marker back on the first BLO SC.
Row 3:
- Chain 1, turn your work.
- Work BLO SC until you reach the stitch marker.
- Remove the stitch marker and work BLO HDC for the remainder of the row.
- Repeat: Repeat Rows 2 and 3 until you have a total of 54 rows for the back panel. Your panel should measure up to 19 to 19.5 inches.
Front Panels & Shoulder Shaping
- Mark Shoulders: On the last row of the back panel, count 21 stitches from one corner and place a stitch marker. Repeat this on the other corner.
- The middle un-marked section is the neckline area (12 stitches/rows, approx. 5 inches).
- Make Panels: Create two identical front panels, each worked for 21 rows, following the same stitch pattern as the back panel.
Assembly
Shoulders
- Align the front and back panels at the shoulders.
- Starting at the corner stitch, use the long tail of yarn to join the two pieces by making two Single Crochets (SC) through both layers in each stitch/row end, repeating until you reach the shoulder stitch marker.
- Chain 2 and cut the yarn. Repeat on the opposite shoulder.
Side Seams
- Count 56 stitches up from the bottom edge of the back panel and place a stitch marker (this leaves 33 stitches for the armhole opening).
- Join the sides from the bottom up to the stitch marker using SC: insert your hook through both loops on one side and the back loop only on the opposite side to create a hidden seam effect.
- Continue this seam until you reach the stitch marker.
Sleeves

Row 1 (Armhole):
- Starting at the stitch marker, make HDC into both loops all the way around the armhole opening. Place a stitch marker on the first HDC.
- When you reach the shoulder seam, insert the hook through both sides of the seam and make one HDC to join across.
- Continue with HDC until the end of the row (do not join).
Rows 2-36:
- Chain 2, turn your work.
- Work Back Loop Half Double Crochet (BLO HDC) in every stitch.
- Repeat this until you have a total of 36 rows of BLO HDC (approx. 15 inches).
Cuff
- Foundation: Chain 16 stitches. Chain 1, then make 16 SC in the back of the chains. Place a marker on the last SC.
- Joining: Skip 1 stitch on the sleeve edge, then make 4 slip stitches on the sleeve edge. Turn your work.
- Cuff Row 1 (Return): Remove marker, BLO SC in every stitch of the cuff (16 stitches). Replace the marker.
- Cuff Row 2 (Out): Chain 1, turn, BLO SC in every stitch of the cuff.
- Joining: Skip 1 stitch on the sleeve edge, then make 4 slip stitches on the sleeve edge. Turn your work.
- Repeat: Continue repeating the process until you have 5 stitches remaining on the sleeve. Finish off the cuff with 4 slip stitches.
Front Ribbing (Button Band)
- Edge Prep: Attach yarn at the bottom corner. Work a row of SC up the entire front opening (both front panels and the back neckline).
- Along the HDC rows, make two SC in every HDC row.
- At the corners (like the neckline corner), make two SC in the corner stitch to help turn the work.
- Count your total SC stitches around the opening.
- Chain 2 and cut the yarn.
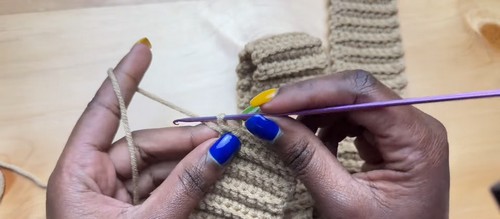
Ribbing Strip:
- Chain 9 stitches. Chain 1, make SC in 8 stitches.
- Subsequent Rows: Chain 1, turn, make BLO SC in every stitch.
Button Holes
- Create Hole: On a chosen row, chain 1, turn.
- Make BLO SC in the first 3 stitches.
- Chain 3.
- Skip the next 3 SC on the previous row.
- Make BLO SC in the remaining stitches.
- Spacing: The suggested spacing is to make a button hole, then work 19 more rows, then make another button hole.
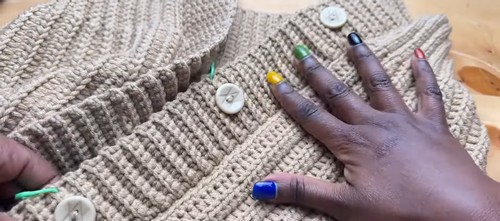
Finishing
- Attaching Buttons: Attach the buttons to the opposite side of the button holes.
- Spacing: The suggested spacing is to attach a button after every 20 rows (specifically between the 19th and 20th rows/stitches).
- Placement: Center the button in the middle three stitches of the ribbing section where the button hole would be on the opposite side.


Leave a Reply