
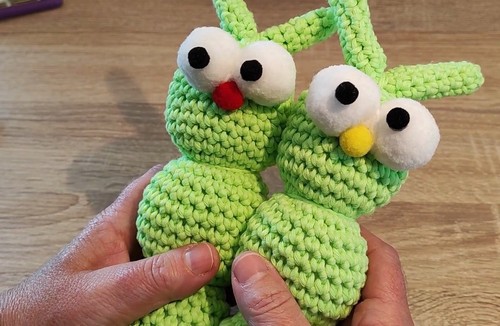
Bring the magic of phosphorescent yarn to life with this "Lucie" the caterpillar crochet pattern! This step-by-step guide will help you create your very own glowing caterpillar plush, perfect for adding a touch of whimsy to your crochet collection or giving as a fun, unique gift.
Crochet Caterpillar Amigurumi
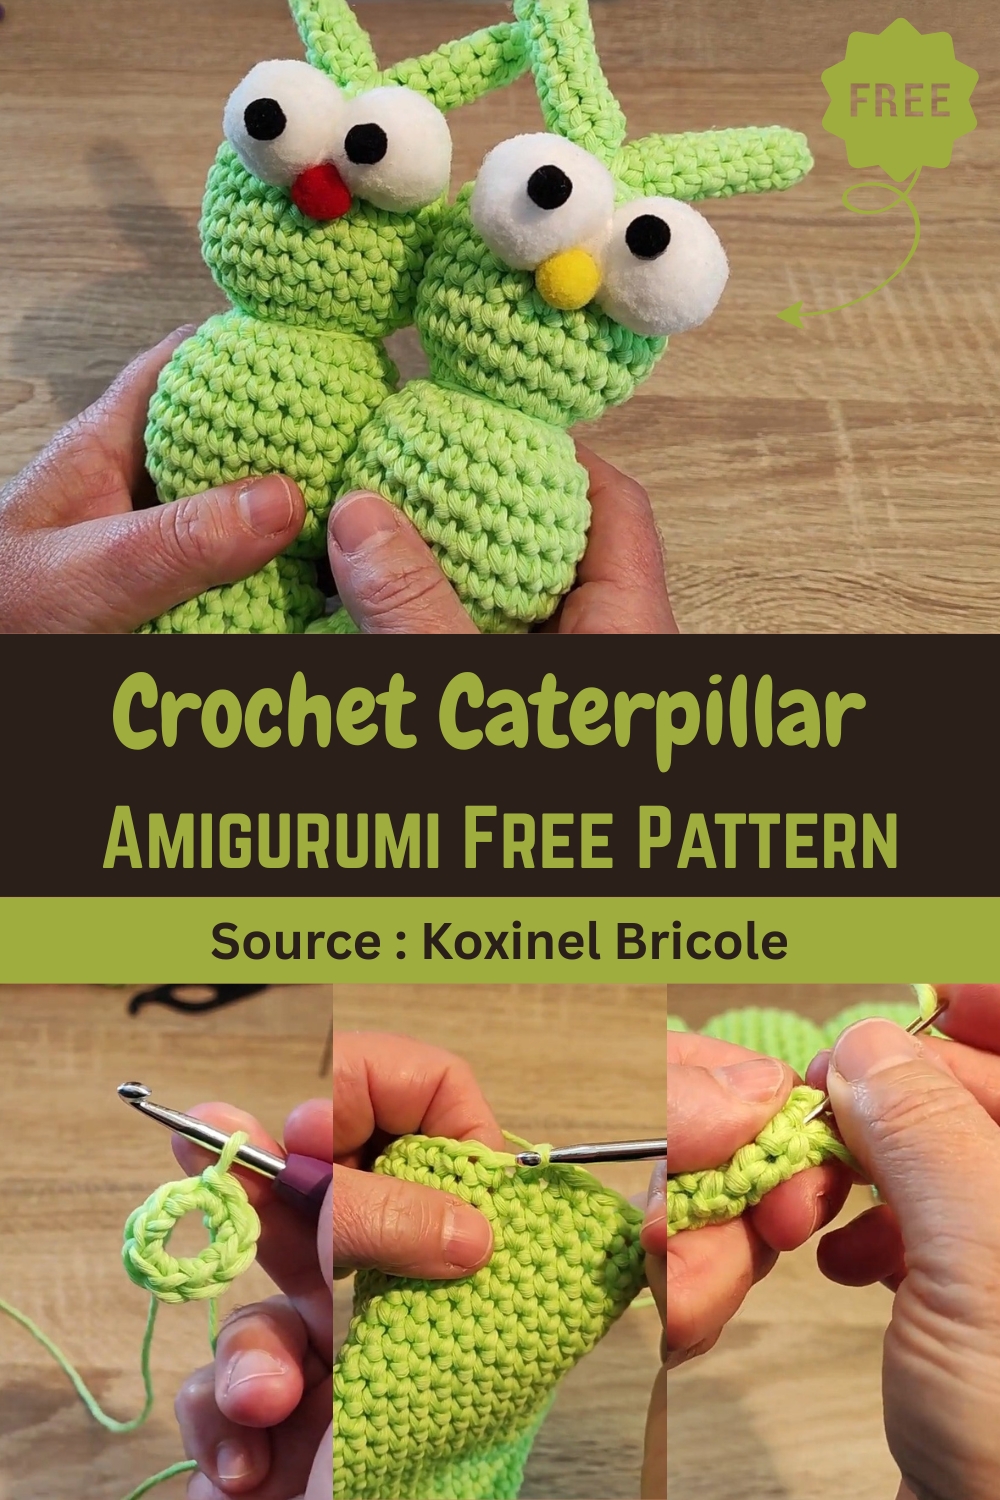
Whether you're a beginner or an experienced crocheter, the instructions are simple to follow, making it easy to craft this glow-in-the-dark creature. Customize the colors to suit your style, and enjoy watching the caterpillar light up in the dark after exposure to light. The finished result is both adorable and functional, bringing a glowing charm to any space.
Materials
- Phosphorescent yarn (approximately 1.5 skeins in colors like green, blue, or white)
- Small eyes (for plush toys)
- Crochet hook size 5
- Small needle
- Pair of scissors
- Stuffing wadding
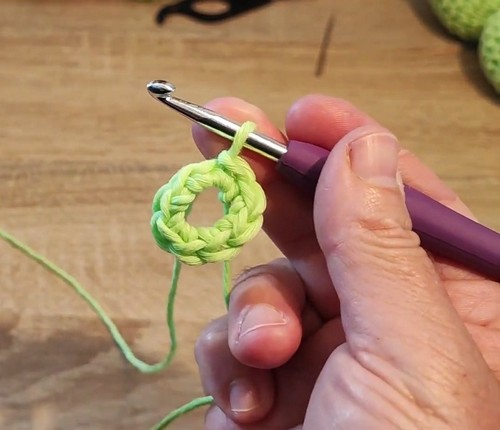
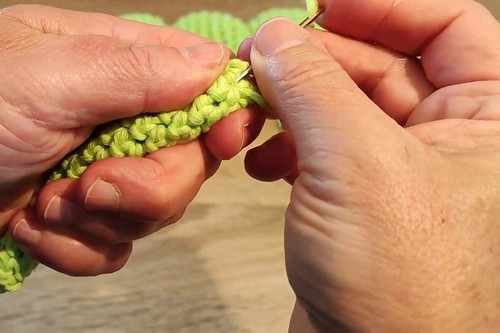
First Round (Head Base)
- Start with a magic ring.
- Make 8 single crochet stitches into the magic ring.
- Close the round with a slip stitch on the 8th stitch.
Second Round
- Pull the small thread to close the magic ring completely.
- Make 2 single crochet stitches in each of the 8 single crochet stitches from the previous round, resulting in a total of 16 stitches.
- Close the round with a slip stitch.
Third Round
- Make 1 single crochet in the first stitch and 2 single crochet stitches in the next stitch.
- Repeat this pattern (1 single crochet, 2 single crochet) until you have 24 stitches.
- Close the round with a slip stitch.
Body (Creating the "Sausage" Shape)
- Work in single crochet stitches on the 24 stitches until you achieve a tube approximately 23 cm long.
- This will naturally form a "sausage" shape.
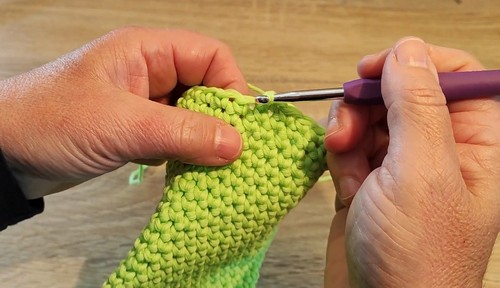
Decreases (Closing the Body)
Once the body reaches about 23 cm, begin making decreases:
- Insert the hook into the next stitch, pull up a loop, then insert the hook into the following stitch, pull up another loop, and finally pull the yarn through all three loops on the hook.
- Continue decreasing around the entire round.
- Leave the opening temporarily.
Stuffing and Shaping the Body
- Stuff the body with wadding, pushing it well to the bottom to create a rounded shape.
- The goal is to create 4 distinct balls, each about 5 to 6 cm in diameter.
- To separate the balls, tie small pieces of green yarn tightly around the body at even intervals.
- The creator used three pieces of yarn to create four sections.
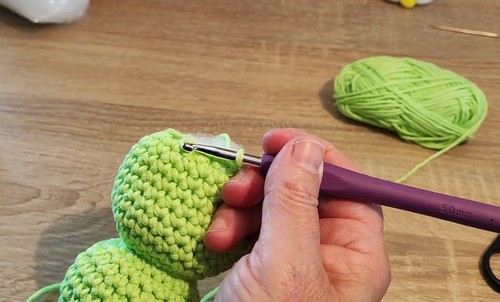
Finishing the Head
- Continue with decreases to close the top of the caterpillar's head, pushing the wadding inside.
- Once the opening is very small, cut the yarn and thread the end through a needle.
- Close the remaining hole by weaving the needle through the stitches.
- Leave the remaining thread as it will be used for the antennae.
- Weave in any loose threads from the body using the needle.
Making the Antennae (Make 2)
- Start with a magic ring.
- Make 6 single crochet stitches into the ring.
- Close the ring slightly.
- Work in continuous single crochet stitches on these 6 stitches until each antenna measures approximately 11 cm long.
- Cut the yarn and pull it through the last loop.
- Using a needle, close both ends of the antenna by weaving the yarn through the stitches.
- Weave in any remaining yarn ends.
Attaching the Antennae
- Fold each antenna in half.
- Using the remaining thread from the head and a needle, pass it through the middle of the folded antennae and secure them with a tight stitch.
- Weave in the thread.
Adding the Eyes
- Choose the desired eyes.
- Using a needle and white yarn, attach the eyes to the head.
- Pass the yarn through the corner of the eye and nose area, securing it tightly.
- Weave in the yarn ends inside the head.
Finishing Touch
- The finished caterpillar will glow in the dark after light exposure!


Leave a Reply