
This crochet waffle bikini top pattern creates a bold, textured fabric using a simple repeat of double crochet and back post double crochet to form the waffle look. Each cup is shaped into a triangle by decreasing at both ends of every row, which helps the cup curve and taper naturally toward the top point.
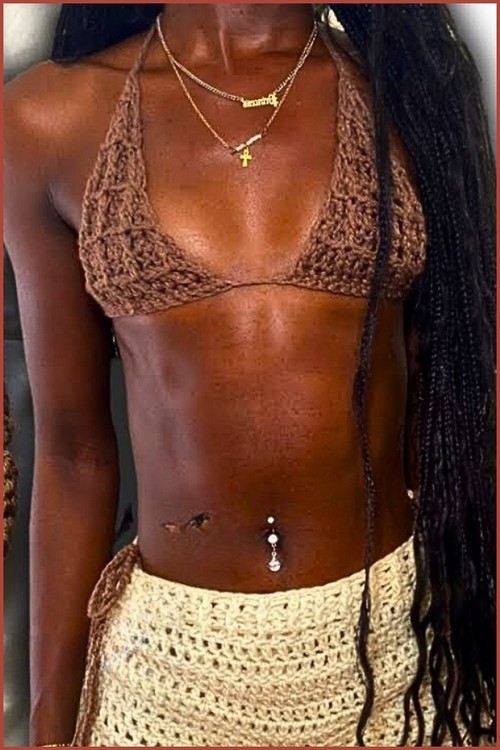
Crochet Waffle Bikini Top
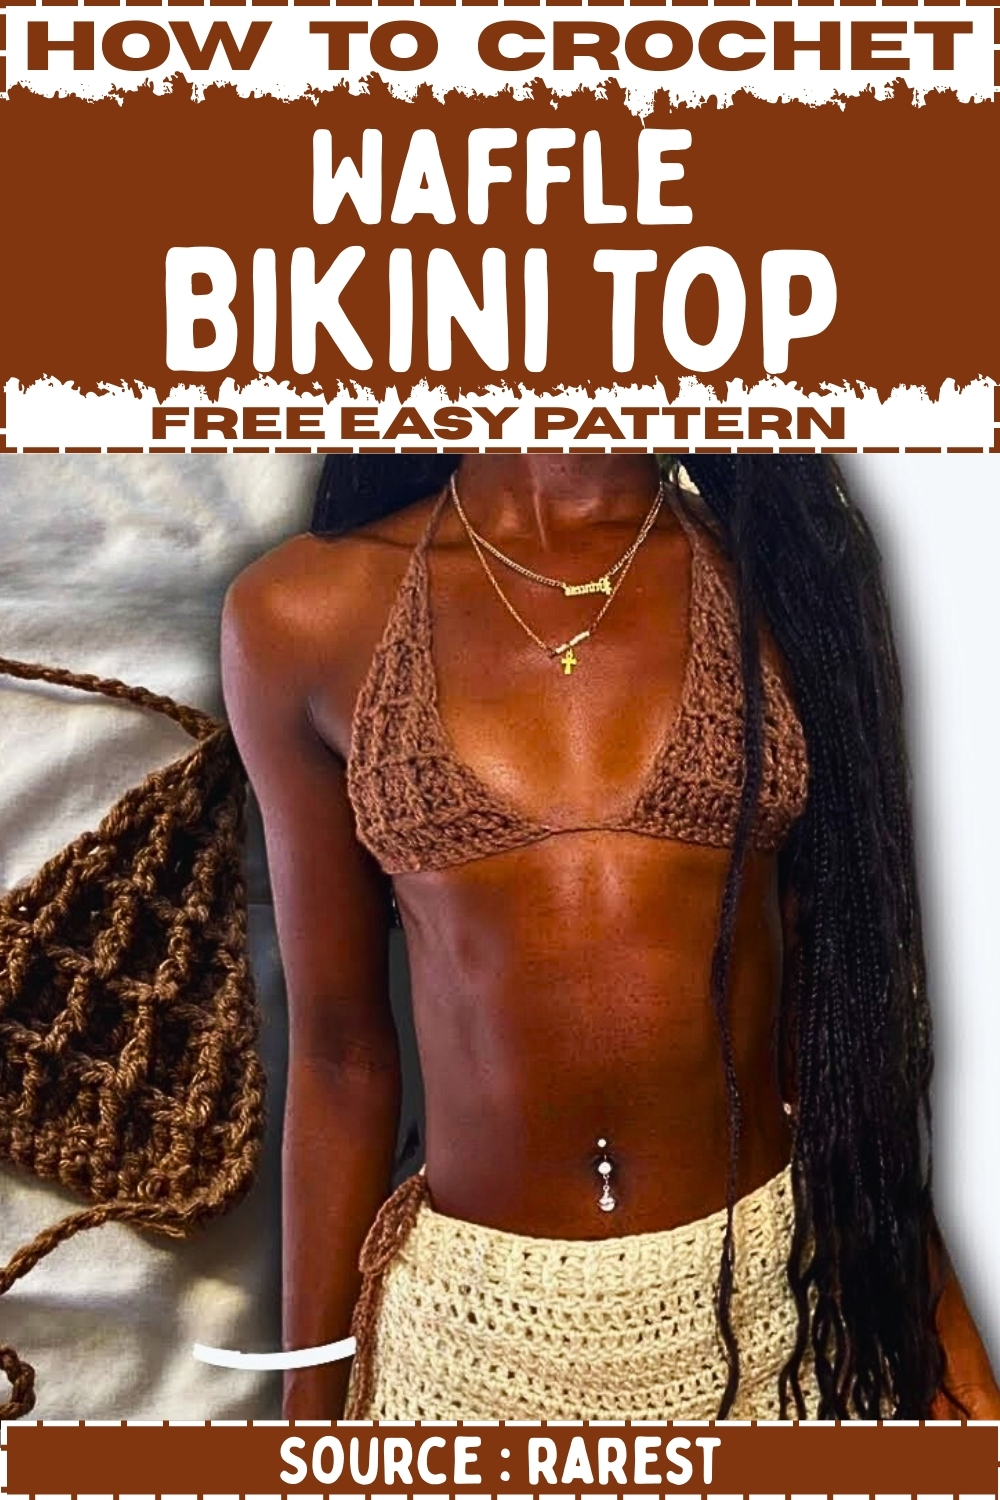
The finished bikini top ties at the neck and back, so you can fine tune the fit without complicated sizing, and you can easily adjust the cup width, cup height, and strap lengths for more coverage or a more minimal style. An optional center bead detail can be added when joining the cups for a cute focal point.
Materials
- Yarn: One pound Caron yarn or similar medium weight yarn
- Hook: 5.5 mm crochet hook
- Scissors
- Yarn needle for weaving in ends
- Optional bead and needle for threading bead
Abbreviations
- ch: chain
- sc: single crochet
- dc: double crochet
- bpdc: back post double crochet
- dec: decrease (dc2tog)
- st: stitch
- rep: repeat
Notes
- This pattern makes one bikini top made from two triangle cups
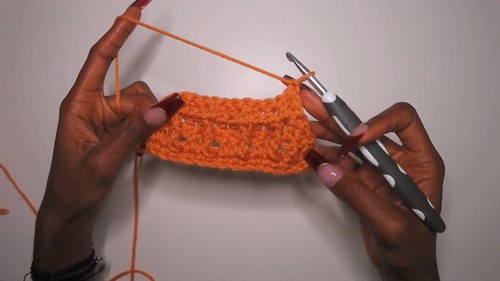
- The waffle texture is created by repeating two dc then one bpdc across the row
- The cup shape is formed by decreasing at the start and end of each row after the first waffle row
- Strap lengths are adjustable and can be changed without affecting the cup shape
- If you want larger coverage, increase the starting chain and work more total rows before finishing the point
Cup Instructions Make 2
Foundation
- Ch 17
- Skip the first ch from the hook
- Sc in each ch across
- You should have 16 sc
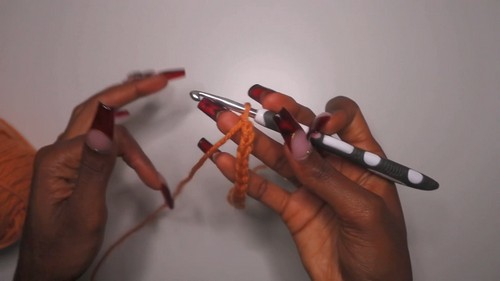
First Waffle Row
- Ch 1, turn
- Dc in first st
- Dc in next st
- Bpdc around the post of the stitch below for the next stitch position
- Continue across the row by repeating the waffle sequence
- Work dc in the next 2 stitches
- Work bpdc in the next stitch
- Repeat that sequence until you reach the end of the row
- End the row with the last stitch worked as it fits the sequence
- Confirm the row still ends with the same stitch count as the previous row
Decrease Row
- Ch 1, turn
- Dec over the first 2 stitches
- Work the waffle stitches across the row following what you see
- Work dc into stitches that appear as regular stitches
- Work bpdc into stitches that appear as raised post stitches
- Dec over the last 2 stitches
- Your stitch count will reduce by 2 total stitches on this row
Decrease Row
- Ch 1, turn
- Dec over the first 2 stitches
- Continue the waffle texture across by keeping bpdc where the raised stitches should be and dc where regular stitches should be
- Dec over the last 2 stitches
For Decrease Row
- Ch 1, turn
- Dec over the first 2 stitches
- Continue the waffle texture across the row
- Dec over the last 2 stitches
Decrease Row
- Ch 1, turn
- Dec over the first 2 stitches
- Continue the waffle texture across the row
- Dec over the last 2 stitches
Decrease Row
- Ch 1, turn
- Dec over the first 2 stitches
- Continue the waffle texture across the row
- Dec over the last 2 stitches
Final Point Row
- Ch 1, turn
- Dec over the first 2 stitches
- Continue working in pattern until only 2 stitches remain
- Dec the final 2 stitches together to form the point
- Fasten off for now if you prefer, or continue directly into the strap
Top Straps Neck Ties
- Join yarn at the top point of the cup if not already attached
- Ch 50 to 60 for the strap
- Fasten off leaving a tail for securing
- Repeat for the second cup
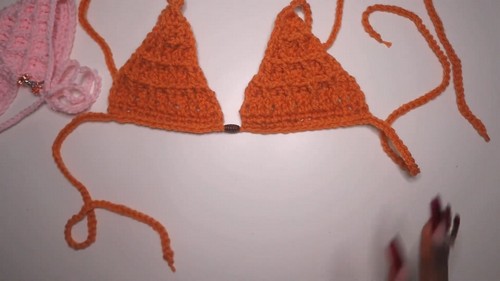
Bottom Band and Back Ties
- With both cups ready, you will work along the bottom edge to connect them and create the long back ties
- Ch 60 for the first back tie
- Attach to the bottom corner of the first cup
- Sc evenly across the bottom edge of the first cup
- If you want a cleaner edge, place one sc per row end along the slanted sides and one sc in each stitch along any flatter sections
- At the center, you can add the optional bead detail
- Ch 3 at the center join point
- Thread bead onto yarn using a needle and slide bead into position
- Pull yarn snug to secure the bead
- Continue by sc evenly across the bottom edge of the second cup
- After finishing the second cup, ch 60 for the second back tie
- Fasten off
Finishing
- Weave in all ends securely
- If using this as swimwear, weave ends extra firmly and consider sewing the strap joins for reinforcement
- Try on and adjust strap lengths if needed by retying or shortening the chains


Leave a Reply