
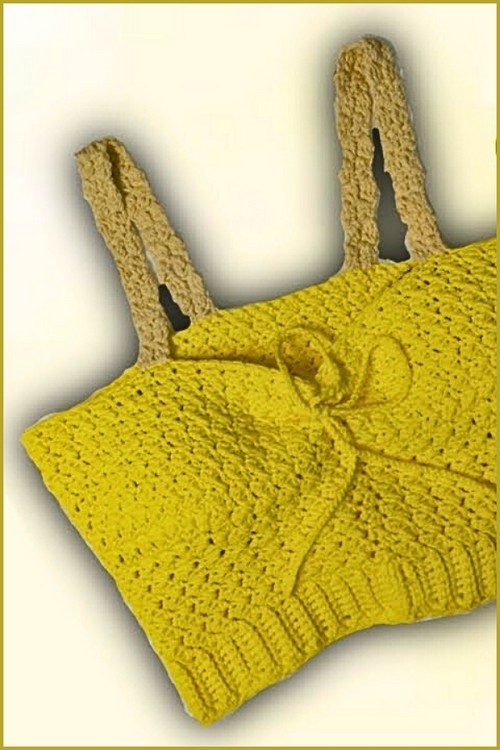
The Crochet Suzette Crop Top is a flattering, modern wardrobe staple built from the waist up with a textured stitch that looks detailed but stays simple to crochet. This design uses a ribbed waistband for comfort and grip, then transitions into the Suzette stitch to create a dense, stretchy fabric that holds its shape without feeling stiff.
Crochet Suzette Crop Top
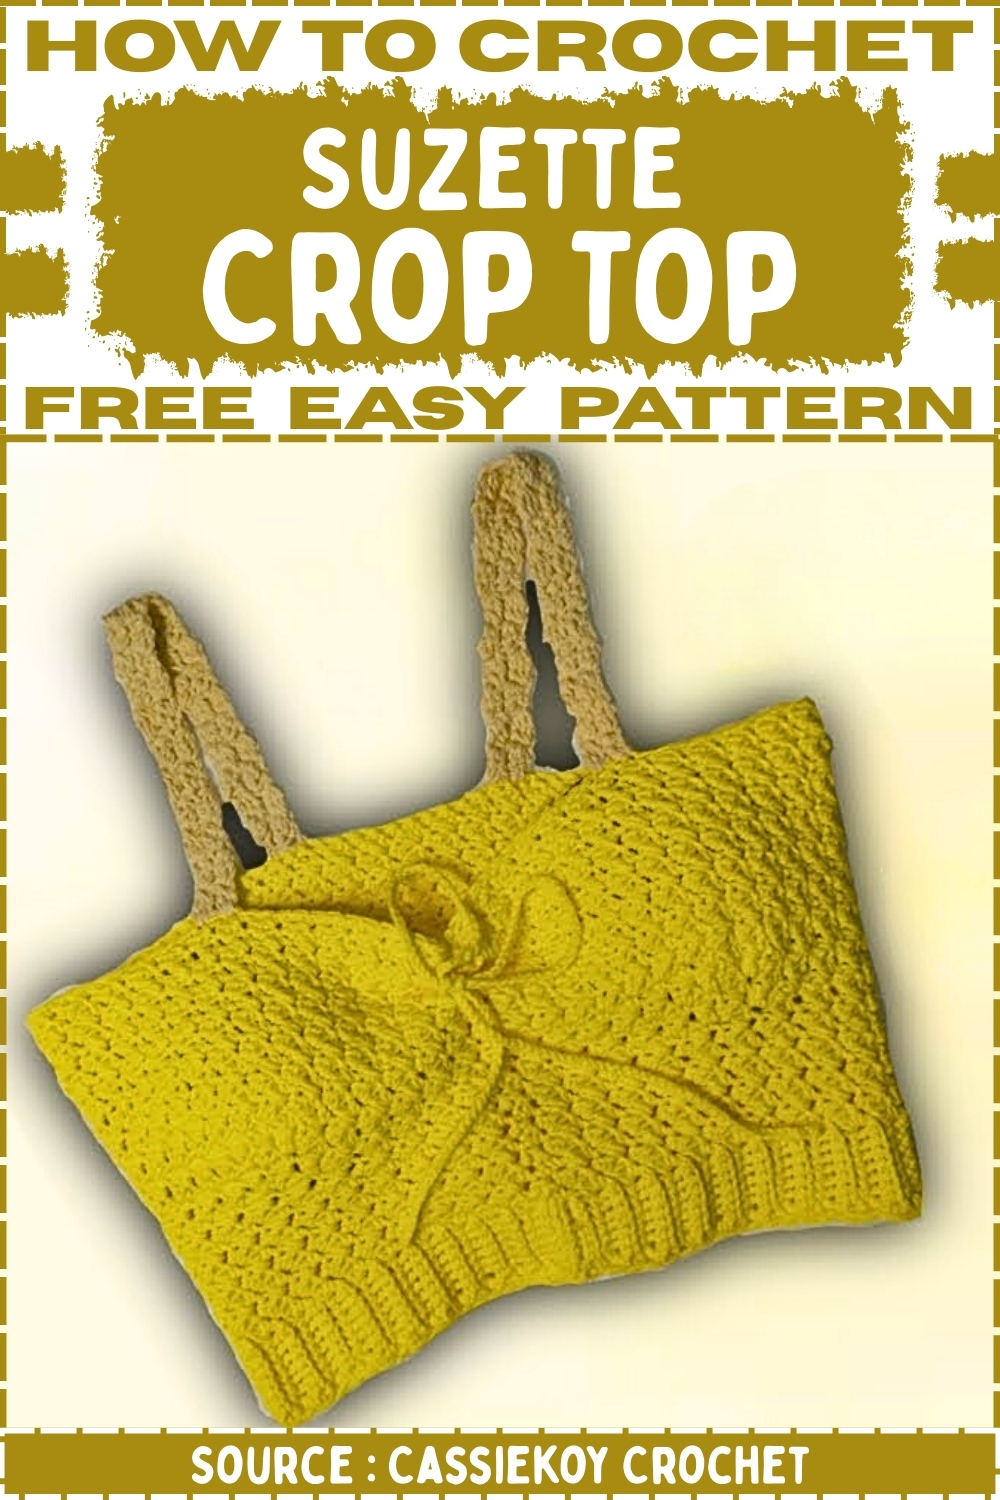
The bust area is customized with centered increase sections, letting you add room exactly where you need it while keeping the sides smooth. Finished with clean single crochet edging and supportive straps, the top is wearable for everyday outfits, summer styling, beach looks, and festival layering. The optional ribbon lace running through the center adds a cinched look and gives you another way to adjust the fit, making this a pattern you can easily tailor in height, strap length, and overall shaping.
Stitch Guide
- ch = chain
- sl st = slip stitch
- sc = single crochet
- dc = double crochet
- blo = back loop only
- cluster = 3 dc cluster made as three unfinished dc closed together
Gauge And Sizing Notes
- This pattern is measurement based so you can size it for any body
- The waistband length controls the overall body circumference
- The number of Suzette rounds controls the height from waist to under bust and then from under bust to top edge
- The increase section is centered and measured so it lines up with the bust area
- Try the top on often and adjust rows as needed
Fit Planning Before You Start
- Measure your waist where you want the bottom of the crop top to sit
- Measure from waist to under bust to know how many Suzette rows you need before starting increases
- Measure the height you want from waist to top edge for your total Suzette rows
- Decide strap style and strap length before finishing so you can fit it to your body
Materials
- Lightweight #3 milk cotton yarn approximately 125g
- 4.0mm crochet hook for the main body
- 2.5mm crochet hook for ribbon lace
- Scissors
- Tapestry needle
- Stitch markers
- Tape measure
Step 1 Waistband Ribbing
Foundation Row
- Make a slip knot
- Chain 9
Row 1
- Insert hook into the second chain from the hook
- Work 1 sc in each chain across
- You should have 8 sc
- Chain 1 and turn
Row 2
- Work 1 sc blo in each stitch across
- Chain 1 and turn
Repeat Rows
- Repeat Row 2 until the ribbing strip reaches your waist measurement
- Keep checking by wrapping it around your waist with a gentle stretch
- If you want a snug fit, crochet the band slightly smaller than your waist since ribbing stretches
Join The Band
- Bring the two short ends together to form a ring
- Slip stitch through both layers across the edge to join
- Make sure the band is not twisted
- Turn the ring so the seam sits at the center back
Main Body In Suzette Stitch
Suzette Stitch Setup
- Suzette stitch is made by placing 1 sc and 1 dc into the same stitch then skipping the next stitch
- The stitch forms a textured cluster look and creates a dense fabric
Round 1 Join And Start
- Attach yarn to the top edge of the waistband
- Chain 1 to begin
- Skip the first stitch area along the ribbing edge
- In the next stitch space, work 1 sc and 1 dc in the same place
- Skip the next stitch space
- Continue around with the Suzette stitch pattern
- When you reach the end of the round, finish with 1 sc in the last stitch space
- Slip stitch to the first sc to close the round
- Chain 1 and turn
Rounds 2 And Onwards
- Skip the first stitch
- Work 1 sc and 1 dc in the next stitch
- Skip the next stitch
- Repeat around
- Slip stitch to close
- Chain 1 and turn at the end of each round
Length Before Increases
- Repeat the Suzette rounds until the height reaches your under bust
- Keep trying it on so the under bust line is exactly where you want the shaping to begin
Step 3 Bust Placement And Increase Section
Mark The Bust Center
- Find the seam where you joined the waistband since this is the center back reference point
- Identify the center front area directly opposite the seam
- Use your tape measure to measure 3.5 inches to the left and place a marker
- Measure 3.5 inches to the right and place another marker
- The distance between markers should be about 7 inches across the front
- These markers guide where the bust shaping increases will sit
Increase Round Instructions
- Work the Suzette stitch in pattern until you reach the stitch right before the first marker
- In that stitch, work two full Suzette sets
- One set is 1 sc and 1 dc in the same stitch
- Work the first set then immediately work a second set in the same stitch
- Skip the marked stitch
- In the stitch right after the marked stitch, work two full Suzette sets again
- Continue working the Suzette stitch around as normal
- Slip stitch to close the round
- Chain 1 and turn
Repeat Increase Rounds
- Repeat the increase round for 2 to 5 rounds depending on how much bust room you need
- For smaller bust shaping, stop after 2 rounds
- For fuller bust shaping, continue for up to 5 rounds
- Try the top on after each increase round to check coverage and comfort
After Increases
- Continue working regular Suzette stitch rounds without increases
- Keep going until the top reaches your preferred height
- The tutorial example reached a total of about 26 rows but your total will depend on your measurements
Step 4 Edging And Clean Finish
Top Edge Single Crochet Round
- Chain 1 and work 1 sc evenly across the entire top edge
- Keep stitches consistent so the edge lays flat
- Slip stitch to close the edging round
Waistband Edge Single Crochet Round
- Attach yarn to the bottom edge if needed
- Chain 1 and work 1 sc evenly along the waistband edge
- Slip stitch to close
- Weave in ends neatly
Step 5 Straps With Cluster Stitch
Strap Placement
- Use the bust markers as strap anchor points on the front
- Attach yarn at the first marker position
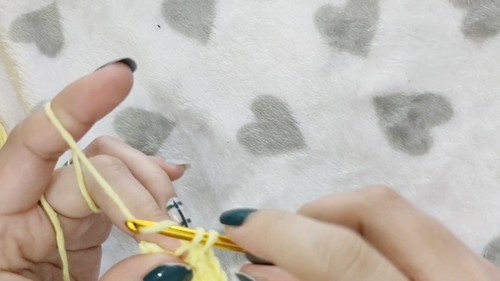
Cluster Stitch Strap Rows
- Work a row using 3 dc cluster stitches
- To make a cluster
- Yarn over, insert hook, pull up a loop
- Yarn over, pull through two loops leaving two loops on hook
- Repeat that dc start two more times in the same stitch or space
- Yarn over and pull through all loops to close the cluster
- Continue clusters across for the strap width you want
- Chain 1 and turn at the end of each strap row
- Repeat strap rows until the strap length fits from front to back comfortably
Strap Length And Attachment
- Crochet approximately 21 rows or adjust for your body
- Try the top on and pin straps where they feel supportive
- Sew the strap end to the back of the top using a tapestry needle
- Repeat for the second strap
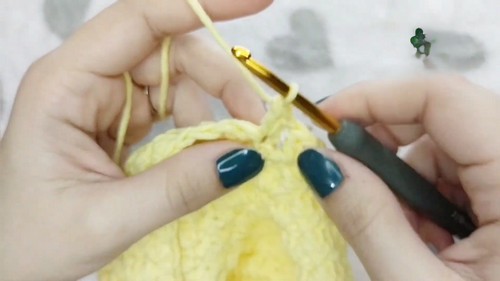
Step 6 Ribbon Lace Cinch
Crochet The Ribbon Chain
- Switch to the 2.5mm hook
- Chain a long strand
- Make it long enough to weave through the center and still tie a bow
Weave The Ribbon
- Locate the center area where the slip stitch seam line sits through the body
- Weave the chain through the stitches along the center line
- Pull gently to cinch the front as desired
- Tie a bow or knot and secure ends if you prefer
Finishing Notes
- Weave in all ends securely
- Try the top on one last time and adjust ribbon tension
- If you want more coverage, add more Suzette rounds before starting straps
- If you want a tighter top edge, use a smaller hook for edging


Leave a Reply