
This Simona Crochet Long Cardigan Pattern is a perfect choice for anyone looking to add a cozy and stylish piece to their fall wardrobe. Designed with a simple yet beautiful two-row repeat pattern, this cardigan is worked top-down, making it both beginner-friendly and customizable. Whether you're crocheting for yourself or as a gift, this cardigan can be easily adjusted to fit your unique style and measurements.
Crochet Fall Cardigan
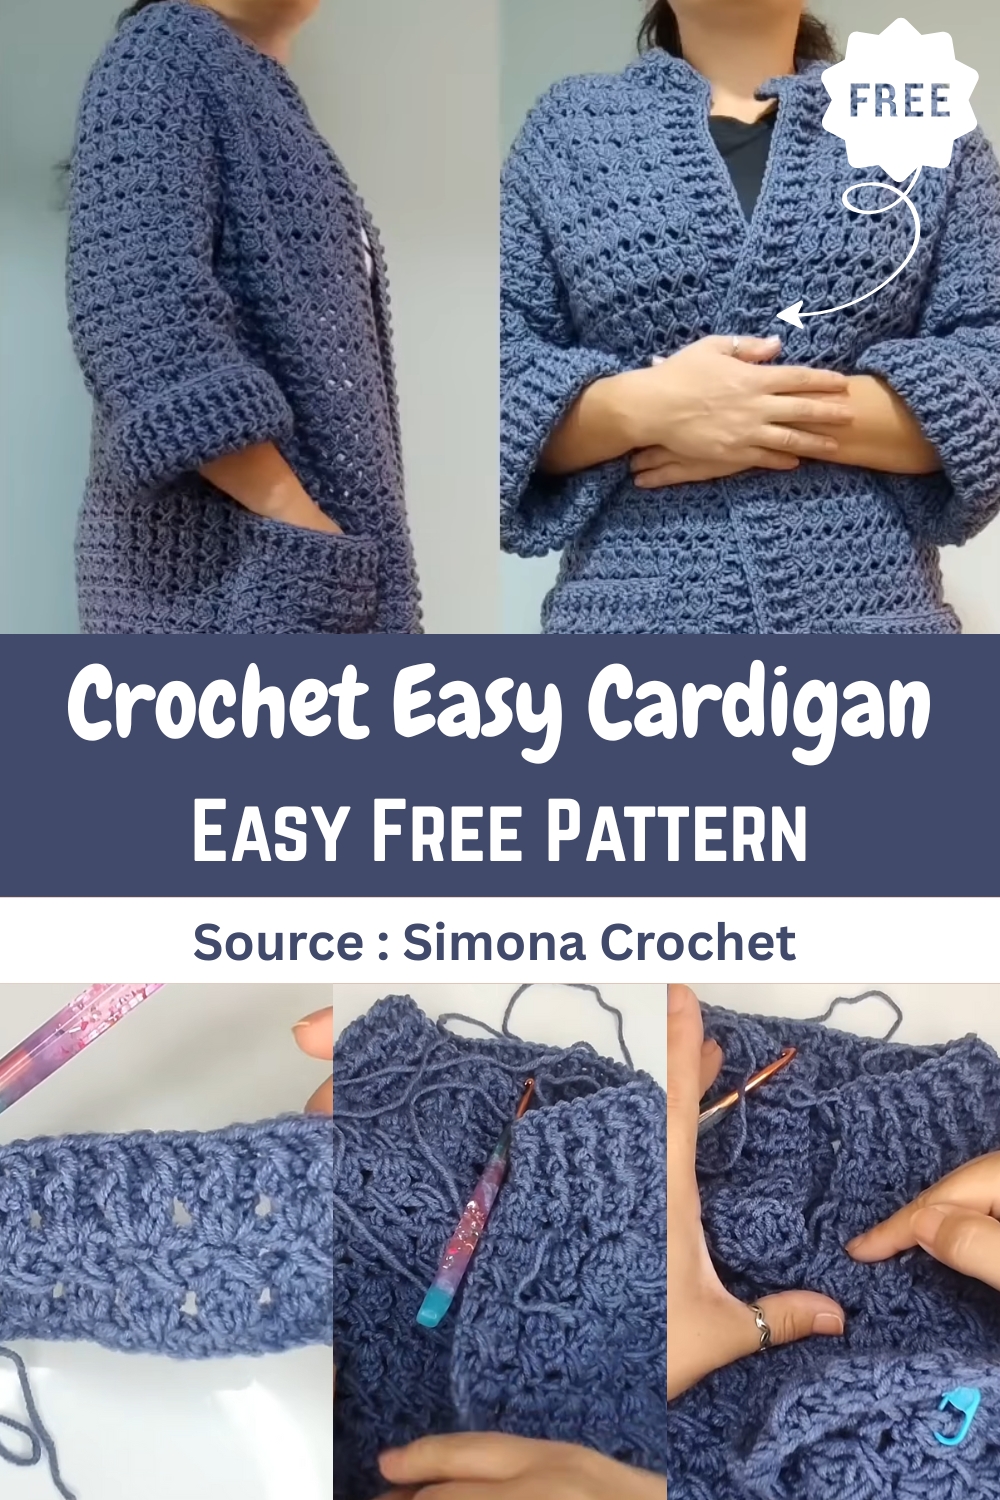
With a straightforward approach and minimal seaming, you’ll enjoy making a wardrobe staple that can be worn throughout the season. It’s versatile enough to pair with any outfit and offers a warm, comfortable fit that makes it ideal for layering.
Materials and Yoke Foundation
- Hook Size: 5.5 mm
- Yarn: Medium-weight yarn (approx. 240m/100g). You will need about 10 skeins.
- Notions: 5+ stitch markers, scissors, needle.
- Gauge Reference: The designer's back panel (size M/L) measured approx. 54 cm wide.
Initial Loops
- Make a slip knot.
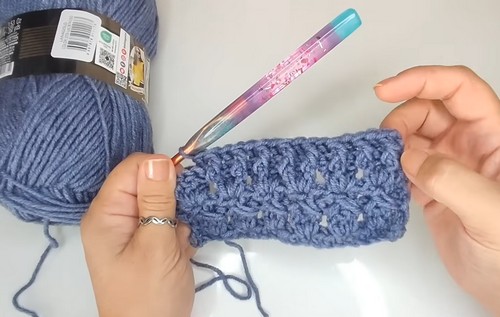
- Chain 3, then make a Double Crochet (DC) into the very first chain (the one furthest from the hook). This creates one loop.
- Repeat this process until you have a total of 21 loops.
Placing Stitch Markers (Corners)
- Front Panel 1: Skip 2 loops, place a marker in the 3rd loop.
- Shoulder 1: Skip 3 loops, place a marker in the next loop.
- Back Panel: Skip 5 loops, place a marker in the next loop.
- Shoulder 2: Skip 3 loops, place a marker in the next loop.
- Front Panel 2: You should have 2 loops remaining.
The 2-Row Repeat Pattern (Yoke Growth)
Repeat these two rows until the yoke fits comfortably across your back and shoulders (the designer made 15 rows). Always stop on Repeat Row 1 before joining the armholes.
Repeat Row 1 (DC Row)
- Chain 2, turn.
- Regular Spaces: Make 3 DC into the center of each loop or the chain-1 space of each cross stitch (from the previous row).
- Corner/Increase Spaces (with marker):
- Remove marker. Make 3 DC, Chain 1, 3 DC into the same corner space.
- Replace the stitch marker into the Chain 1 space.
- Finish: After the last 3 DC set, place a DC at the end of the row.
Repeat Row 2 (Cross Stitch Row)
- Chain 2, turn.
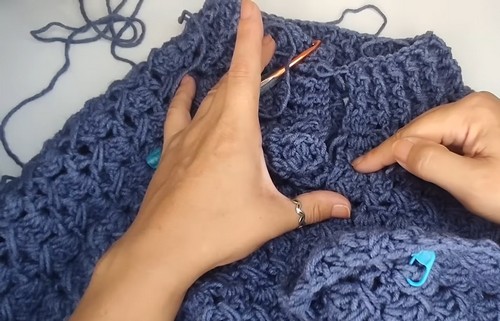
Cross Stitch:
- First leg: Yarn over, insert hook behind the first set of 3 DC, pull up a longer loop, complete a DC.
- Chain 1.
- Second leg: Yarn over, insert hook before the same set of 3 DC, pull up a longer loop, complete a DC.
- Skip the next 3 DC set and repeat the cross stitch pattern.
Corner/Increase (with marker):
- Remove marker. Make DC, Chain 1, DC into the Chain 1 space.
- Replace the marker into the Chain 1 space.
- Finish: After the last cross stitch, make a DC into the top of the starting Chain 2 from the previous row.
Connecting the Yoke (Body and Armholes)
You should be starting a Cross Stitch Row (Repeat Row 2) for this step.
- First Armhole: Crochet the cross stitch pattern until you reach the first corner marker.
- Into the corner space, make 2 DC.
- Chain 2.
- Into the next corner space, make 2 DC. (This connects the front panel to the back panel, skipping the sleeve).
- Back Panel: Continue the cross stitch pattern across the back until the next corner.
- Second Armhole: Repeat the connection: 2 DC, Chain 2, 2 DC.
- Finish: Continue the cross stitch pattern to the end of the row.
- Next Row (DC Row): When starting the next DC row (Repeat Row 1):
- At the armhole gap, make 3 DC in the last DC of the connection, skip the Chain 2 space, and make 3 DC in the first DC of the next connection group.
- Continue the DC pattern across the body.
Body Length and Edging
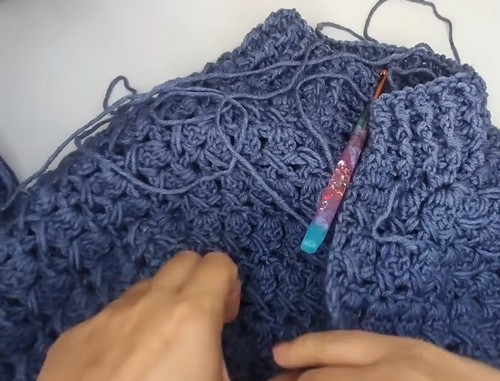
- Body Pattern: Continue repeating Rows 1 and 2 in the round, now for the main body length.
- Optional Increase: To add width around the hips, on a DC Row, place 3 extra DC in the space between two cross stitches under the armhole on both sides.
- Length: Continue until the cardigan is about 10 cm before your final desired length. Stop on a DC Row (Repeat Row 1).
Bottom Edging (Ribbing):
- Chain 2, turn (Right Side of work).
- Alternate Front Post Double Crochet (FPDC) and Back Post Double Crochet (BPDC) across the row.
- The first and last post stitches should be the same.
- Finish the row with a Half Double Crochet (HDC) in the Chain 2 from the previous row.
- Repeat this row, matching the post stitches, for a total of 7 rows.
Sleeves (Worked in the Round)
Work both sleeves the same way, turning after each row.
- Start: With the cardigan right-side-out, join yarn at the bottom of the armhole (in the Chain 2 space). Chain 2.
- Optional Decrease: Slip stitch from the space before the first 3 DC, to the space before the last 3 DC. Repeat this step as many times as desired to reduce the sleeve width.
- Pattern: Continue the 2-row repeat pattern in the round, turning after every row. Join with a slip stitch under the starting Chain 2.
- Cuff Length: Work until about 8-10 cm before the end of the wrist. Stop on a 3 DC row.
- Cuff Ribbing (FPDC/BPDC): Work the FPDC/BPDC ribbing pattern for a total of 6 rows, joining with a slip stitch at the end of each row.
Final Edge (SC):
- Chain 1, turn.
- Work a single crochet row: 3 SC, then Skip 1 stitch. Repeat around to slightly tighten the edge.
- Slip stitch to join, chain 1, and cut yarn.
Neckline and Front Edging
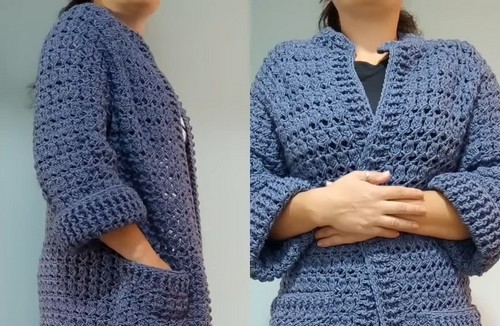
Stitch Setup:
- Join yarn at the bottom right front edge. Chain 2, turn.
- Work DC evenly up the front, around the back of the neck, and down the other side.
- Stitch Placement: Alternate placing 3 DC in one space and 2 DC in the next space to avoid ruffling.
- Count the DC on the first side and match the stitch count on the second side (designer had 125 stitches).
- Ribbing: Work the FPDC/BPDC ribbing pattern for 4 rows.
Final SC Edging:
- Starting at the bottom of the front edge, work one continuous row of SC all the way around the entire cardigan edge.
- At all corners (neckline, bottom), make 2 SC to keep the edge flat.
- Slip stitch to join, chain 1, and cut yarn.
Optional: Pockets
- Foundation: Chain 24 (or multiple of 3).
- Row 1 (SC): SC in the second chain from the hook and in each chain across (23 SC).
- Pattern: Work the 2-row repeat pattern from the main cardigan (3 DC row, then Cross Stitch row). The designer made 9 rows in total.
- Cuff (Flat Ribbing): Use this alternative ribbing to keep the inside flat.
- Row 1: Chain 2, turn. Alternate FPDC and HDC across the row.
- Row 2: Chain 2, turn. Alternate BPDC and HDC across the row.
- Final Edge (SC): Chain 1, turn. Work 3 SC, Skip 1 stitch across the top edge.
- Sewing: Leave a long tail for sewing. Pin the pocket to the cardigan and sew it onto the garment.


Leave a Reply