
This crochet baby cardigan pattern is designed specifically for beginners, offering a step-by-step guide that results in a cozy, stylish cardigan for your little one. Constructed in five easy pieces one back panel, two front panels, and two sleeves this project uses the Half Double Crochet (HDC) stitch in the Back Loop Only (BLO) to create a subtle ribbed texture.
Crochet Baby Cardigan
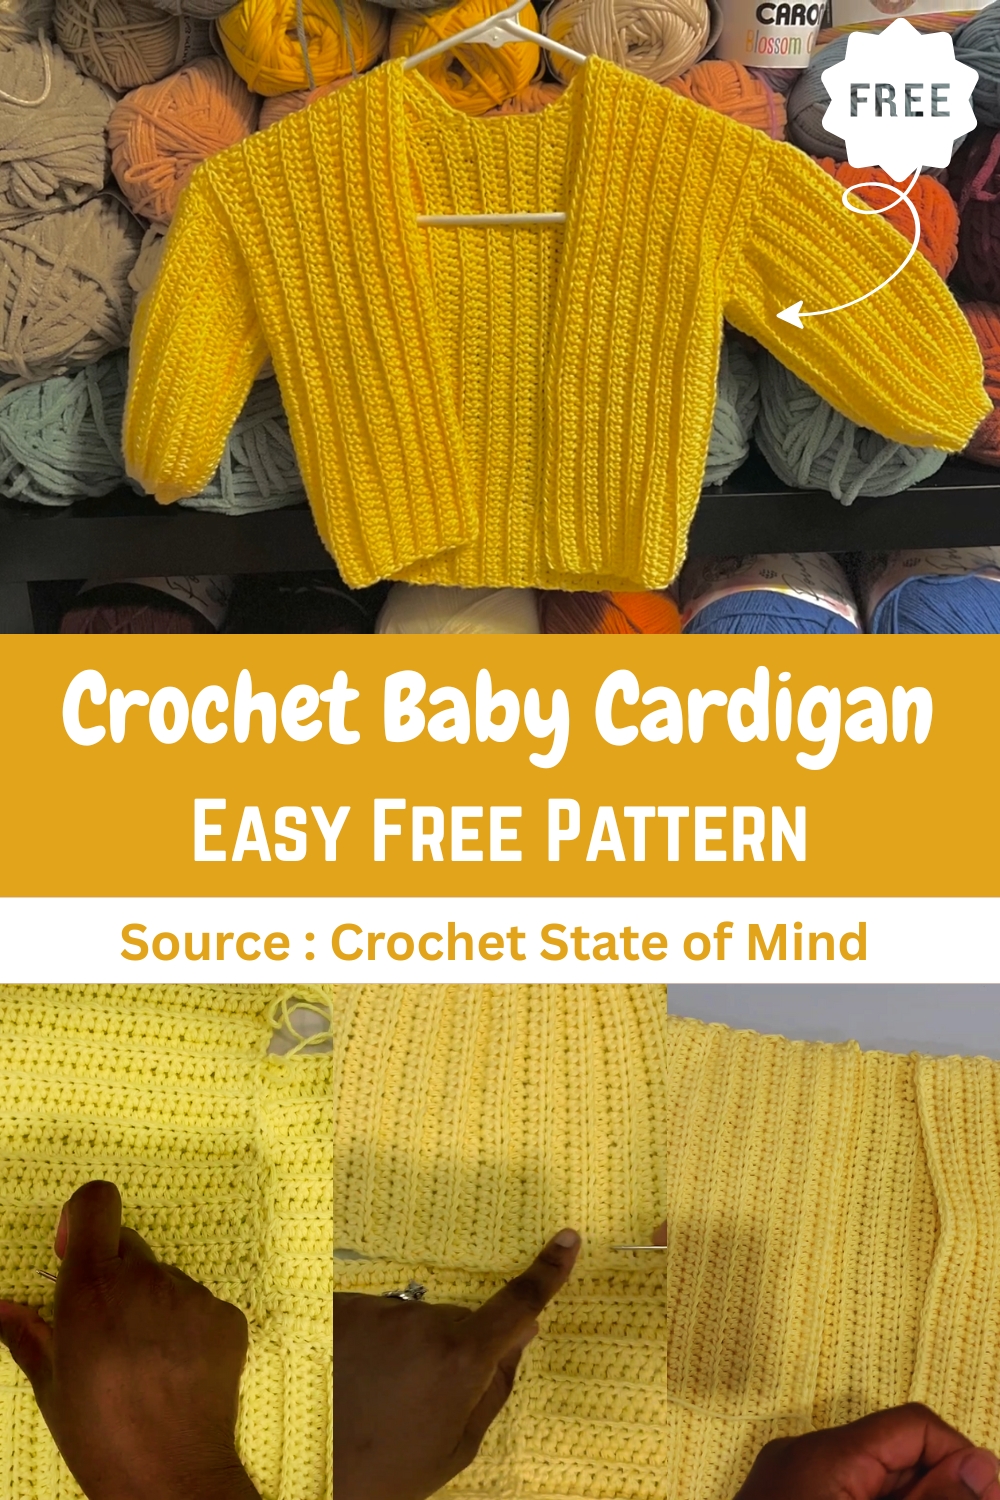
The pattern allows for customization based on your child’s measurements, making it versatile for different sizes. Whether you're making it for a gift or your own baby, this cardigan is simple, quick, and sure to be loved!
Materials
- Yarn: Worsted weight yarn (The video uses I Love This Cotton from Hobby Lobby).
- Hook: 5 mm hook.
- Main Stitch: Half Double Crochet in the Back Loop Only (HDC BLO).
- Length Measurement: Measure your child from the shoulder bone down to the desired length (e.g., to the hips).
- Width Measurement: Measure the circumference of the chest for the back and front panel widths, and the bicep circumference for the sleeve width.

Crochet the Back and Front Panels
You will work the back panel and two identical front panels using the same technique.
Foundation Row (Length)
- Chain: Chain the number of stitches that corresponds to your measured length plus one for the turning chain.
- (The video example uses 54 chains + 1).
- Row 1 (HDC): In the second chain from the hook, insert a HDC in the back bump and continue inserting a HDC in the back bump of every chain across.
Body Rows (Width)
- Row 2: Chain 1 and turn your work.
- First Stitch: Insert a HDC into the very first stitch under both loops.
- Middle Stitches (BLO): In the next stitches, insert a HDC in the back loop only (BLO) until you reach the second to last stitch.
- Last Stitch: Insert a normal HDC into the very last stitch under both loops.
- Repeat: Repeat this row until you have reached your desired width for the panel.
- The Back Panel will be the full width of the child's back.
- The Front Panels will be half the width of the back panel (or until they meet at the center-front).
- Repeat all steps to create a second identical Front Panel.
Crochet the Sleeves (with Cuff)
The sleeve is also worked in the length (shoulder to wrist), but incorporates slip stitches for the cuff.
- Chain: Chain the number of stitches that corresponds to your measured sleeve length plus one for the turning chain (The video example uses 35 chains + 1).
Row 1 (Cuff Setup):
- Work HDC in the back bump of the chain for the length of the sleeve, until only 5 to 6 stitches remain.
- In the last 5-6 chains, switch to inserting a Slip Stitch (SL ST) in the back bump of each chain.
Row 2 (Working Back):
- Chain 1 and turn your work.
- Work SL ST in the BLO in the stitches that are part of the cuff area.
- Tip: Keep slip stitches loose so the next row is easy to work.
- Switch back to HDC in the BLO for the remaining stitches of the row.
- Repeat: Repeat Row 2 until the width of the sleeve matches your child's bicep circumference.
- Repeat all steps to create a second identical Sleeve.
Assembly and Finishing
The entire joining process is worked with the pieces inside out.
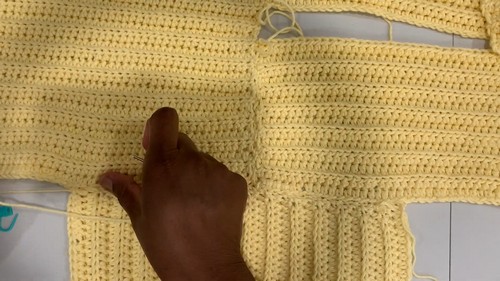
- Line Up Panels: Lay the two front panels on top of the back panel, ensuring they line up at the sides and the top (shoulders).
- Join Shoulders: Use a darning needle and the Whip Stitch (or Mattress Stitch) to sew the shoulder seams, joining the front panels to the back panel.
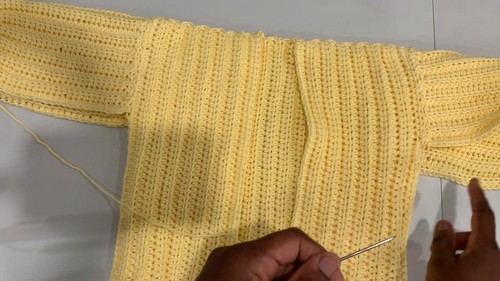
- Attach Sleeves: Use the Whip Stitch and darning needle to attach the sleeves to the armhole openings of the main body of the cardigan.
- Join Side Seams: Starting from the bottom of the cardigan, use the Whip Stitch to close the side seam, continuing up to close the bottom seam of the sleeve in one continuous line.
- Repeat for the other side.
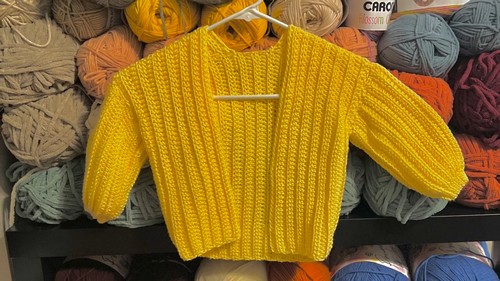
- Turn Out: Once all pieces are joined, turn the cardigan right side out.


Leave a Reply