
This crochet drawstring pouch pattern is perfect for anyone looking for a simple, versatile project. Whether you're a beginner or experienced crocheter, you'll love how easy it is to create this cute and functional pouch.
Crochet Drawstring Pouch
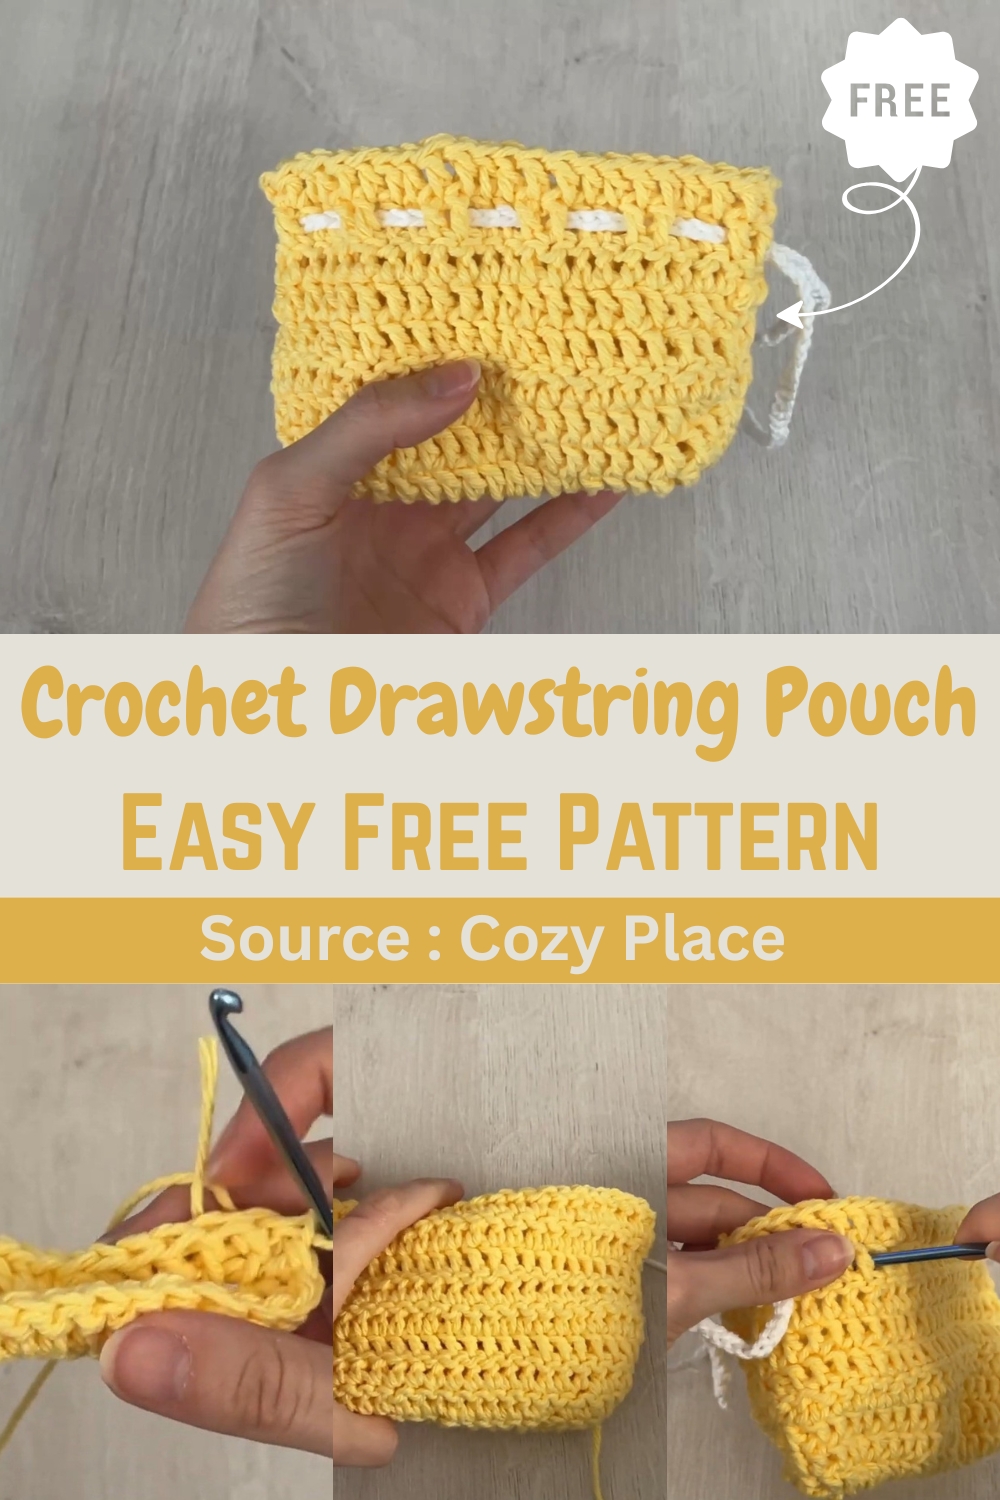
It’s not just practical for storing small items, but its customizable size makes it a great accessory for gifting or personal use. The pattern allows you to choose your desired width and length, making it adaptable to various needs. Plus, the fun of weaving in the drawstring adds a nice touch of creativity to the project!
Starting Chain
- Chain any odd number of stitches to determine the desired width of your pouch.
First Row - Double Crochet
- Make one double crochet into the third stitch from the hook.
- Continue making double crochets into the remaining stitches until the end of the row.
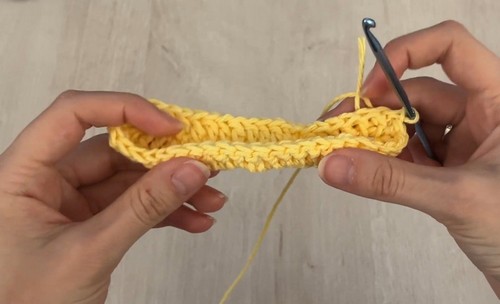
Second Row - Double Crochet
- Rotate your work clockwise.
- Create one double crochet into the exact same stitch you just finished in.
- Then, double crochet into all the remaining stitches until the end of the row.
- Finish off by creating your last double crochet into the last stitch of the row.
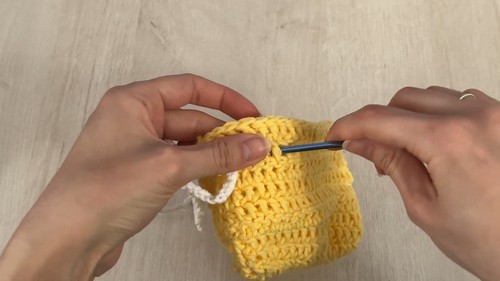
Connecting the Sides (Slip Stitch)
- Connect the two parts together by doing a simple slip stitch.
- Insert your hook through the last stitch, grab the yarn, pull it through, and then pull it through again without yarning over in between.
Subsequent Rows
- For the next row and all subsequent rows, chain two and then double crochet until you reach your desired length for the pouch.
Creating the Drawstring
- Chain as many stitches as needed to create a strap that is long enough for your pouch.
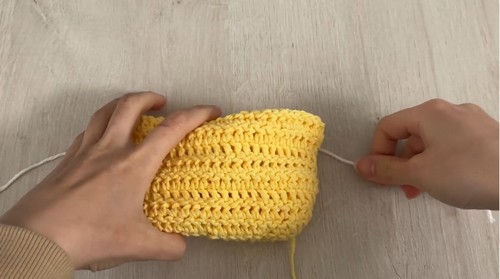
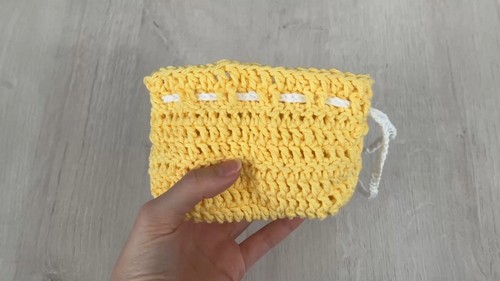
Weaving in the Drawstring
- Weave the created string into the pouch using the spaces created by your double crochets.
- Preferably, the ends of the drawstring should be on the side of the bag.
- Work in multiples of two: put your hook under two double crochets and then above two double crochets.
- Continue this pattern (behind two, on top of two) until the drawstring is woven all the way around.
Finishing
- Once the drawstring is woven in, you can tie the ends into a bow or knot as desired.


Leave a Reply