
The Welsh Wave Sweater pattern creates a beautifully textured fabric with gentle ripples that give the finished piece a soft and flowing look. This size-large tutorial walks you through the wave stitch pattern, how to shape the front and back panels, and how to assemble a clean, modern sweater with a comfortable fit.
Crochet Welsh Wave Sweater

The design works well with sport-weight yarn, making it lightweight but warm enough for everyday wear. You can easily customize the length, sleeves, or neckline to match your personal style, making this pattern perfect for both beginner and experienced makers who love timeless crochet garments.
Materials
- Sport weight yarn Number 3 about 350g
- 3.75 mm crochet hook
- Starting chain 103
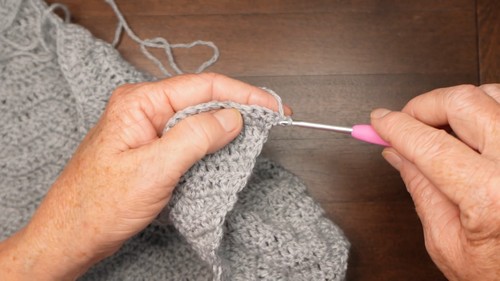
Main Wave Pattern
- Dc in the third chain from the hook
- Dc in the next 3 chains
- Work dc3tog over the next 3 chains
- Dc in the next 3 chains
- Work 3 dc in the next chain
Repeat the sequence of 3 dc dc3tog 3 dc then 3 dc in one chain across
- End with 2 dc in the last stitch
- Turn chain 3 and dc in the first stitch
- Dc in the next 3 stitches
- Work dc3tog over the next 3 stitches
- Dc in the next 3 stitches
- Work 3 dc in the next stitch
- Repeat the sequence across
- End with 2 dc in the last stitch
- Continue repeating this row until the panel measures about 22 inches for the back
Straightening the Edge
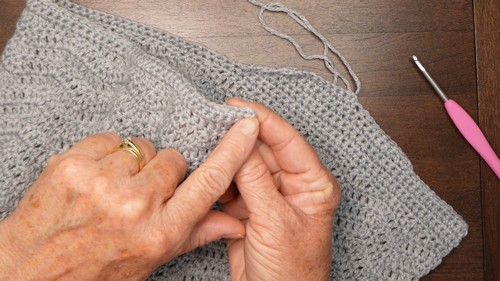
- Turn and chain 1
- Sc in the first 2 stitches
- Hdc in the next 2 stitches
- Dc in the next 3 stitches
- Hdc in the next 2 stitches
- Sc in the next 3 stitches
- Repeat the sequence across
- End with 2 sc in the last stitches
Single Crochet Rows
- Work 1 row of sc across
- Work a second row of sc across
Back Neck and Shoulder Shaping Size Large
- Chain 1 turn sc in the first 34 stitches then sc2tog
- Turn chain 1 skip first sc and sc across
- Turn chain 1 sc to last 2 stitches then work sc2tog
- Turn chain 1 skip first sc sc across until 12 stitches remain then sc2tog leave last 10 unworked
- Turn chain 1 skip first sc sc to last 2 stitches then sc2tog
- Turn chain 1 skip first sc sc until 10 stitches are left work sc2tog bind off
- Repeat shaping on the other side
Front Shaping
- Work the same as the back but make the front 1 inch shorter
- Begin the neck shaping with 40 sc before starting the decreases
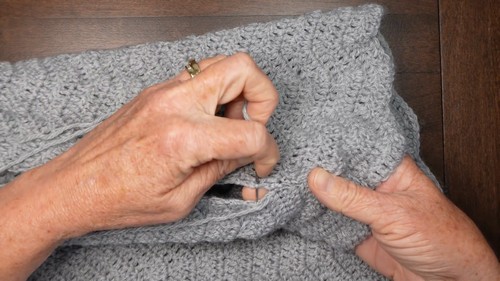
Assembly
- Lay front and back pieces together and sew shoulder seams
- Sew side seams leaving an 8.5 inch armhole opening
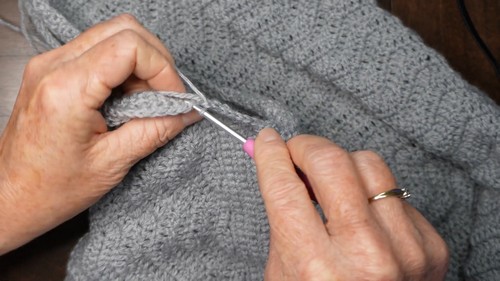
- Join yarn at the armhole and work 1 row of sc around
- Work 4 more rows of sc to form the armhole band
- Join yarn at the neckline and work 2 rows of sc around to finish


Leave a Reply