
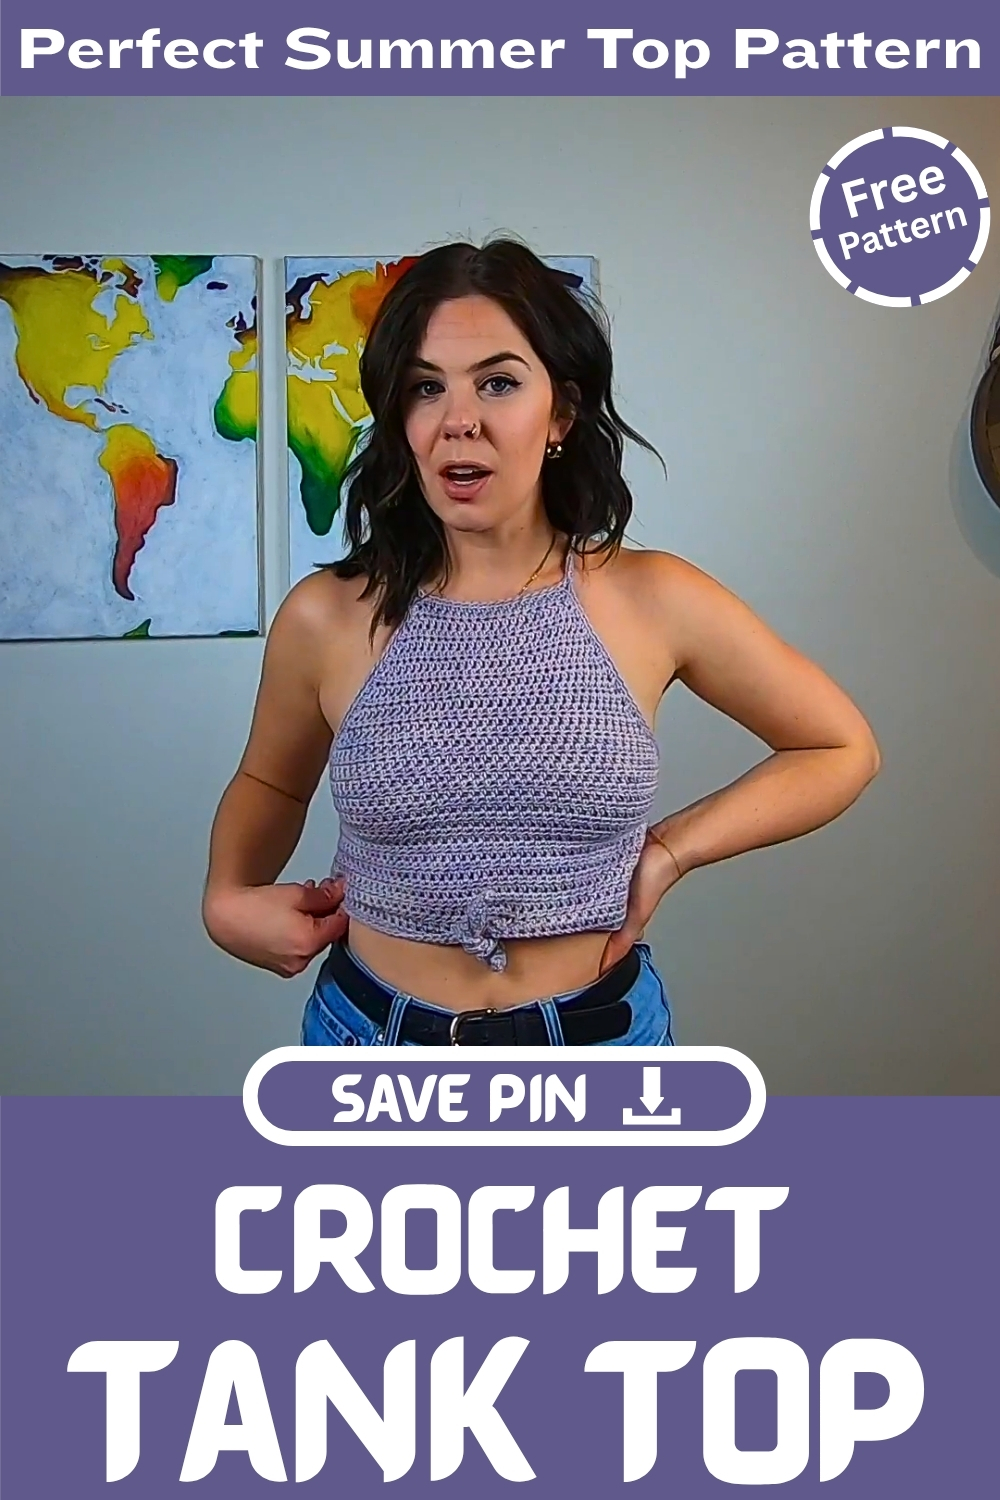
This stylish crochet Racerback Tank Top is the perfect blend of comfort and trend, ideal for sunny days, beachwear, or layering. Designed with beginner-friendly stitches and clear increase shaping, this tank is not only quick to whip up but also fully customizable in size and length.
Crochet Tank Top

Whether you prefer a cropped look or a longer fit, this pattern allows easy adjustments to suit any body type. The simple half double crochet technique and flattering racerback design give it a polished yet laid-back finish, making it a must-have staple in any handmade summer wardrobe.
Materials Needed
- 2 balls of medium weight cotton yarn (e.g., We Are Knitters Cotton)
- 6 mm or 6.5 mm crochet hook (test for preferred gauge)
- Stitch counters
- Yarn needle
- Scissors
Gauge
- Match gauge closely for best fit
- Compare fabric created with both 6 mm and 6.5 mm hooks
Front and Back Panels

Foundation Chain
- Chain desired number of stitches based on your size
- Last 2 chains count as a half double crochet (hdc)
Half Double Crochet Rows
- Hdc into the 3rd chain from the hook
- Continue hdc to the end of the row
- Chain 2 at the end of each row before turning
Increases
- Shape top with increases
- Row start: 2 hdc in the first stitch
- Row end: 2 hdc in the last stitch
- Some rows will only increase at the start
Recheck Gauge
- After completing front and back pieces, measure gauge again
Join Front and Back

Final Row on Back
- Work one additional row with increases on both ends
Connect Pieces
- Chain 3
- Attach front piece by working into the last stitch
- Ensure tail end is on your right to match rib alignment
Continue Joining Row
- Work 2 hdc after connecting
- Hdc to last stitch and increase with 2 hdc
- Chain 3, then slip stitch to starting chain to close round
Add Length to the Tank

Begin Rounds
- Chain 2 and turn to maintain texture
- Hdc into the chain between front and back
- Continue hdc in rounds
Connect Each Round
- Slip stitch to join, then turn for next round
- Maintain consistent stitch count
Edging and Straps

Edging
- Use a new ball of yarn
- Single crochet around all edges
- For next round, single crochet in the back loop only
Straps
- Chain 25 (adjust as needed) from top corner
- Attach chain to back top corner to form armhole loop
- Continue in back loop only
- Finish with a slip stitch
Repeat
- Mirror the strap creation on the opposite side
Neckline
- Single crochet around the neckline in back loop only
- Include strap chains for added durability
Finishing Bottom Edge
- Single crochet into each stitch around the hem
- Slip stitch to close
Optional Front Tie

Mark Placement
- Mark center front stitch and 3 stitches outward on both sides
Chain and Attach
- Chain 15
- Attach with hdc to the left of marked stitch
- Hdc to next marked stitch
Second Tie
- Chain 16, single crochet 15 back down the chain
- Single crochet across gap and up the other chain
Corner Turn
- 3 single crochets into the last chain
- Single crochet down opposite side
Repeat
- Mirror on the opposite side for symmetrical ties
Adjustments
Length:
- Add/remove rows to adjust tank length
Straps:
- Lengthen by increasing chain count
Sizing:
- For smaller size: remove rows or skip connecting chain between pieces
- For larger size: add chains during join or increase more frequently


Leave a Reply