
This crochet mesh tie top pattern is designed to give you an airy, adjustable, wearable top that is easy to customize without complicated shaping. The cups are built from the center outward so you can stop exactly when you reach your preferred coverage, then the cups are joined with a simple single crochet bridge and a long back chain that ties comfortably around your body.
Crochet Mesh Tie Top
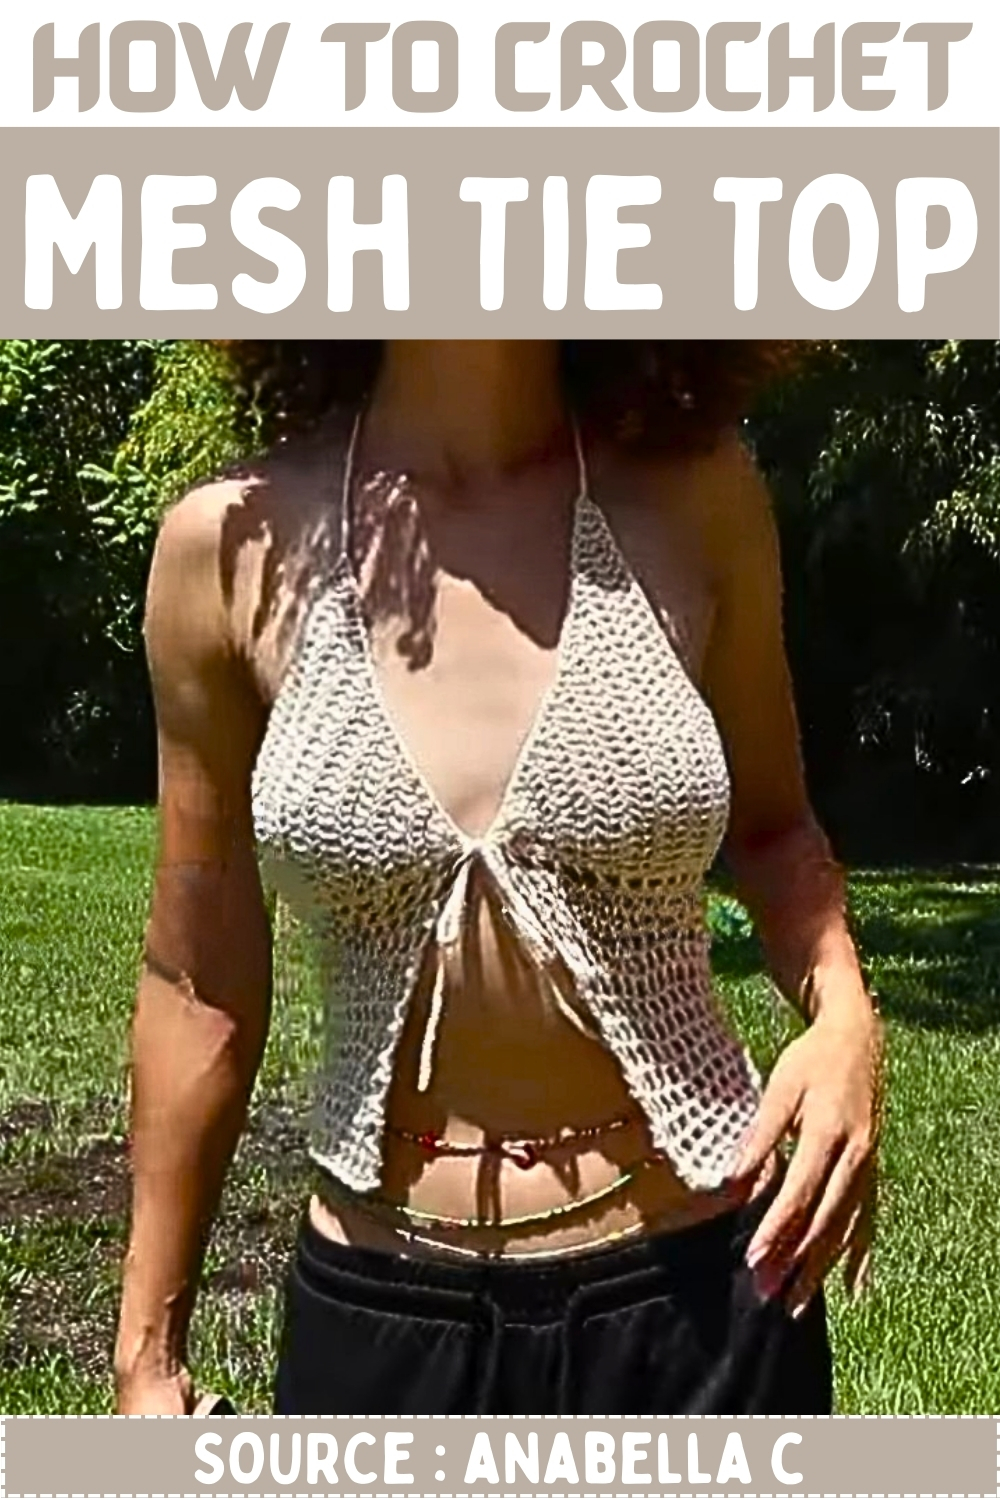
The mesh body uses a clean, repeatable stitch pattern that grows quickly and stays lightweight, making it ideal for summer, beach layering, festivals, and everyday outfits. You can adjust strap length, cup width, and mesh height to create anything from a short bikini style top to a longer cropped tank look, all while keeping the construction simple and beginner friendly.
Materials
- 3.5 mm crochet hook
- Weight 4 medium yarn
- Scissors
- Tape measure optional
- Stitch marker optional
Abbreviations
- ch chain
- sl st slip stitch
- sc single crochet
- hdc half double crochet
- dc double crochet
- st stitch
- sp space
- inc increase
Notes Before You Start
- This top is made in four main parts: cups, joining row with back chain, mesh body, and ties.
- The cups use increases in two places only so the lower edge stays flat, which helps the cups sit neatly when you join them.
- You can customize sizing in three easy ways: start cup with more dc, crochet more cup rows, or make longer back and neck ties.
- The mesh body is worked across the entire width including the cups and the back chain section.
Size and Fit Guide
- For smaller cups, start with 5 dc in the center ring and crochet fewer rows.
- For medium cups, start with 7 or 9 dc and crochet more rows.
- For larger cups, start with 11 dc and add rows until coverage feels right.
- Always try the cup against your body as you go since yarn stretch and hook tension change sizing.
Cup Construction Make 2
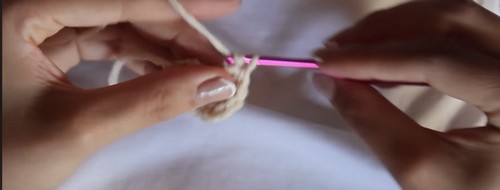
For Cup Foundation Ring
- Make a slip knot.
- Ch 5.
- Sl st into the first ch to form a small ring loop.
Cup Row 1 Setup Row
- Ch 2 counts as the first dc.
- Dc 4 into the ring so you have 5 dc total.
- If you want a wider starting cup, dc 6 for 7 total, dc 8 for 9 total, or dc 10 for 11 total.
- Turn.
How to Identify the Middle Stitch
- If you started with 5 dc, the middle stitch is the 3rd dc.
- If you started with 7 dc, the middle stitch is the 4th dc.
- If you started with 9 dc, the middle stitch is the 5th dc.
- If you started with 11 dc, the middle stitch is the 6th dc.
- Place a stitch marker into this middle stitch if that helps you stay consistent.
Cup Row 2 First Increase Row
- Ch 2.
- Dc in the first st to create an outer edge inc.
- Dc in each st until you reach the middle stitch.
- Work 2 dc in the middle stitch to create the center inc.
- Dc in each remaining st across.
- Turn.
For Cup Row 3 And All Following Rows
- Ch 2.
- Dc in the first st to keep increasing on the same outer edge every row.
- Dc in each st across until you reach the middle stitch.
- Work 2 dc in the middle stitch.
- Dc in each remaining st across.
- Turn.
Cup Growth Checkpoints
- After a few rows, the cup should look like a triangle wedge with one straight lower edge.
- If the lower edge begins to curve, you may be increasing on both outer edges by accident.
- Only one outer edge gets an increase.
- The middle stitch always gets the increase.
When to Stop the Cup
- Keep repeating the increase row pattern until the cup covers from the inner chest area to where you want it to sit.
- Finish on a row that ends with an increase so the cup edge stays balanced.
- Fasten off for the first cup.
- Make a second identical cup.
Cup Inner Edge Edging
- With the cup facing you, locate the inner side edge that will sit near the center of your chest.
- Attach yarn at the bottom of that inner edge.
- Work hdc evenly up the side edge of the rows.
- Place 1 hdc per row end as a starting point.
- If the edge feels tight, add an extra hdc in some row ends.
- If the edge ruffles, skip a row end occasionally.
- Fasten off.
- Repeat the same inner edge edging on the second cup.
Joining Cups and Making the Back Chain
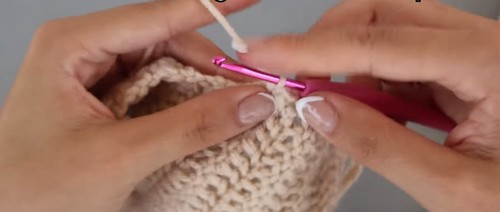
Position the Cups
- Lay both cups flat with the straight lower edges at the bottom.
- Place them side by side so the inner bottom corners are closest together.
Join Along the Bottom
- Attach yarn to the bottom inner corner of the left cup.
- Sc evenly across the bottom edge of the left cup.
- When you reach the outer bottom corner of the left cup, do not fasten off.
Back Chain Tie
- Ch a long length that will wrap around your back and allow tying.
- Measure it around your body with gentle tension, remembering yarn stretch.
- Keep the chain length comfortable, not tight.
Attach to the Right Cup
- After the back chain is long enough, connect it to the bottom outer corner of the right cup.
- Continue by sc evenly across the bottom edge of the right cup until you reach the bottom inner corner.
- Turn.
Mesh Body Stitch Pattern

For Mesh Row 1 Establishing Row
- Ch 3 counts as the first dc and chain space.
- Skip the first st.
- Dc in the next st.
- Ch 1.
- Skip 1 st.
- Dc in the next st.
- Repeat ch 1, skip 1, dc in next across the entire row including the back chain section.
Mesh Row End Increase
- In the last stitch of the row, work dc, ch 1, dc all into that same last stitch.
- This keeps the edge even and prevents the mesh from pulling inward.
- Turn.
For Mesh Row 2 And All Following Rows
- Ch 3.
- Dc into the first chain 1 space.
- Ch 1.
- Dc into the next chain 1 space.
- Repeat dc in each chain 1 space with ch 1 between across.
- At the end, work dc, ch 1, dc into the last stitch again for the edge increase.
- Turn.
Mesh Height Options
- For a short mesh body, crochet about 10 to 12 rows.
- For the video length, crochet about 15 rows.
- For a longer crop, keep adding rows until it reaches the length you want.
Mesh Fit Tips
- Try the top on after a few mesh rows to confirm the width and length feel right.
- If you want a tighter fit, reduce the back chain length slightly next time.
- If you want more coverage, add mesh rows rather than changing stitch size.
Straps and Ties

Front Ties Make 2
- Attach yarn to the bottom inner corner of the left cup.
- Ch 75 for the front tie.
- Fasten off.
- Attach yarn to the bottom inner corner of the right cup.
- Ch 75 for the second front tie.
- Fasten off.
Neck Straps Make 2
- Attach yarn to the top point of the left cup.
- Ch 100 to 150 depending on how long you want the tie.
- The example length is about 110 chains.
- Fasten off.
- Attach yarn to the top point of the right cup.
- Ch 100 to 150.
- Fasten off.
Finishing
- Weave in all yarn ends securely.
- Gently stretch the mesh to open it evenly.
- Tie the neck straps behind your neck.
- Tie the back chain behind your back.
- Tie the front ties into a bow at the center front.
Troubleshooting and Fixes
- If the cup bottom edge curves, check that you are increasing on only one outer edge.
- If the inner edge feels wavy, reduce the number of hdc on the edging.
- If the mesh leans or looks uneven, make sure you are placing dc into spaces consistently.
- If the top feels too loose, shorten the back chain or tie tighter with longer ends.



Leave a Reply