
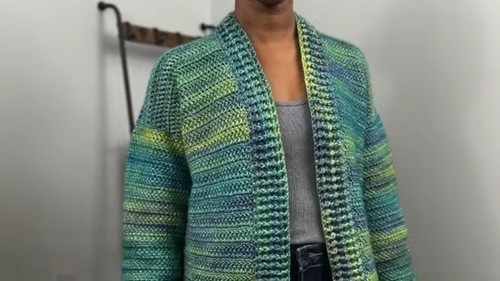
The Simple Crochet Cardigan pattern using the Herringbone Double Crochet (HBDC) Stitch is a versatile and stylish piece for any crochet enthusiast. This cardigan is constructed with five separate panels—back, two fronts, and two sleeves—which are seamed together and finished off with ribbing for a polished, professional look.
Crochet Cardigan

The Crochet Cardigan is perfect for beginners looking to challenge themselves with a unique stitch and seasoned crafters who want a quick yet satisfying project. Its simple yet chic design makes it ideal for layering in cooler months or as a cozy addition to any wardrobe.
Materials
- Yarn: Worsted weight yarn (Example: Lion Brand Blossom Cakes)
- Hook: 5 mm (A smaller hook can be used for a tighter stitch)
- Notions: Tape measure, scissors, tapestry needle, stitch markers
Key Measurements
 vvvvvvv
You'll need these measurements to calculate the panel dimensions:
- Bust/Hip: Widest circumference of your bust or hips. Used for cardigan width.
- Cardigan Length: From the top of your shoulder to the desired hemline.
- Armhole Depth: From the top of your shoulder to the bottom of the arm opening.
- Upper Arm Circumference: Around the widest part of your upper arm.
- Arm Length: From the center of your neck to your wrist.
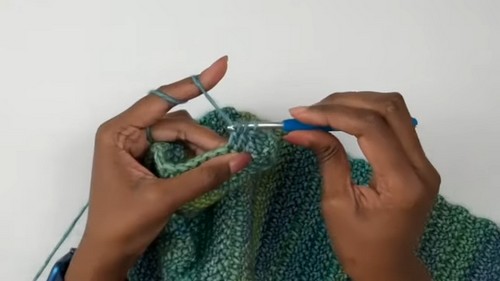
The Herringbone Double Crochet (HBDC) Stitch
- Start: Yarn over, insert hook into the indicated stitch. Yarn over and pull up a loop (3 loops on hook).
- Pull Through One: Pull the first loop through the second loop (like a slip stitch).
- Yarn Over: Yarn over and pull through the first loop.
- Finish: Yarn over and pull through the final two loops.
Back Panel
Calculation and Starting
- Take your Bust/Hip measurement and add 2 inches or more of positive ease.
- Divide the total width in half (e.g., 40 inches / 2 = 20 inches wide).
- Chain until the starting chain measures the required panel width (e.g., 20 inches).
Rows
- Row 1: Skip 2 chains (counts as DC), work HBDC across the row, and work a regular DC in the last chain.
- Row 2 & All Subsequent Rows: Chain 1, DC in the first stitch, HBDC across the row, and DC in the top of the turning chain.
- Length: Continue repeating until the panel is 2 inches shorter than your total desired length (e.g., 29 inches long).
- Fasten off.
Front Panels (Make 2)
Calculation and Starting
- Subtract 3 to 4 inches from the total Back Panel Width (e.g., 20 inches - 3 inches = 17 inches).
- Divide the result in half (e.g., 17 inches / 2 = 8.5 inches wide).
- Chain to the required width (e.g., 8.5 inches).
Rows
- Work rows as for the Back Panel (starting and ending with DC, using HBDC in between).
- Work the same number of rows as the completed Back Panel.
- Fasten off and make a second identical panel.
Sleeves (Make 2)
Calculation and Starting
- Use the largest of the following numbers for sleeve width:
- (Armhole Depth x 2)
- Upper Arm Circumference
- Add optional ease (e.g., 13 inches + 2 inches = 15 inches wide).
- Sleeve length (Before Cuff): Subtract half of your Back Panel width from your Arm Length.
- Chain to the required sleeve width (e.g., 15 inches).
Main Body Rows
- Work rows exactly as for the Back Panel until the sleeve reaches the required length (e.g., 19 inches).
Cuff Ribbing (Applied Ribbing)
- Row 1 (Decrease): Chain 1, DC in the first stitch, DC2Tog across the row.
- Row 2 (Single Crochet): Chain 1, SC in each stitch across the row.
- Ribbing Rows: SC Back Loop Only across the row. Repeat until the cuff is the desired width (e.g., 2 inches).
- Fasten off and make a second sleeve.
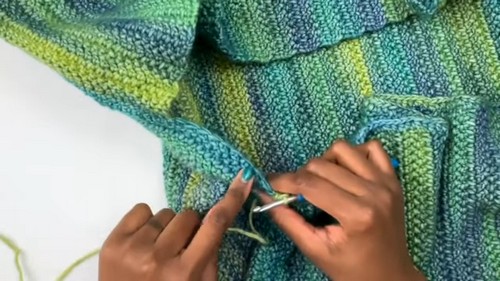
Assembly (Seaming)
- Shoulder Seams: Sew the Front Panels to the Back Panel along the top shoulder edges.
- Sleeve Attachment: Align the center of the sleeve top with the shoulder seam and sew the sleeve to the armhole.
- Side and Arm Seams: Sew the arm and side seams, starting at the cuff and continuing down to the hem.
Hem Ribbing
Setup Row (HDC)
- Start with a standing HDC in the first stitch of the bottom edge, work 1 HDC in each stitch across the hemline.
Ribbing Rows (FPDC/BPDC)
- Row 1: Chain 1, HDC in the first stitch, FPDC and BPDC across the row.
- Subsequent Rows: Turn, chain 1, HDC in the first stitch, FPDC over FPDC, BPDC over BPDC.
- Repeat until ribbing is 2.5 to 3 inches long.
- Fasten off.
Front/Neck Ribbing
- Setup Row (HDC): Work 1 HDC per row up the hem ribbing, then up the front panel to the neckline.
- Ribbing Rows (FPDC/BPDC): Work FPDC and BPDC as you did for the hem ribbing.
- Fasten off and weave in all remaining ends.


Leave a Reply