
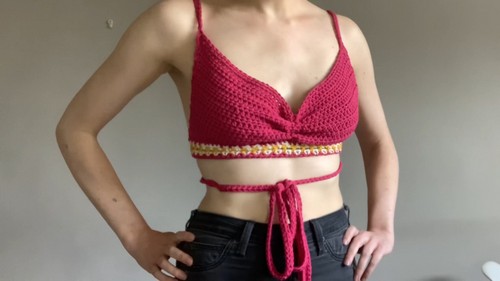
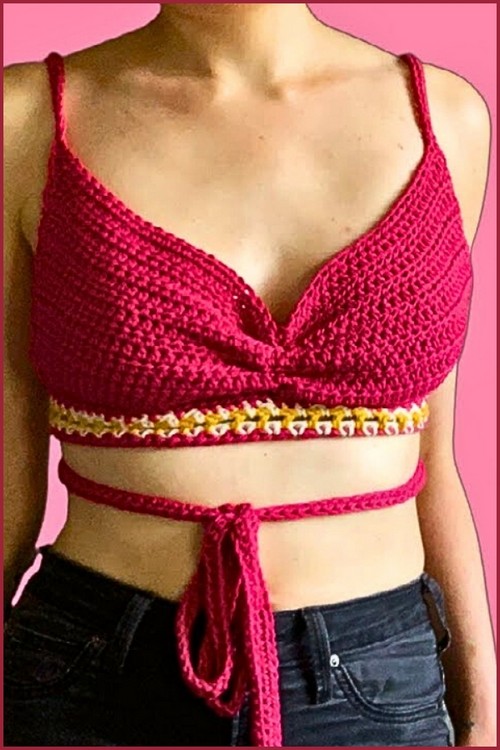
This crochet bralette Top is a true measure-yourself pattern, which means you create the fit from your own body measurements instead of forcing your body into preset stitch counts. The design starts with a simple rectangular front that’s worked in half double crochet for soft coverage, then gathered at the center with a ruching seam to shape the fabric to your bust.
Crochet Bralette Top
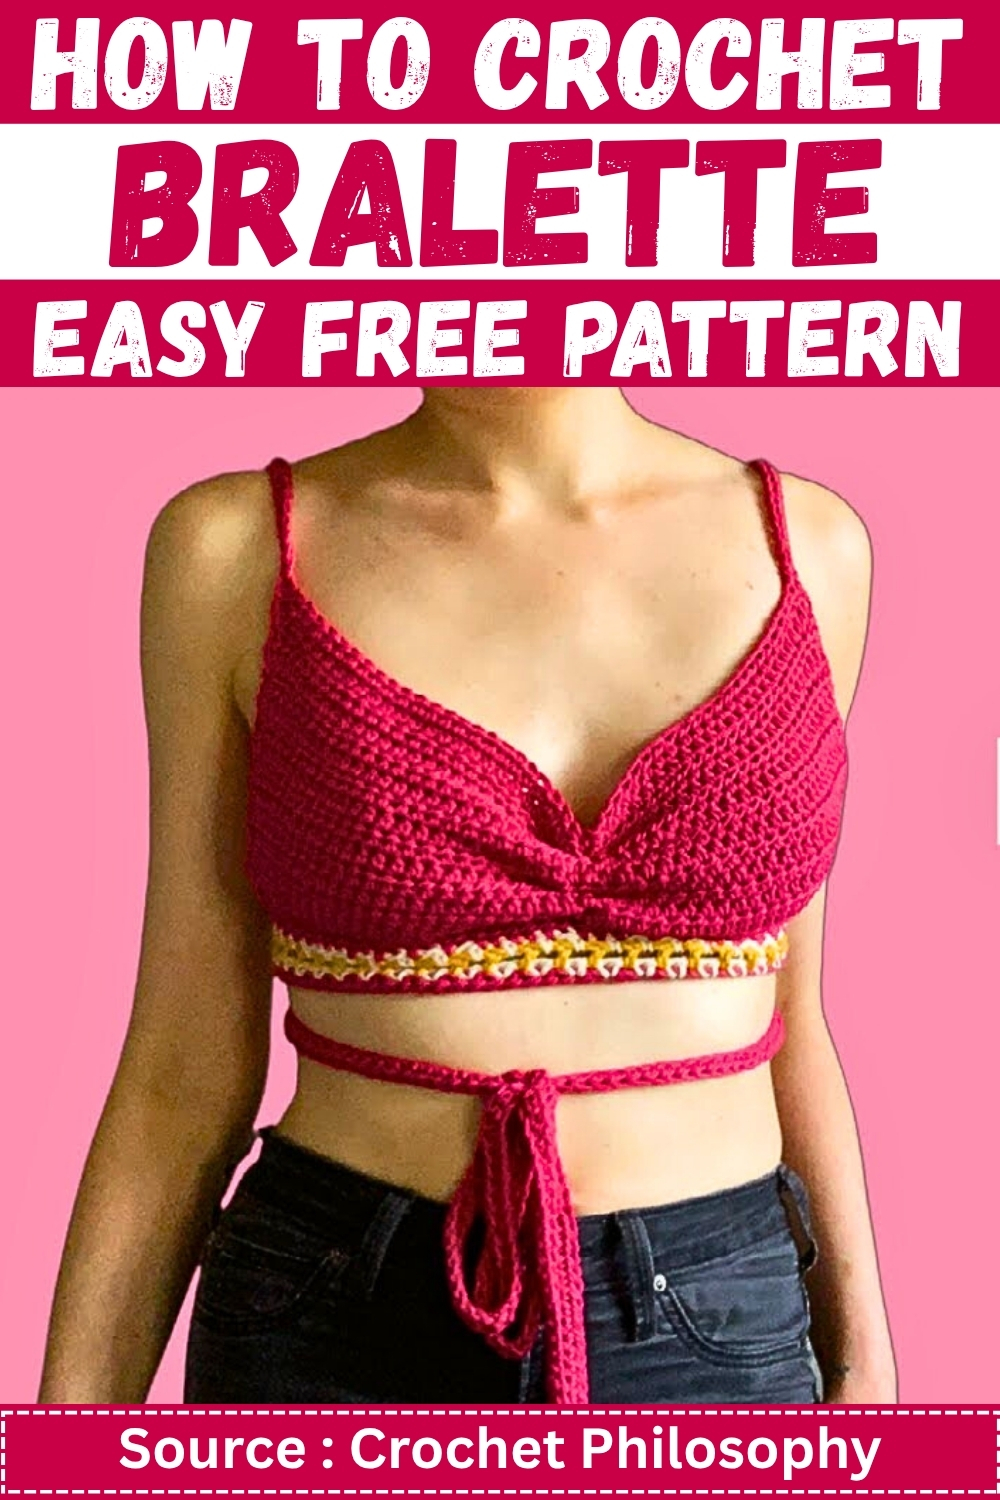
Underneath, a decorative underbust band adds both structure and style with mesh and ladder style rows, and the bralette finishes with adjustable waist ties and shoulder straps so you can fine tune comfort and support. It’s a versatile piece you can wear as a summer bralette, a festival top, or layered under open cardigans and shirts, and it’s easy to customize with color blocking, different yarn textures, or a longer band for more coverage.
Materials
- Yarn in a main color
- Yarn in a second color for mesh detail
- Yarn in a third color for ladder detail
- Crochet hook that matches your yarn
- Measuring tape
- Stitch markers
- Scissors
- Darning needle
Abbreviations
- ch = chain
- sc = single crochet
- hdc = half double crochet
- dc = double crochet
- sl st = slip stitch
- st = stitch
Fit Notes
- This is a measure-yourself pattern, so your stitch counts will be different from someone else’s
- Keep checking the fabric against your body as you work
- If your foundation chain stretches a lot, use a smaller hook for the chain only
- For more coverage, make the rectangle taller before ruching
- For more support, make the underbust band slightly longer and reduce the minus amount from 5 inches to 3 inches
Measurements
- Measure your bust width from one side of your bust to the other side, stopping before the armpits
- Measure your bust height from your underbust up to the center of your bust, about one inch above the nipple
- Measure your underbust around your ribcage where a bra band sits
Main Rectangular Front Panel
- Make a slip knot
- Chain until the length equals your bust width measurement minus 1 inch
- Add 2 extra chains to begin Row 1
- Row 1 work hdc in the 3rd chain from the hook
- Row 1 continue hdc in every chain across to the end
- Row 2 ch 2 and turn
- Row 2 work hdc in every stitch across
- Row 2 make sure you place the final hdc into the turning chain from the previous row to keep edges straight
- Repeat Row 2 until the rectangle reaches your bust height measurement
- Fasten off and leave a tail long enough to weave securely
Underbust Band Foundation
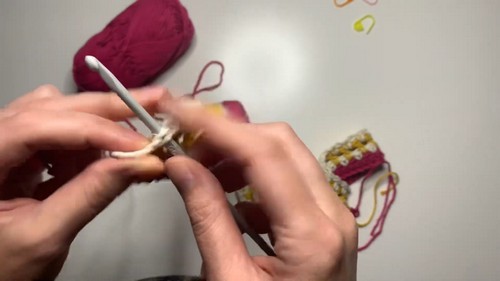
- Make a slip knot with your main color
- Chain until the length equals your underbust measurement minus 5 inches
- Row 1 hdc in the 3rd chain from the hook
- Row 1 hdc in every chain across
- Do not fasten off if you want to continue directly into the mesh section
- If you fasten off, rejoin at the next step
Mesh Detail Row
- Join your second color about 5 stitches in from one edge of the underbust band
- Ch 2 to start the row
- Skip 1 stitch
- Sc in the next stitch
- Ch 1
- Skip 1 stitch
- Sc in the next stitch
- Repeat the ch 1 skip 1 sc in next pattern across
- Stop with 4 stitches left unworked at the far end to keep the edges clean for finishing
Ladder Detail Row
- Join your third color at the start of the mesh row
- Ch 3 to begin
- Dc into the first gap between the sc stitches from the previous row
- Ch 1
- Dc into the next gap
- Ch 1
- Repeat dc in the gap ch 1 across the row
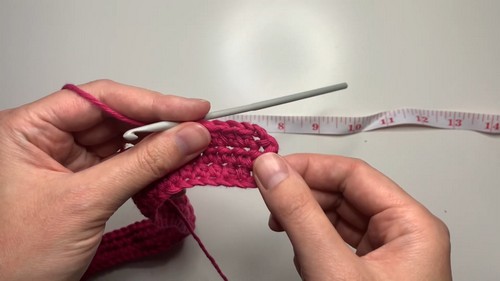
- Finish with a dc in the final stitch at the edge
Repeat Mesh Row
- Switch back to your second color
- Ch 2 and turn
- Work sc into the first gap
- Ch 1
- Sc into the next gap
- Ch 1
- Repeat sc in gap ch 1 across
- Keep your tension even so the mesh stays neat
Shape and Finish the Band Edge
- Join your main color at the side edge of the mesh section
- Work sl st and hdc evenly along the side gaps of the mesh and ladder rows
- Aim for a smooth curve rather than sharp steps
- If the edge pulls tight, add an extra hdc in a larger gap
- If the edge ruffles, skip a gap occasionally to reduce stitches
- Fasten off and weave in ends for the band colors if needed
Join Front Panel to Underbust Band
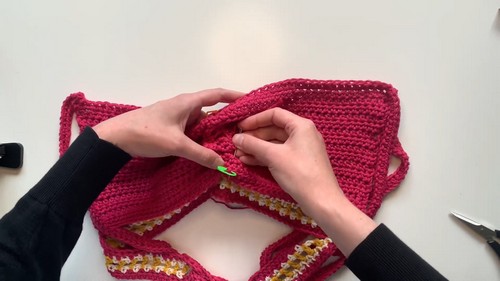
- Lay the underbust band flat with the right side facing up
- Place the rectangle centered on top of the band
- Use stitch markers to mark the rectangle center and the band center
- Match the centers and pin in place with stitch markers
- Also mark the rectangle edges so it stays even while joining
- Join your main color yarn at one end of the seam
- Work a row of sc through both layers along the entire seam to attach the rectangle to the band
- Keep stitches even so the rectangle doesn’t pucker
- Fasten off and weave in the seam ends
Waist Tie
- Join yarn to one side end of the underbust band
- Ch a very long length so it can wrap around your body and tie in a bow
- Hdc back across the chain to thicken the tie
- Sl st into the band edge to secure
- Fasten off or continue directly if you prefer
- Repeat on the other side if you want two separate ties
- If you want one continuous lace style tie, create one long tie and thread it through the band edges
Shoulder Straps
- Join yarn to the back top edge of the underbust band near one side
- Ch the length needed to reach the top corner of the rectangle
- Sl st into the rectangle corner to anchor
- Hdc back down the chain toward the band to thicken the strap
- Sl st into the band to secure
- Fasten off
- Repeat for the second strap on the other side
- If you want thicker straps, work 2 hdc in each chain on the way back
- If you want thinner straps, use sc instead of hdc on the way back
Finishing Touch Center Ruching
- Find the center of the front rectangle by folding it in half
- Thread a long piece of yarn onto a darning needle
- Starting at the bottom edge, weave the needle in and out between rows along the center line
- Continue weaving up to the top edge
- Pull the yarn gently at first to see how the fabric gathers
- Pull tighter until you like the ruched look and the bust shaping
- Secure the yarn at the top with several passes through the fabric
- Tie off firmly and weave the tail back through the stitches to lock it in place
- Weave in all remaining ends
Optional Customizations
- Add more coverage by crocheting extra rows on the rectangle before ruching
- Add a picot or scallop edging along the top of the rectangle for a more decorative finish
- Add lining by sewing a soft fabric panel behind the ruched section
- Use one color for a minimalist look or use three colors for bold contrast
- Make longer underbust ties for a wrap style bralette back


Leave a Reply