
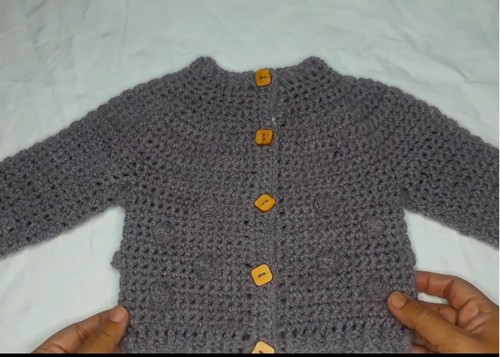
This crochet cardigan pattern is perfect for a 3-month-old baby boy, featuring a soft bubble stitch texture that looks beautiful and feels gentle on the skin.
Crochet Baby Boy Cardigan
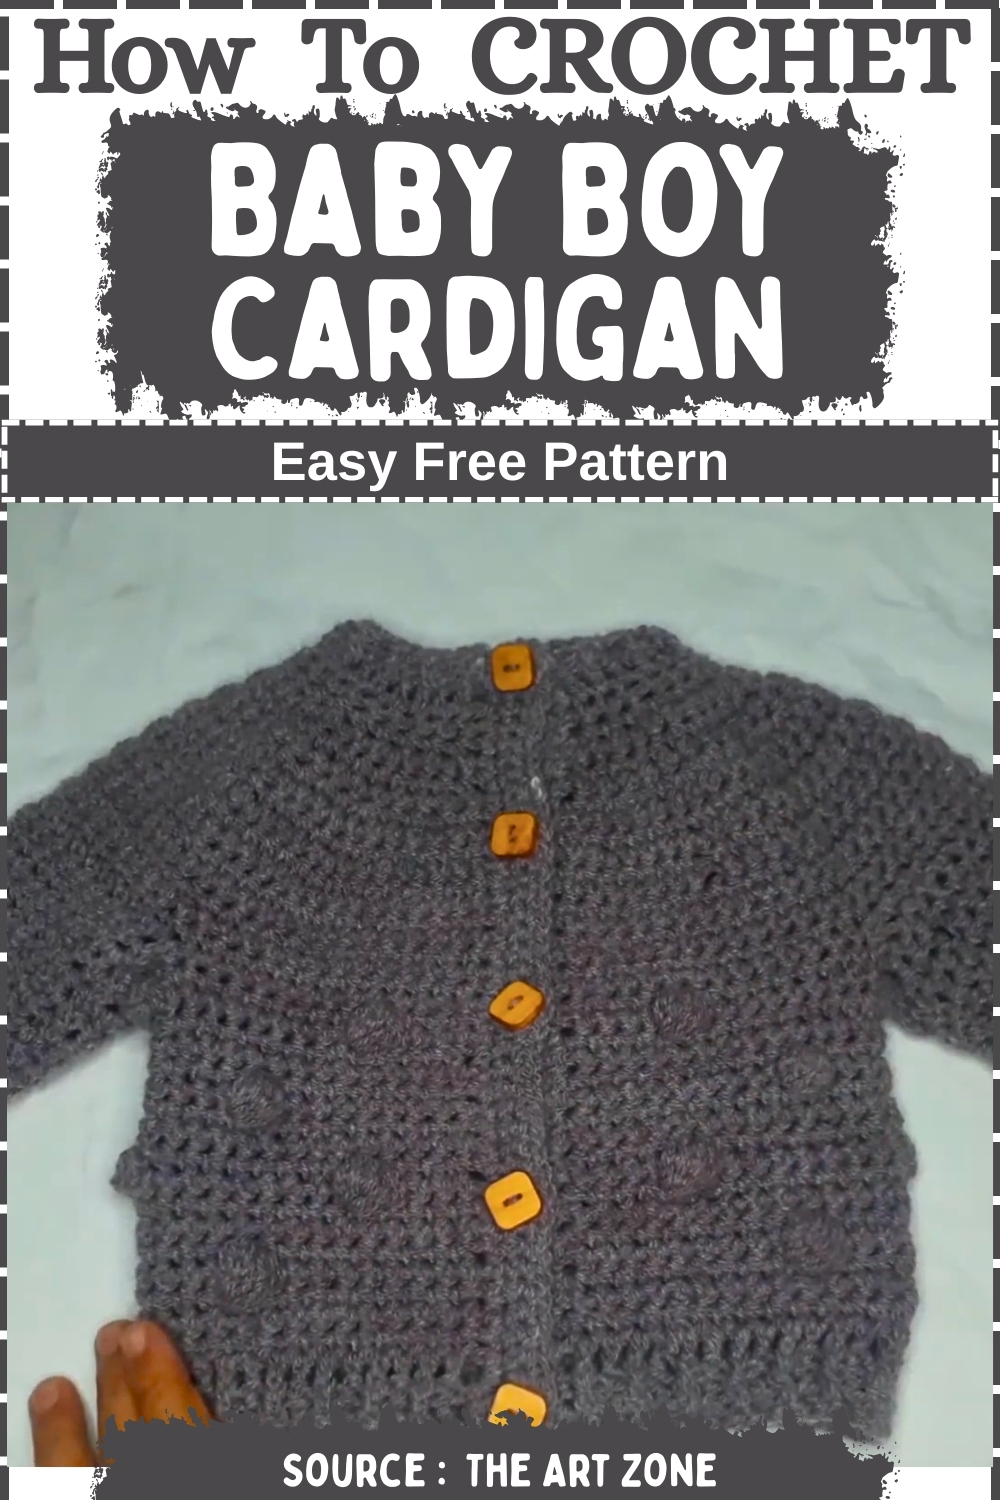
Worked from the top down, the cardigan begins with a simple single crochet yoke, then separates for sleeves and continues into the textured bubble body. This pattern is beginner-friendly, customizable in length, and ideal for gifting or everyday wear. With medium-weight yarn and two hook sizes, you can create a stylish, cozy cardigan for your little one.
Materials
- Size 4 medium yarn
- 6.0 mm hook for body
- 4.0 mm hook for sleeve ribbing
- Needle, scissors, buttons
Yoke Rows 1-16
- Make a magic knot and chain 37.
- Row 1 Skip first chain and make 1 SC in each stitch total 36.
- Row 2 Chain 1 turn 1 SC in each stitch 36.
- Row 3 Chain 1 turn 1 SC then 2 SC in next stitch repeat across to get 56 SC.
- Row 4 Work 1 SC in each stitch 56.
- Row 5 Repeat SC row 56.
- Row 6 1 SC in next 2 stitches then 2 SC in next repeat to reach 74 SC.
- Row 7 Work 1 SC in each stitch 74.
- Row 8 Repeat SC row 74.
- Row 9 1 SC in next 3 stitches then 2 SC in next repeat to reach 92 SC.
- Row 10 to 16 Work 1 SC in each stitch for 7 rows keeping count 92.
Sleeve Separation Row 17
- Work 14 SC for first front.
- Chain 3 and skip 19 stitches for sleeve.
- Work 26 SC for back.
- Chain 3 skip next 19 stitches for second sleeve.
- Work remaining 14 SC.
- Body section now has 60 stitches total.
Body Bubble Pattern
- Row 1 Chain 1 turn and work 1 SC in each stitch including 3 SC into each underarm chain space total 60.
- Bubble Row 1 Chain 1 turn work 4 SC, make 1 bubble stitch in next stitch, then 5 SC. Repeat pattern across.
- Work 3 rows of SC.
- Bubble Row 2 Chain 1 turn work 9 SC then bubble in 10th stitch. Continue repeating 9 SC then bubble. Total 6 bubbles in row.
- Continue repeating 3 SC rows then 1 bubble row, alternating bubble placement like Row 1 then Row 2 until body measures 8 inches from yoke.
Bottom Ribbing
- Row 1 Chain 2 turn work 1 DC in each stitch.
- Row 2 Chain 2 turn work FPDC and BPDC alternately.
- Row 3 Repeat ribbing keeping posts aligned.
- Fasten off.
Neck Ribbing
- Attach yarn at neckline and chain 2 then work 1 DC around.
- Row 2 Chain 2 turn alternate FPDC and BPDC.
- Row 3 Work posts as they appear then fasten off.
Right Button Placket
- Attach yarn at bottom right and work SC evenly up edge about 44 SC.
- Next row chain 1 and work SC creating buttonholes by chain 1 skip 1 after every nine stitches.
- Final row SC across including into chain spaces then fasten off.
Left Button Placket
- Attach yarn at bottom left and work 3 rows SC to match right side then fasten off.
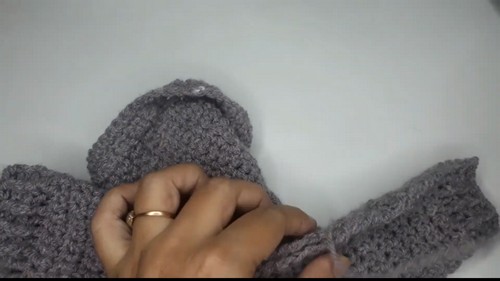
Sleeves (Repeat for both)
- Join yarn at underarm and work SC around gently closing gap if needed.
- Rows 2 to 6 Work SC each row.
- Row 7 Work 2 SC then SC2TOG continue SC to last 4 stitches then SC2TOG and finish with 2 SC.
- Rows 8 to 13 Continue SC rows.
- Row 14 Repeat decrease row.
- Rows 15 to 17 SC in each stitch total 16 rows.
- Switch to 4.0 mm hook.
- Row 1 Chain 3 and work DC around total approx 21.
- Row 2 Alternate FPDC and BPDC.
- Row 3 Work ribbing as appears then fasten off.
Finishing
- Sew sleeve seams.
- Sew buttons matching buttonholes.
- Cardigan height approx 11 inches.


Leave a Reply