
This DIY Chunky Crochet Sweater pattern brings the perfect blend of comfort and style with its cozy hoodie design and ribbed texture. Using easy-to-follow instructions, this pattern walks you through creating a stylish cropped sweater that’s both warm and trendy.
Crochet Chunky Sweater
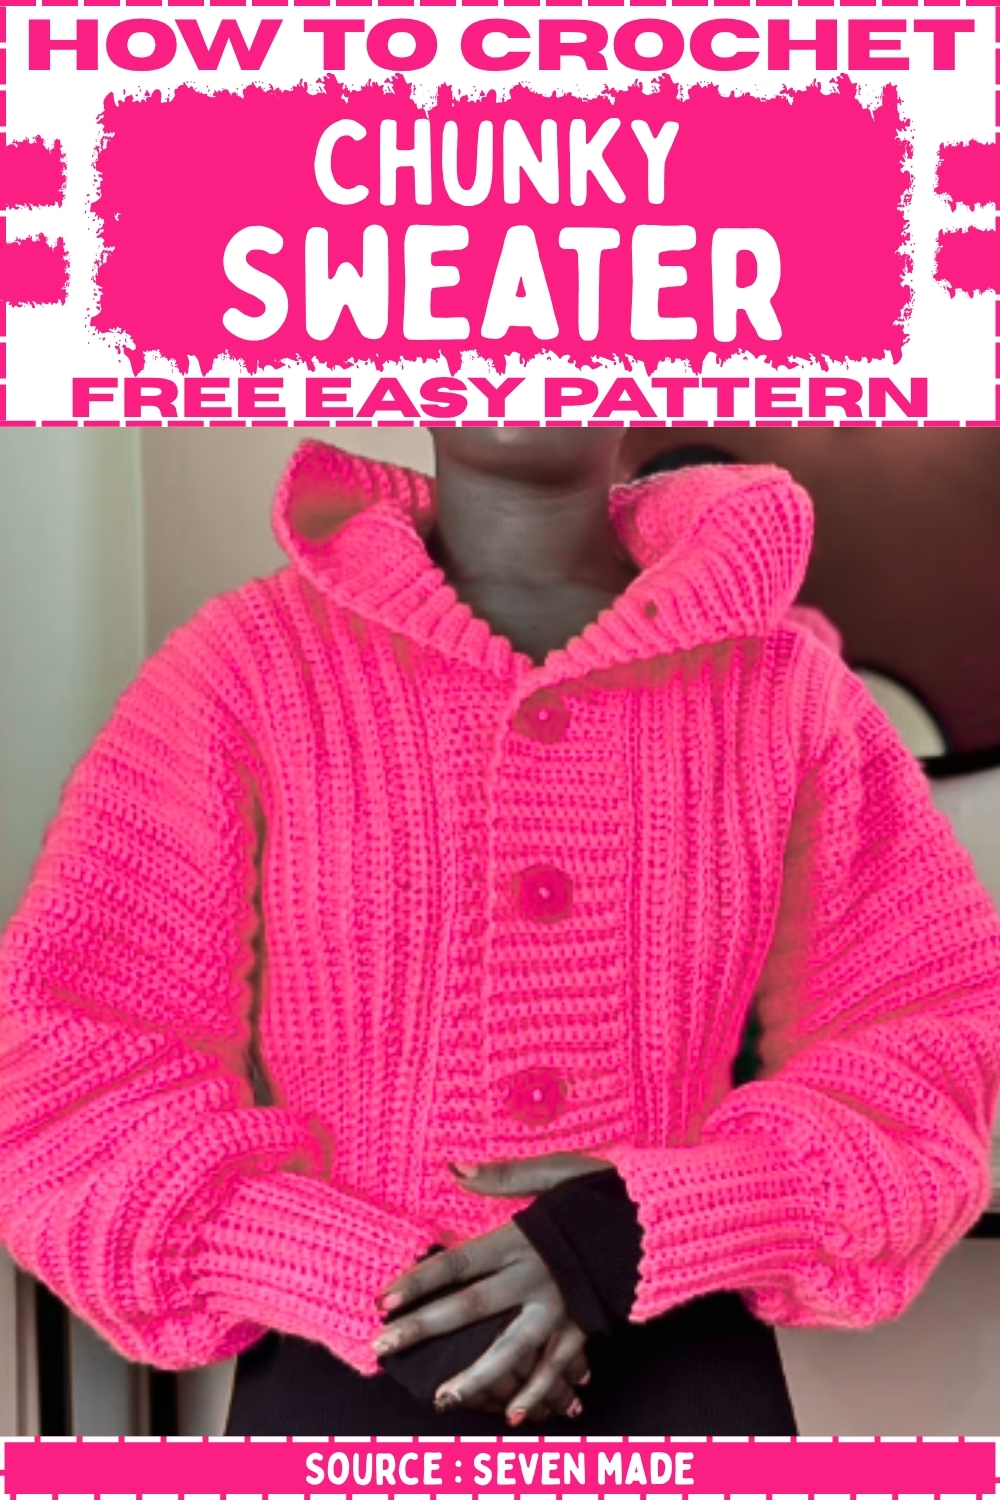
Featuring a ribbed texture achieved with the Back Loop Half Double Crochet stitch, this Crochet Chunky Sweater is a versatile addition to your wardrobe. Whether you're new to crochet or looking for a fun weekend project, this pattern offers ample customization options to suit your preferences—choose your favorite chunky yarn and adjust the fit to your liking. The final result is a cozy, hooded cardigan you can wear all year round!
Back Panel
- Foundation Chain: Make a slip stitch, then Chain 60, which should measure approximately 16 inches.
Row 1:
- Chain 2. Starting in the 3rd chain from the hook, work a Half Double Crochet (HDC).
- Continue making HDC until you have 16 stitches left.
- In the remaining 16 stitches, work a Single Crochet (SC).
- Place a stitch marker on the very first SC you make.

Row 2 (Repeat Row):
- Chain 1, turn.
- Work a Back Loop Single Crochet (BLSC) in every stitch until you reach the stitch marker (the SC section).
- Continue by working a Back Loop Half Double Crochet (BLHDC) in every stitch until the end of the row.
- Repeat: Repeat Row 2 until you have a total of 48 rows.
Front Panels
- Start the front panels the same way you started the back panel (Chain 60, Row 1).
- Repeat: Repeat Row 2 until you have a total of 18 rows for one panel.
- Make a second matching front panel of 18 rows.

Joining Panels (Shoulders & Sides)
- Shoulder Join: For the shoulder seams, join the first 12 rows of the front panel to the corresponding 12 rows of the back panel.
- The remaining space on the back panel (12 rows) and the front panels (6 rows each) creates the neck opening for the hood.
- Join the seams using Single Crochet (SC), making two SC in every row you join.
- Armhole Opening: Count 32 rows down from the shoulder seam and place a stitch marker on both the front and back panels to define the armhole.
- Side Join: Join the sides from the bottom up to the stitch marker using SC, making two SC in every row you join.
Sleeves
- Row 1: From the armhole opening, Chain 2 and make Half Double Crochet (HDC) in every stitch around the armhole opening.
- Row 2 (Repeat Row): Turn your work.
- Chain 2, and work a Back Loop Half Double Crochet (BLHDC) in every stitch.
- Repeat: Repeat Row 2 until you have a total of 34 rows.
Sleeve Cuff/Curve (Gusset):
- Chain 18 from the end of Row 34.
- Chain 1 more. Starting in the 2nd chain from the hook, work SC down the chain.
- When you reach the main sleeve body, skip 1 stitch and make a Slip Stitch in the next 4 stitches.
- Turn your work, and starting in the marked stitch, make a Back Loop Single Crochet (BLSC) in every stitch across the cuff.
- Repeat: Repeat the BLSC rows and the joining (skip 1, 4 slip stitches) until you reach the end of the sleeve opening.
- Seam Sleeve: Fold the sleeve and join the cuff/sleeve opening using SC (working on the wrong side), going through the back loop on the cuff side and both loops on the other side.
- When joining the HDC rows, make two SC per row.

Step 5: Hood
- Neckline SC Border: Turn the sweater to the right side.
- Work a row of Single Crochet (SC) around the entire neckline opening, placing two SC in every row.
- Count the total number of stitches (Example has 76 SC).
Hood Panel (Make 2):
- Foundation Chain: Chain the number of stitches equivalent to your head measurement (Example is Chain 45 for 12 inches).
- Row 1-14 (Straight): Chain 2. Make HDC in the first row, then BLHDC for Rows 2-14.
- Row 15-21 (Decrease): Decrease at the beginning and end of each row by skipping 1 stitch.
- Start: Chain 2, skip 1 stitch, then work BLHDC in the next stitch.
- End: Work BLHDC until you have two stitches left.
- Make an HDC in the second-to-last stitch, and skip the last stitch.
- Hood Seaming: Join the two panels together on the top and back edge using SC (working on the wrong side).
- Hood Neckline SC Border: Work a row of SC around the bottom edge of the hood, placing two SC in every row.
- Attach Hood to Sweater: Join the hood to the sweater neckline using SC (working on the wrong side).
- Adjust the stitches (randomly joining some) to fit the hood's 84 stitches to the sweater's 76 stitches.
Step 6: Front Ribbing & Finishing
- Ribbing Foundation: Take the total stitch count around the entire sweater opening (Example has 216 stitches).
- Chain 12. Chain 1, and make SC in all 12 chains.
- For the next rows, Chain 1, turn, and work BLSC in every stitch.
- Straight Rows: Repeat the BLSC rows until you have 156 rows.

Buttonholes (for the remaining 60 rows):
- Create a buttonhole row every 14 rows.
Buttonhole Row: Chain 1, turn. Make 5 BLSC. Chain 3, skip 3 stitches.
- Finish the row with BLSC.
- Repeat this sequence until you have four buttonholes.
Attach Ribbing: Work a row of SC around the entire sweater opening (where the ribbing attaches).
- Work a row of SC along the long side of the ribbing, one SC per row, to match the sweater's stitch count.
- Attach the ribbing to the sweater by making SC, working through the back loop of the ribbing and both loops of the sweater.
Buttons: Sew four buttons onto the side of the ribbing opposite the buttonholes, aligning them with the chain-3 spaces.


Leave a Reply