
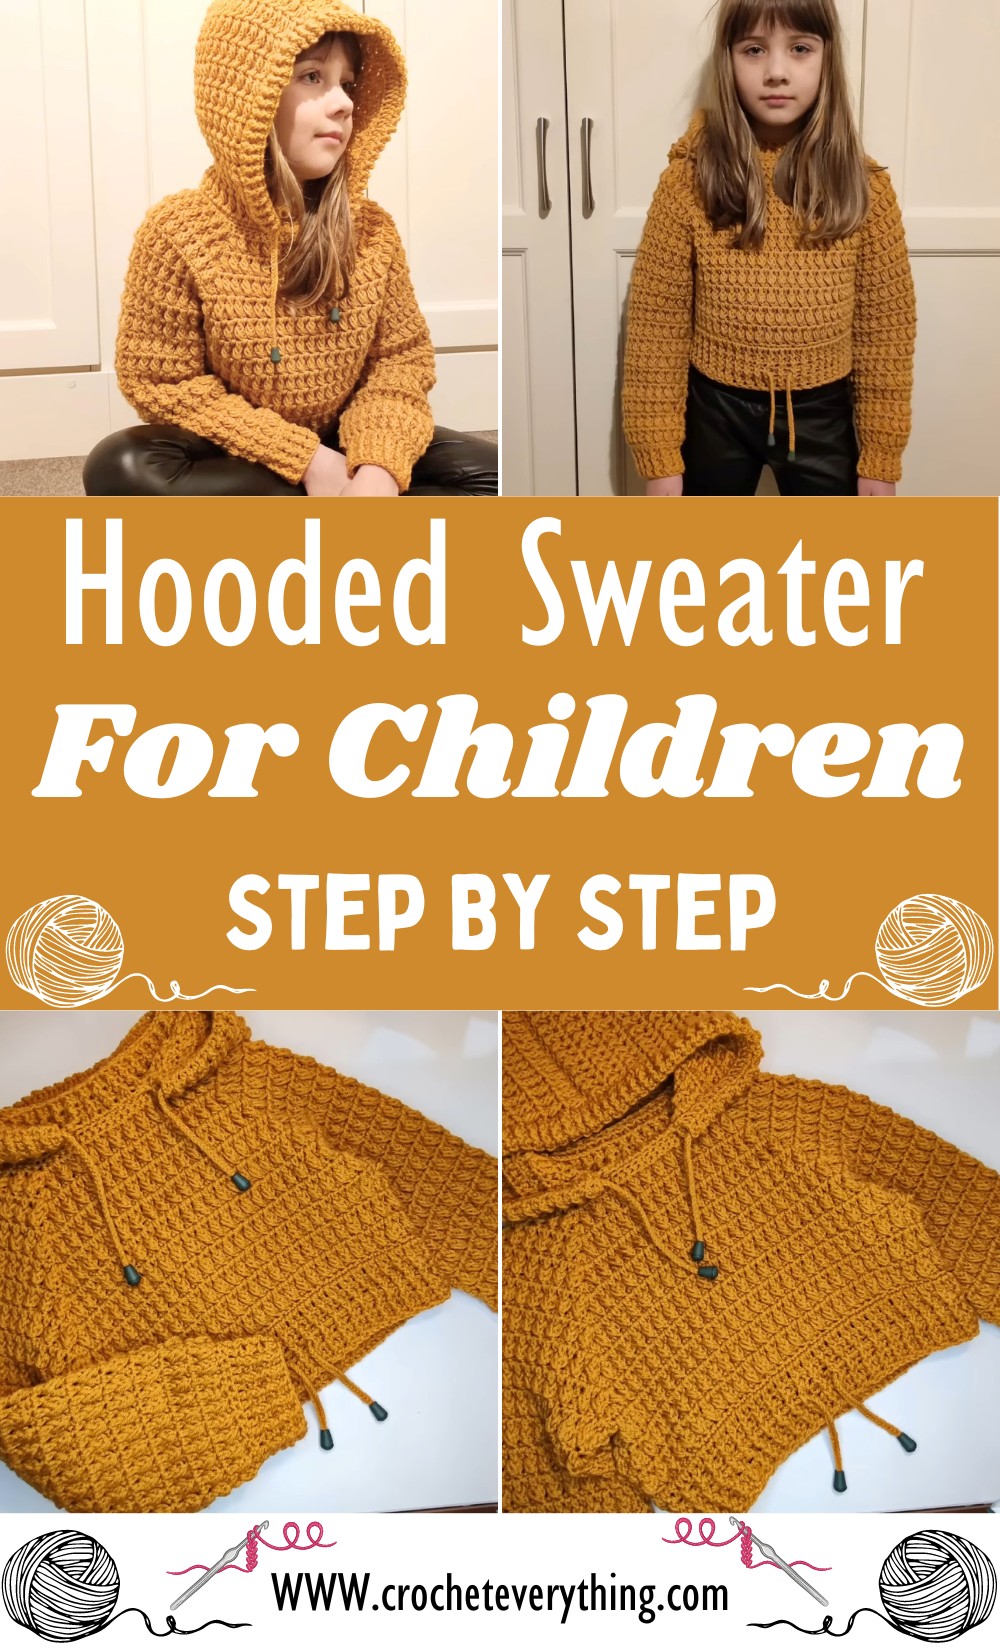
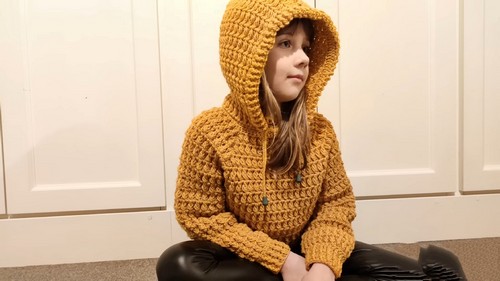
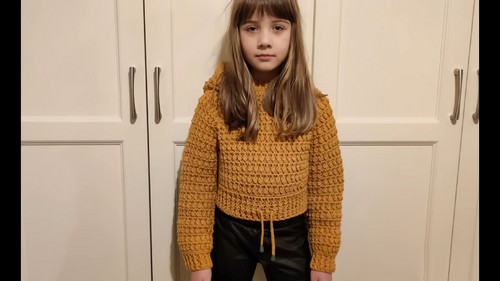
Get ready for a playful twist on your crochet skills with our Hooded Sweater for Children! Picture the joy on a child's face when they pull on a sweater you made just for them, complete with a cozy hood that's perfect for pretend play and real-world adventures alike. Whether you're picking up a crochet hook for the first time or you're an old pro, this pattern is your ticket to creating a wearable hug that's as fun to make as it is to give.
Crochet Hooded Sweater For Children
Getting Started
Materials:
- Yarn: DK weight or lightweight, approximately 400 grams (adjust based on desired size and length)
- Hook: 4 mm
- Scissors
- Needle
- 4 Stitch markers
- Measuring tape (in centimeters)
- Optional: 4 strings for closures
Measurements:
- Head circumference: Measure around the child's head to determine the starting chain length. Refer to the chart in the video for specific measurements based on age.
- Chest measurement: Measure around the child's chest to determine the length of the yoke.
- Length: Decide on the desired length of the cardigan.
Chain
- Chain a number of stitches equal to the head circumference measurement, plus a few extra stitches for ease.
- Measure the chain to ensure it's long enough to fit over the child's head. Adjust the number of stitches if necessary.
Foundation Row
- Double crochet (DC) in the second chain from the hook and in each subsequent chain.
- Place a stitch marker in the first and last stitches of the row.
Step 3: Repeat Rows
Row 1:
- Chain 2, turn. DC in the first stitch. 3 DCs in the stitch marked with the first stitch marker. DC in each subsequent stitch until you reach the last stitch. 3 DCs in the last stitch. Chain 2, turn.
Row 2:
- Chain 2, turn. Front post puff stitch (FPPS) around the next DC. DC in each subsequent stitch until you reach the stitch marked with the first stitch marker. 3 DCs in the marked stitch. DC in each subsequent stitch until you reach the last stitch. FPPS around the next DC. Chain 2, turn.
- Repeat rows 1 and 2 until the yoke reaches the desired chest measurement.
Connecting the Yoke
Measure and Mark
- Measure from one stitch marker to the other on the long side of the yoke. This will be the length of the sleeves.
- Mark the stitches for the sleeve openings on both sides of the yoke.
Single Crochet
- Single crochet (SC) in each stitch around the yoke, including the marked stitches for the sleeves.
- Join the last SC to the first SC with a slip stitch.
Neckline
- Chain 2, turn. DC in the first stitch. DC in each subsequent stitch around the neckline.
- Repeat row 1 of the band (front post DCs and half DCs) around the neckline.
- Optionally add more rows for a higher neckline.
Sleeves
- Pick up stitches along the marked sleeve openings.
- Work rows of DCs and half DCs, increasing stitches gradually for a wider sleeve shape.
- Continue working rows until the sleeves reach the desired length.
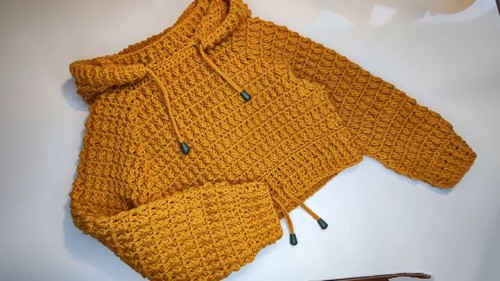
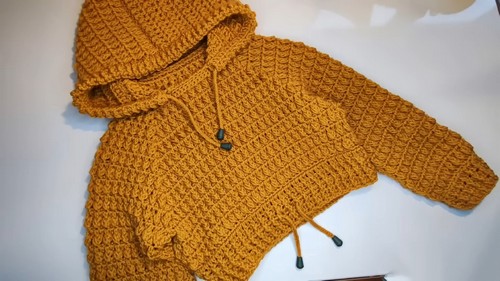
Finishing
- Weave in any loose ends.
- Attach strings or closures to the bottom of the sweater and around the hood (if desired).


Leave a Reply