
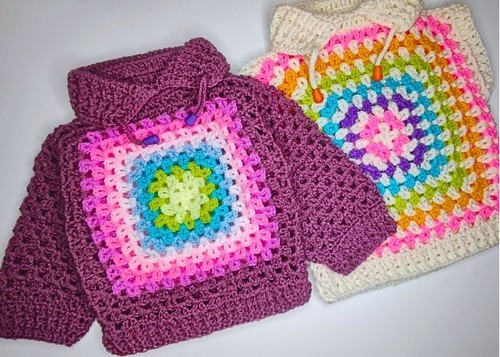
This V stitch granny square pullover crochet pattern is designed for children aged one to five and focuses on comfort, flexibility, and easy sizing. Built from two simple squares, the pullover can be adjusted in width, sleeve length, and neckline depth, making it perfect for growing kids.
Crochet Granny Square Pullover

The pattern works well for everyday wear and allows creative freedom with colors, sleeve styles, and ribbing finishes while staying beginner friendly.
Materials
- Lightweight #3 or DK weight yarn approximately 150g for long sleeves or 50g for short sleeves plus scraps for squares
- Crochet hook suitable for yarn usually 3.5mm or 4mm
- Stitch markers
- Measuring tape
- Scissors
- Tapestry needle
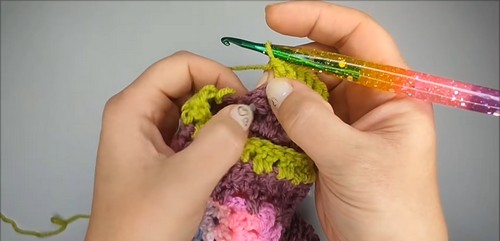
V Stitch Granny Square
- Create a magic ring
- Chain 3 counts as double crochet and chain one
- Work one double crochet into the ring to form the first V stitch
- Chain two then work double crochet chain one double crochet
- Repeat until four corners are formed
- Chain one and slip stitch to close the round
- Change color if desired and turn work
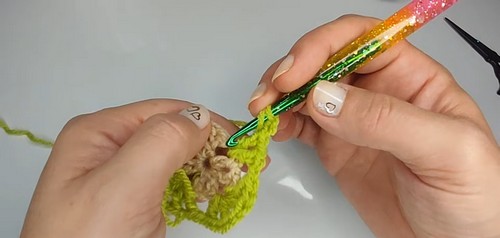
- In each corner space work V stitch chain two V stitch
- In each side space work one V stitch
- Turn work at the end of every round
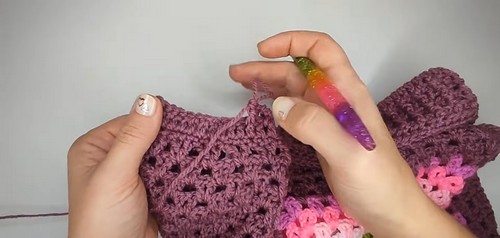
- Continue increasing until the square width equals half the child’s chest measurement
- Complete the back square fully
- Stop the front square one round shorter than the back
Connecting Front and Back
- Place squares together with right sides facing
- Mark two V stitches in from each top corner for shoulders
- Slip stitch across the shoulder sections
- Leave the center opening for the neckline
Neckline and Collar
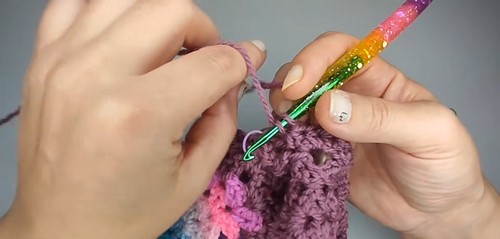
- Work single crochet stitches across the front neckline
- Work double crochet stitches across the back neckline
- Skip chain one spaces to slightly tighten the neckline
- Work two rows of double crochet
- Split the center front to create a slit
- Alternate front post double crochet and half double crochet to create ribbing
- Repeat ribbing rows until desired collar height
- Finish with one round of single crochet around collar and slit
Neckline String
- Create a chain cord or a thicker two strand chain
- Thread the string through the base of the collar
- Add knots or stoppers to secure the ends
Sides and Bottom Ribbing
- Slip stitch the sides together from bottom upward
- Leave space open for armholes based on child size
- Work one round of double crochet around the bottom edge
- Skip chain one spaces to gently shape the waist
- Work two to three rows alternating front post double crochet and half double crochet
Sleeves
- Join yarn at the armhole opening
- For short sleeves work one round of double crochet
- Work one round of ribbing using post stitches
- For long sleeves work V stitch rounds turning each row
- Continue until sleeve reaches desired length
- Decrease by working single crochets into V stitches evenly
- Finish with one round of double crochet
- Add two to three rows of ribbing for cuffs


Leave a Reply