
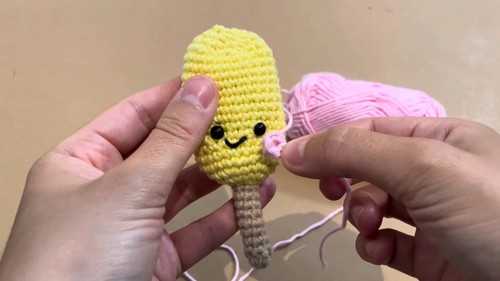
Crochet your way into summer with this irresistibly cute ice cream plushie! This beginner-friendly amigurumi pattern guides you through every step to create a charming ice cream treat—complete with a smiling face, blushing cheeks, and a classic popsicle stick.
Crochet Ice Cream
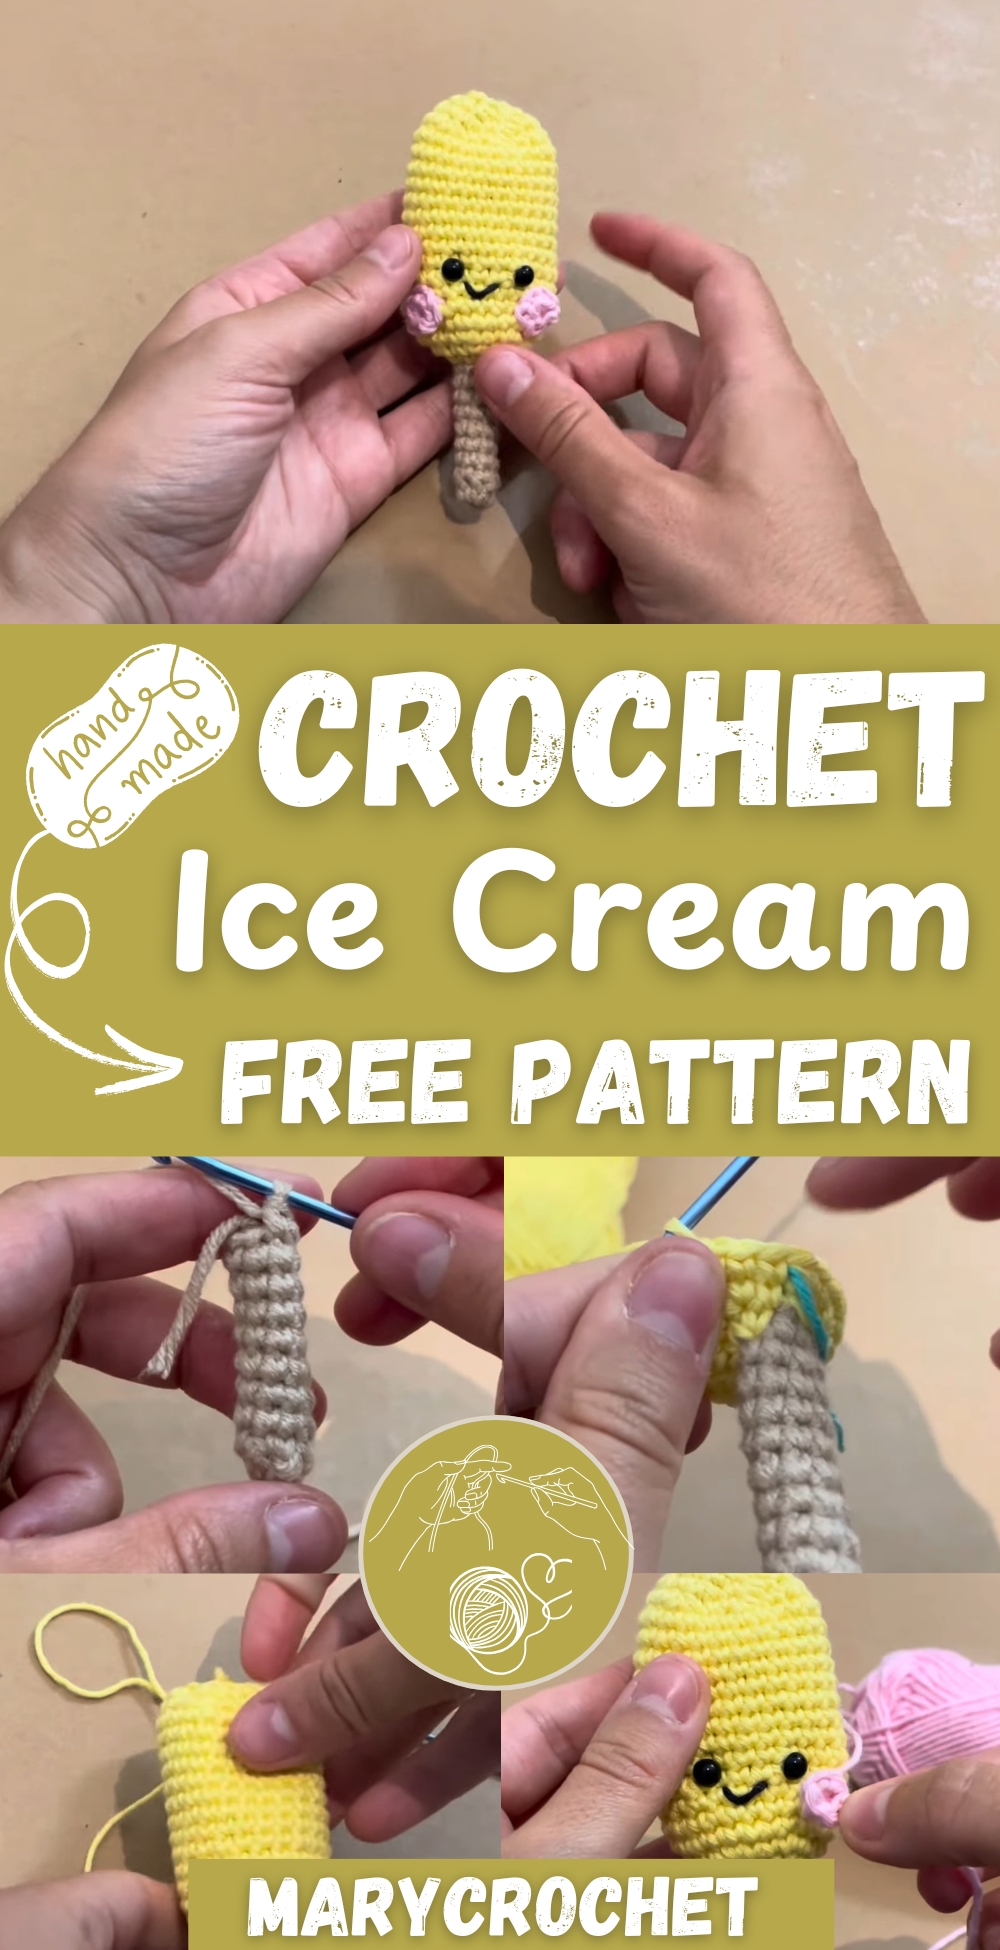
Whether you're looking to add a playful touch to your decor, craft a unique gift, or make your own kawaii keychain, this quick and easy project is sure to brighten your day. With simple stitches, soft cotton yarn, and a bit of stuffing, you'll have your own sweet little ice cream in no time!
Materials Needed
- 100% cotton yarn in:
- Brown (stick)
- Yellow (ice cream)
- Black (for the mouth, thin strand)
- Pink (for the cheeks)
- 2.5 mm crochet hook
- Safety eyes (0.6 cm) or black yarn
- Yarn needle
- Scissors
- Stuffing material
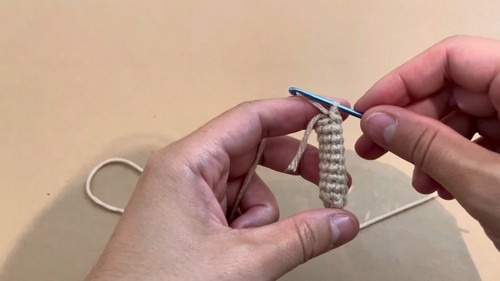
The Stick (Brown Yarn)
- Magic Ring: Create a magic ring.
- Round 1: 6 sc into the ring. Pull to tighten. (6 sts)
- Rounds 2–11: 1 sc in each stitch around. (6 sts per round)
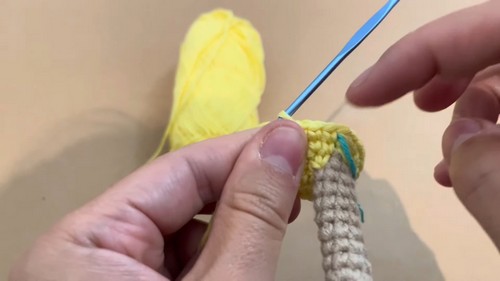
The Ice Cream Body (Yellow Yarn)
- Attach Yarn: Slip stitch, cut brown yarn, knot on yellow yarn.
- Round 12: 2 sc in each stitch around. (12 sts)
- Round 13: 1 sc, 2 sc in next stitch, repeat around. (18 sts)
- Round 14: 1 sc in next 2 stitches, 2 sc in next, repeat. (24 sts)
- Rounds 15–28: 1 sc in each stitch around for 14 rounds. (24 sts)
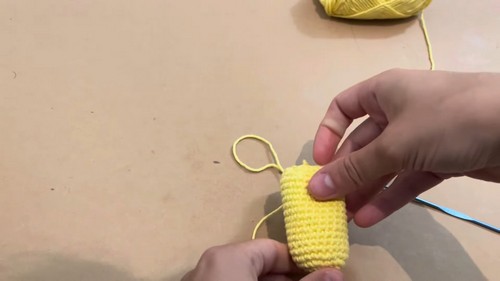
Shaping the Ice Cream
- Round 29: 1 sc in next 2 stitches, sc2tog, repeat. (18 sts)
- Round 30: 1 sc, sc2tog, repeat. (12 sts)
Add Eyes and Mouth:
- Insert safety eyes between rounds 7–8, spaced 1.5 cm apart.
- Embroider a V-shaped mouth using black yarn.
- Stuffing: Lightly stuff the plushie to keep it slightly flat.
- Round 31: sc2tog around. (6 sts)
Finish: Cut yarn, weave through front loops of last 6 sts, pull to close. Weave in ends.
The Cheeks (Pink Yarn, Make 2)
- Magic Ring: Start with a magic ring.
- Round 1: 5 sc into the ring.
- Close: Slip stitch into the first stitch.
- Cut Yarn: Leave a long tail.
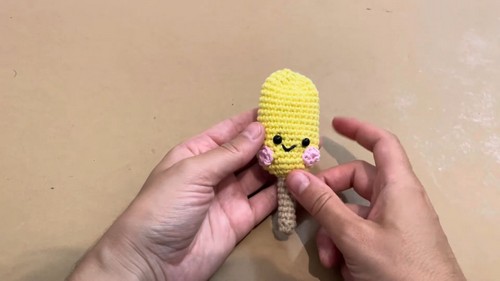
Attach: Sew one cheek under each eye, slightly off-center.


Leave a Reply