
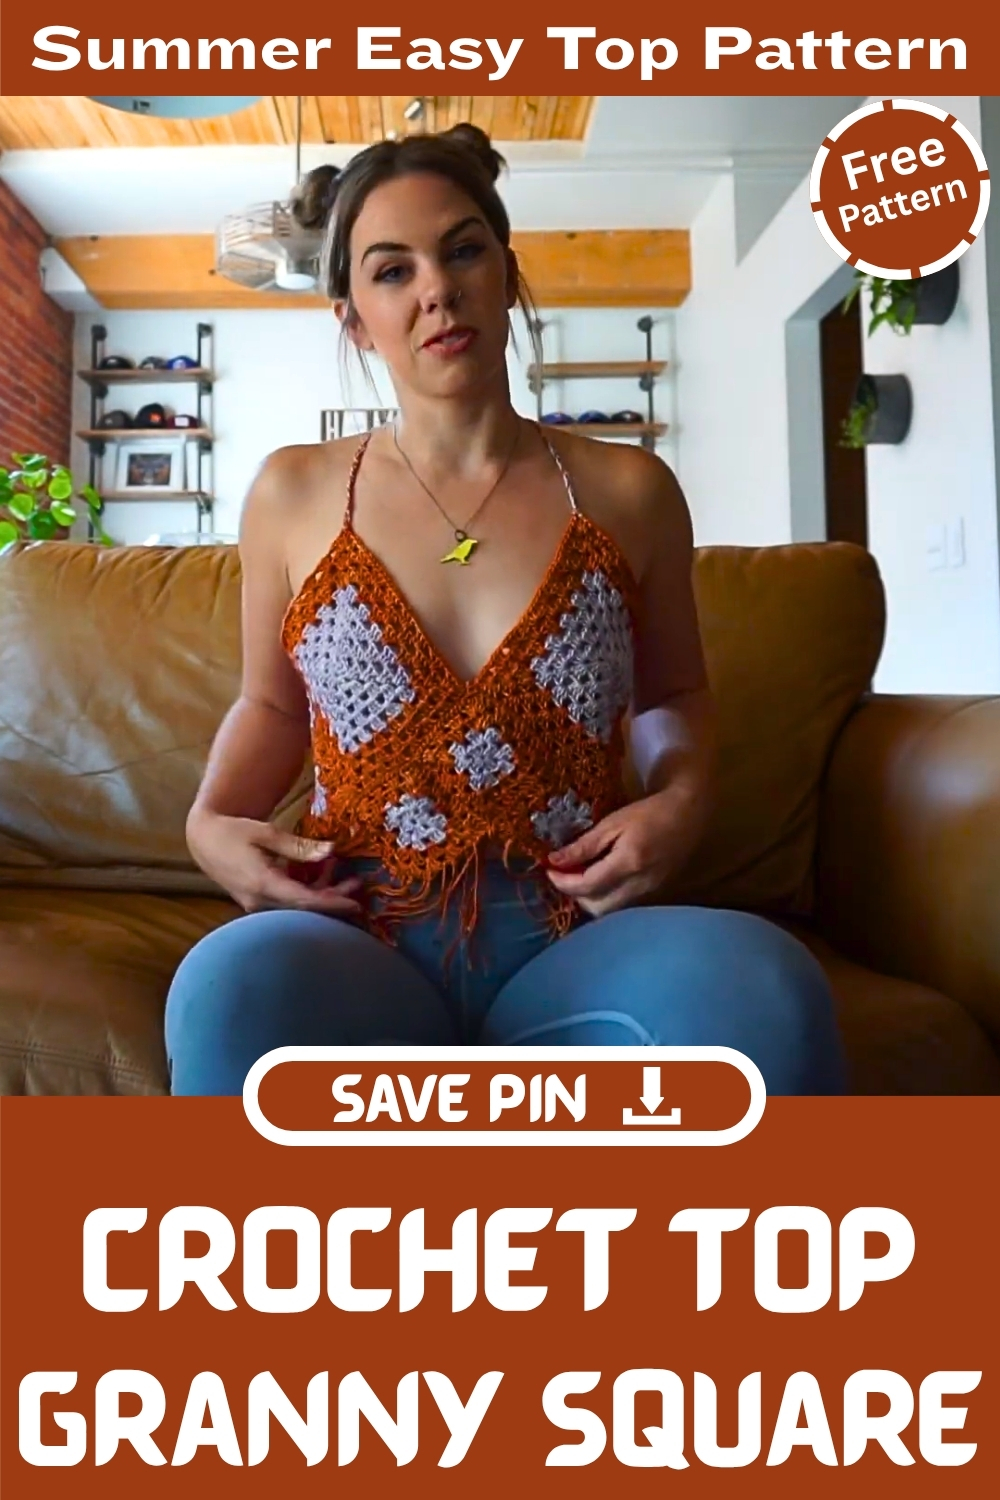
This crochet granny square top is the perfect blend of vintage charm and modern flair, making it an ideal piece for warm-weather outfits. Whether you're a crochet beginner or seasoned pro, this step-by-step guide will help you create a stylish, comfortable top that's perfect for layering or wearing on its own.
Crochet Granny Square Top

The pattern offers plenty of opportunities for customization, allowing you to adjust the size and color to match your personal style. Once finished, you'll have a versatile piece that’s both fashionable and functional. Perfect for casual outings, beach trips, or even as a fun DIY gift!
Materials Needed
- Yarn (DK weight, medium weight)
- 5 mm crochet hook
- Yarn needle
- Scissors
- Swift and yarn winder (optional, for preparing skeins)
Preparing the Yarn
- If your yarn is in a skein, use a swift and yarn winder to turn it into a cake to prevent tangling.
- When using the yarn, pull the working thread from the middle of the ball.
Making the Granny Square

Round 1
- Create a magic ring.
- Chain 3 (counts as a double crochet).
- Make 2 double crochet stitches into the circle.
- Chain 1.
- Repeat the cluster of 3 double crochets and chain 1 three more times.
- Chain 1 and attach to the second chain of the original chain-3 with a slip stitch.
Round 2
- Chain 3 (counts as a double crochet).
- Make 2 double crochets into the space before the end of the last round.
- Chain 1.
- Make 3 double crochets into the next chain-1 space.
- Chain 1, then make another 3 double crochets in the same space to create a corner.
- Repeat this pattern at each corner.
- At the end of the round, work 3 double crochets into the last space to complete the corner.
- Change colors by tying on the new color at the back of your work.
- Chain 1 and slip stitch into the second chain of the beginning chain-3.

Subsequent Rounds
- Repeat the pattern of chain 3, 2 double crochets in the space, chain 1, and then 3 double crochets in each chain-1 space, creating corners with 3 double crochets, chain 1, and 3 double crochets.
- Continue until the square is the desired size.
- Fasten off by pulling the working yarn through the last loop.
Sizing and Layout
- Arrange the squares according to the provided photo.
- Measure the layout to ensure it fits across the front of your body.
- Adjust the size by adding or removing rows in sets of two or by changing the hook size.

Sewing the Pieces Together
- Line up the clusters on the edges of the squares.
- Use a yarn needle to sew the pieces together, working through both loops of the stitches.
- Ensure the tails are hidden inside the edges for a neat finish.
Adding Straps
- Cut six strands of yarn, each about 50 inches long, and fold them in half.
- Attach the folded end to the top corner of the top by pulling the loop through the hole and then threading the ends through the loop.
- Divide the strands into three sections and braid them to the end.

Adding Fringe (Optional)
- Cut 10-inch pieces of yarn.
- Use a crochet hook to pull a loop through the edge of the top and then thread the ends through the loop.
- Space the fringe evenly around the bottom edge.

Finishing
- Weave in all loose ends to secure them.
- Try on the top and adjust the straps as needed.


Leave a Reply