
Make a cozy, old-fashioned Christmas with a handmade touch. Have a charming, colorful Crochet Granny Square Christmas Stocking hanging by the fireplace, lovingly made with little yarn squares. These are granny squares, a crochet classic that brings warmth and nostalgia.
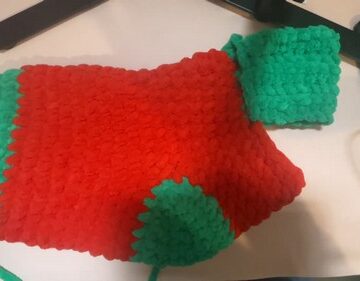
Vintage Crochet Granny Square Christmas Stocking

Now, stir in some holiday cheer, and what do you get? A Vintage Crochet Granny Square Christmas Stocking! It's like a patchwork of memories, each square a story, crocheted with care. Whether you're a beginner or a crochet whiz, creating this stocking will add a sprinkle of joy to your holiday décor.
Materials Needed:
- 14 granny squares of your choice (traditional granny squares with four rounds recommended, measuring about 4x4 inches)
- Weight 4 cotton yarn
- 4mm crochet hook
The Panel Assembly:

Panel One:
- Take three granny squares. Fold one square in half lengthwise.
- Place two full squares on top of each other.
Panel Two:
- Start with two full squares.
- Add one square folded in half lengthwise on top.
For Panel Three:
- Line up four squares. Fold one square in half lengthwise.
- Place two full squares on top of each other.
- Fold one square on the diagonal to form the toe.

Panel Four:
- First, fold a square on the diagonal to form the heel.
- Add two full squares on top of each other.
- Finally, add a square folded in half lengthwise.
Joining Panels:
- Use your favorite method to join each panel together. A flat seam join is recommended for a neat finish.
- Ensure the back bump of stitches is used to create a flat, textured seam. Make sure all squares face outwards for consistency, especially if they’re reversible.
- Use three lengths of yarn for seaming; securely knot the end to prevent slipping.

Seaming Tips:
- Start by aligning the back bumps of corner stitches.
- Line up the clusters carefully, working into the back bumps to align front stitches neatly.
- Attach all panels, paying close attention to alignment and texture. If needed, adjust to ensure squares line up correctly.

Finishing the Stocking:
- Once all panels are joined, weave in ends securely.
- To shape the toe, use a whip stitch across the bottom, cutting into the granny square towards the middle for a rounded edge.
- For the top border, use a complimentary color yarn. Begin with a standing single crochet, chain three, and single crochet around the top, adjusting chains as necessary for tight spaces.
- Add three half double crochets into each chain space around the top for a finished look.

Creating a Hanger:
- Decide on the placement for your stocking’s hanger.
- Chain 15-20 stitches for the hanger length, securing it back onto the stocking.
- Reinforce by working single crochets back along the chain, if desired.
Final Touches:
- Fasten off and weave in all remaining ends.
- Enjoy your vintage granny square stocking!


Leave a Reply